We are going to look at how to build Owl – DIY FPV Kit as clean as possible.
First of all we will need the following tools:
1. Soldering iron station
2. Hex screwdriver
3. Scissors
4. Heat pump or gas fire torch
Step #1
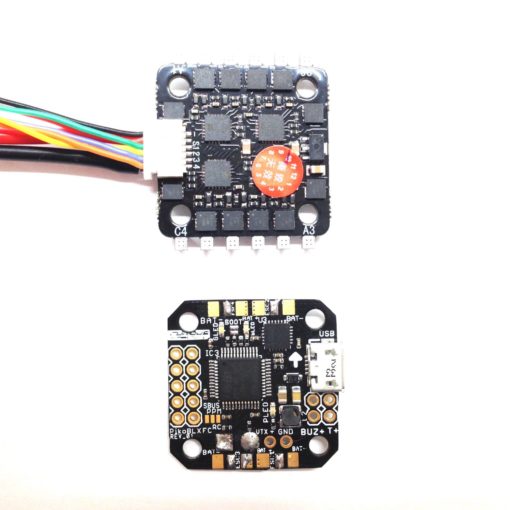
I like to start with the easiest part which is preparing your flight controller
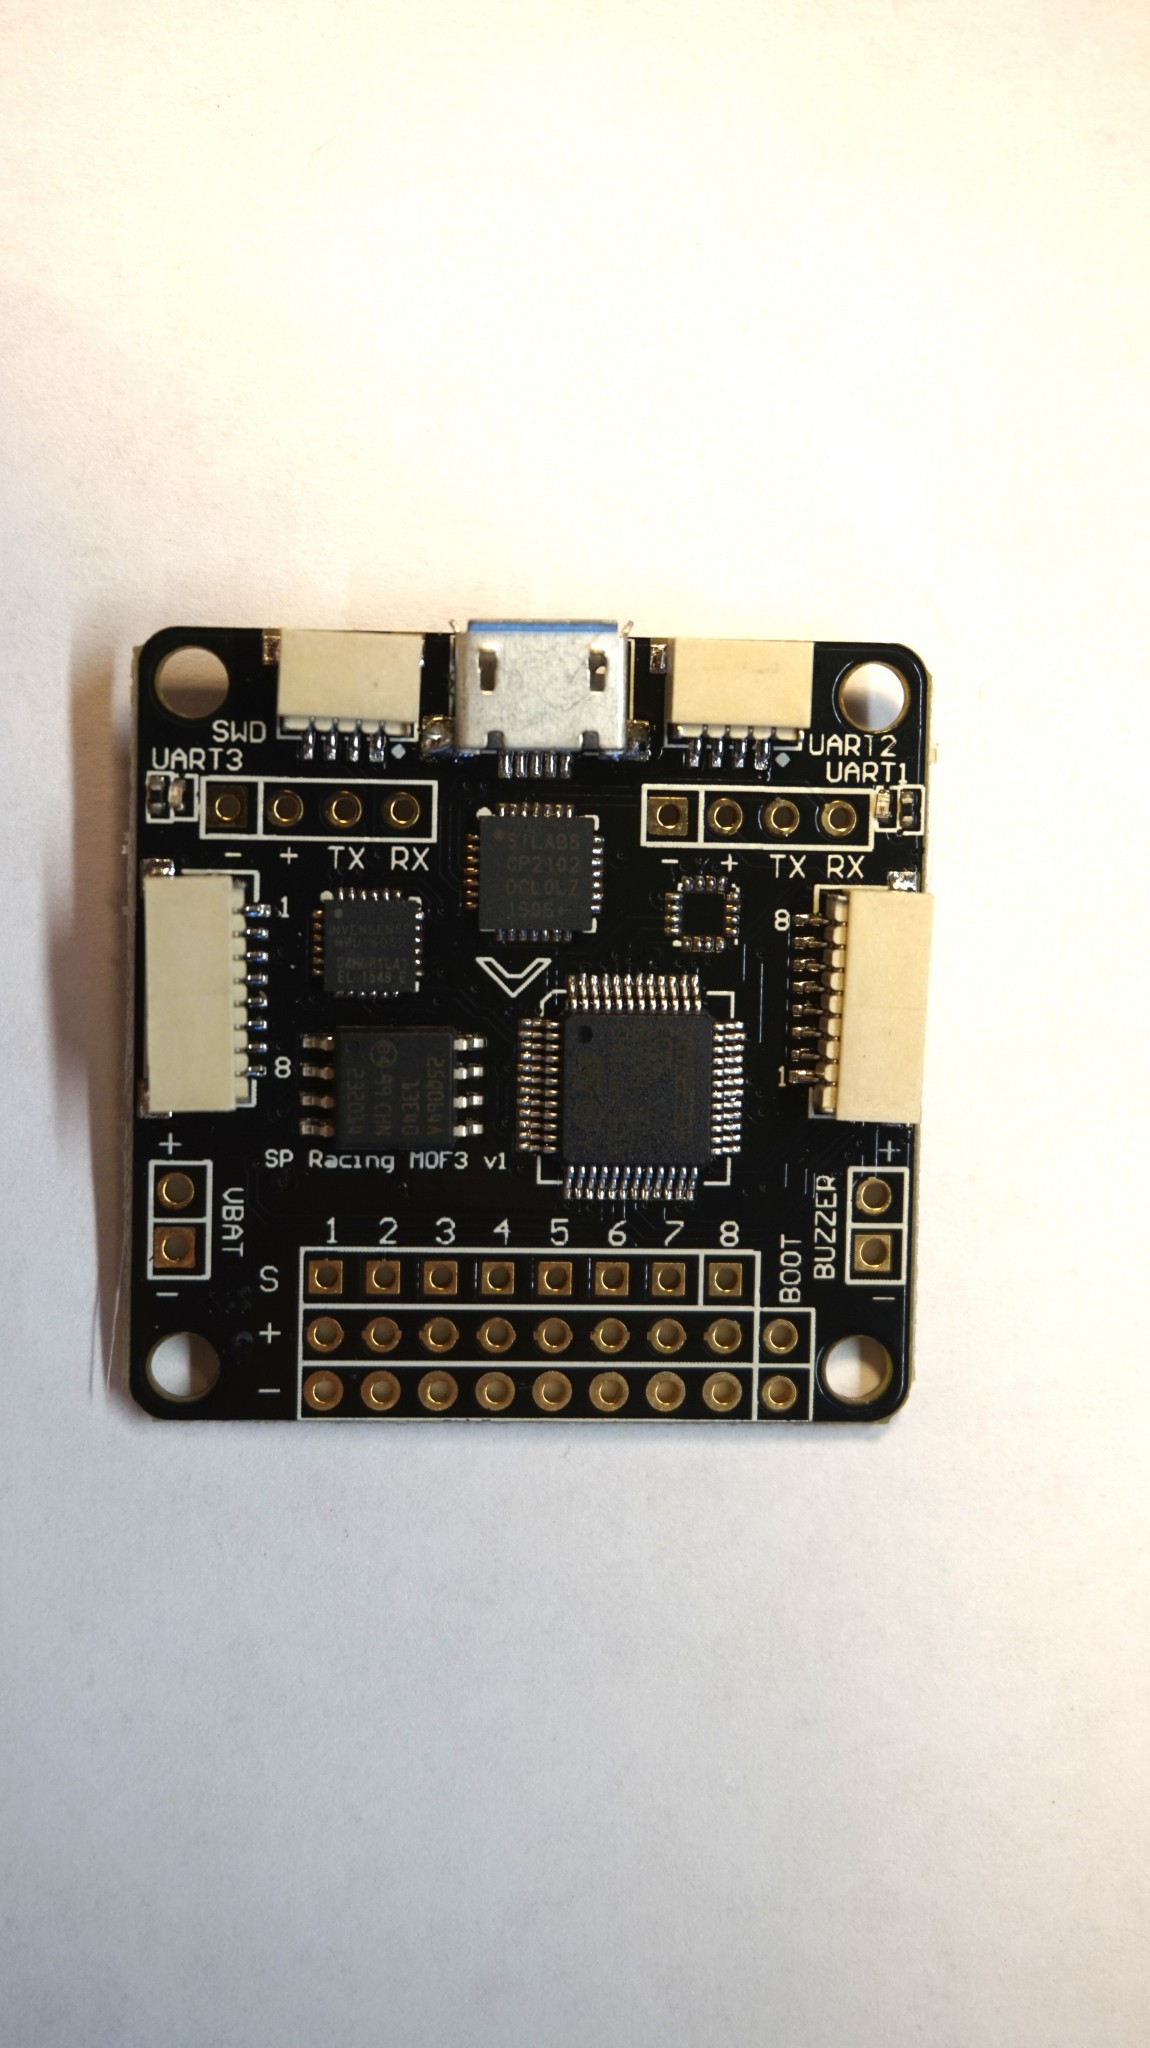
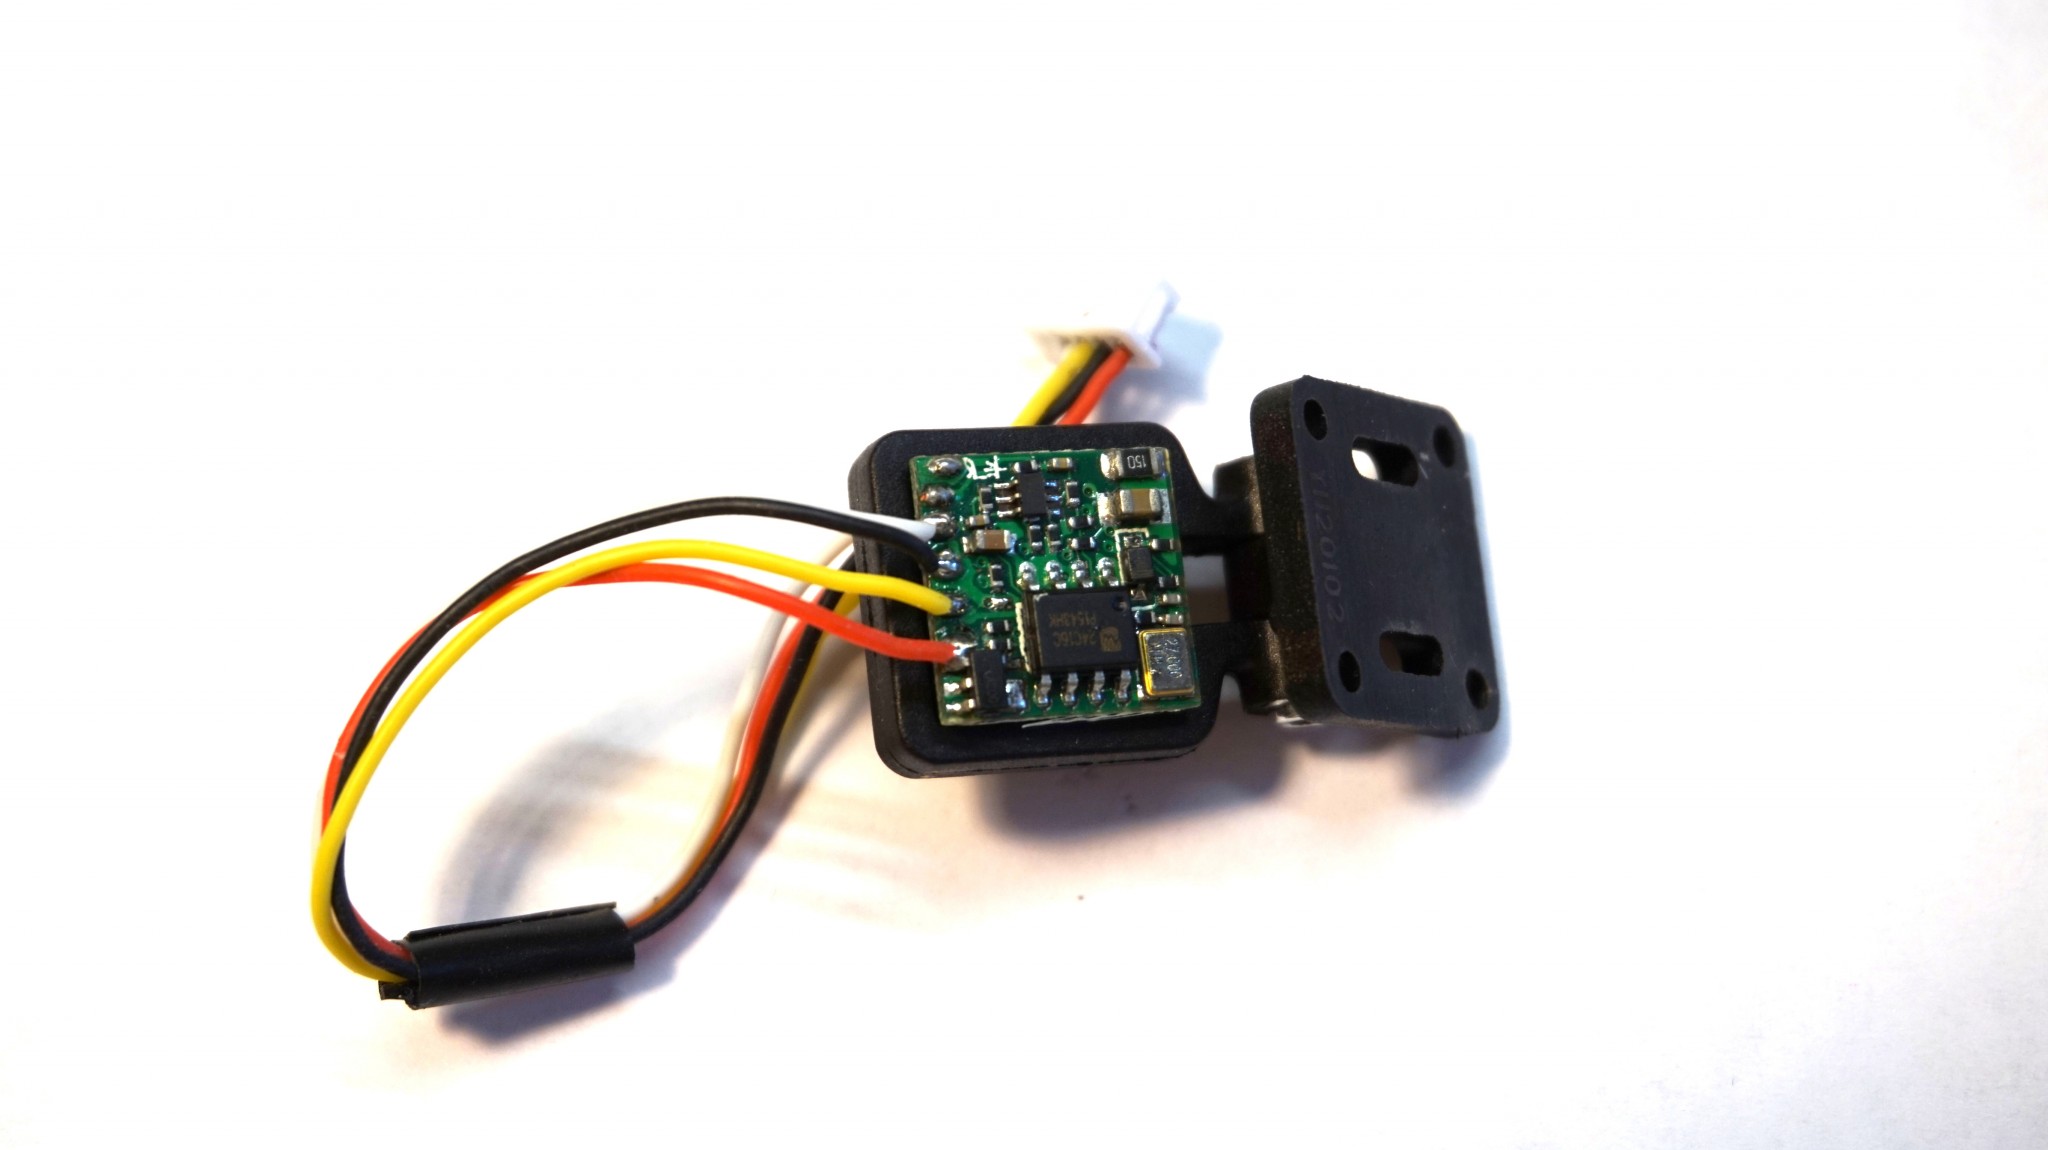
and installing Lemon-rx satellite receiver on it
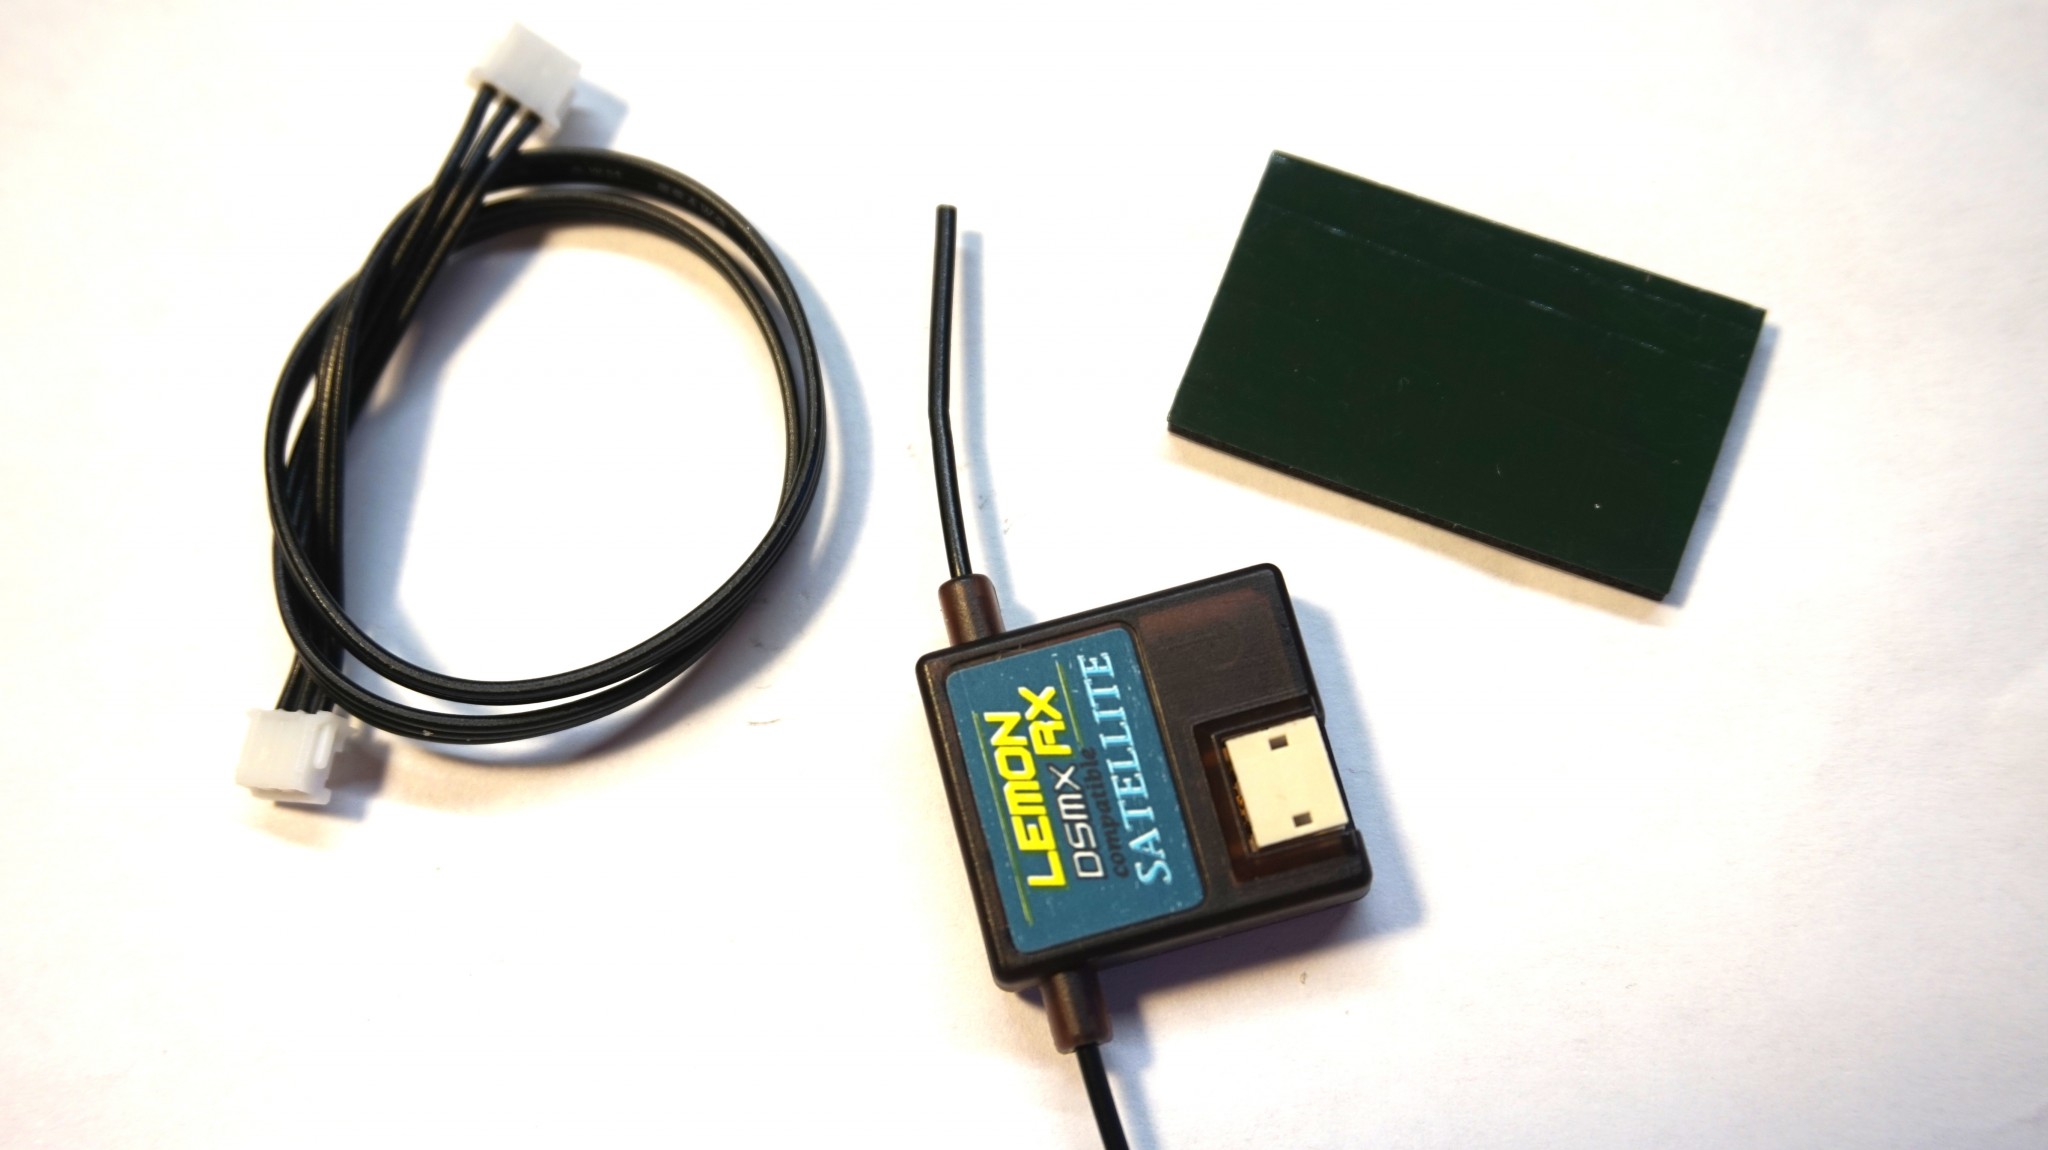
So as a first step we will decase Lemon-rx, so unscrew tiny screw on its case and pop it open:
Step #2
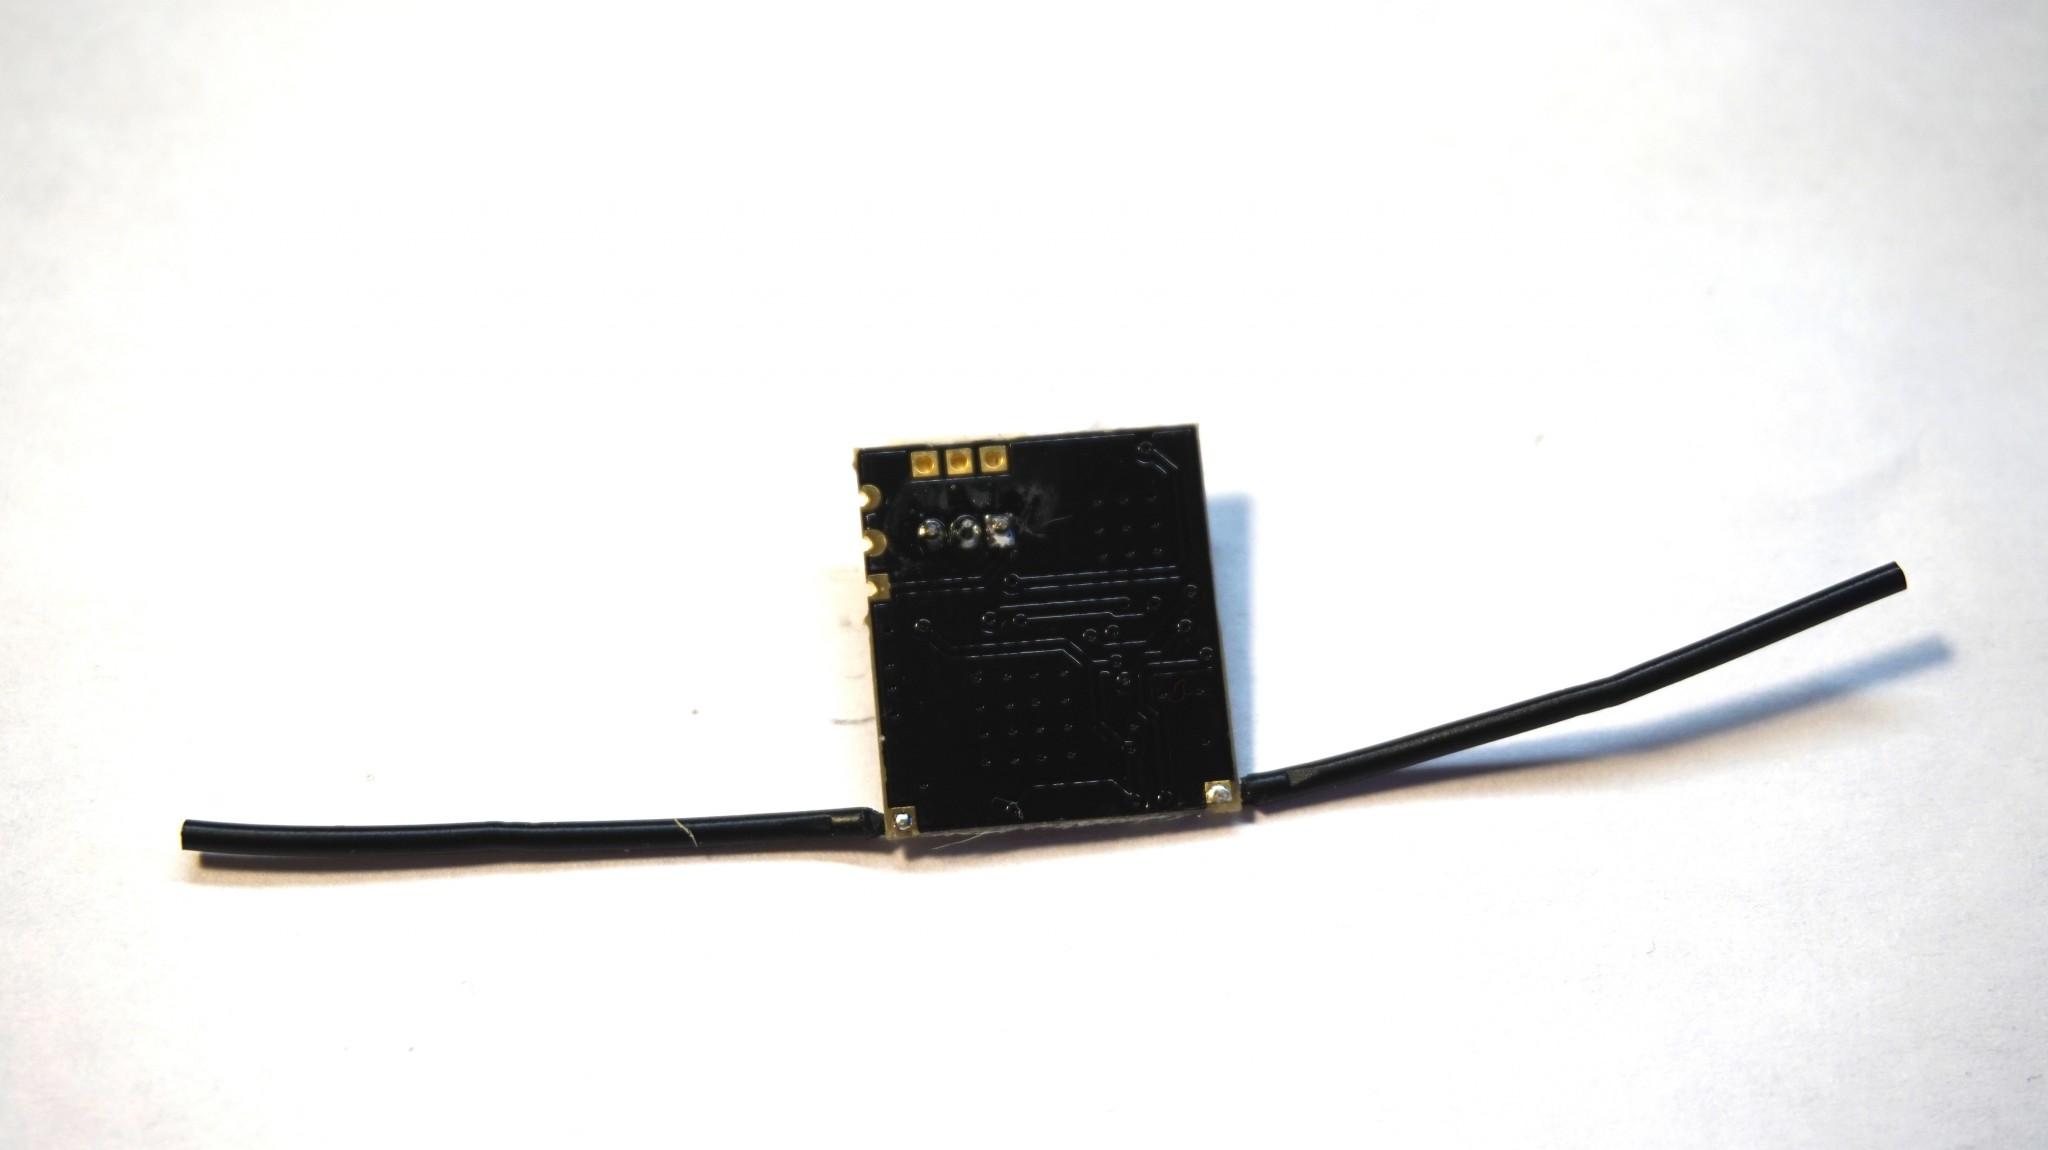
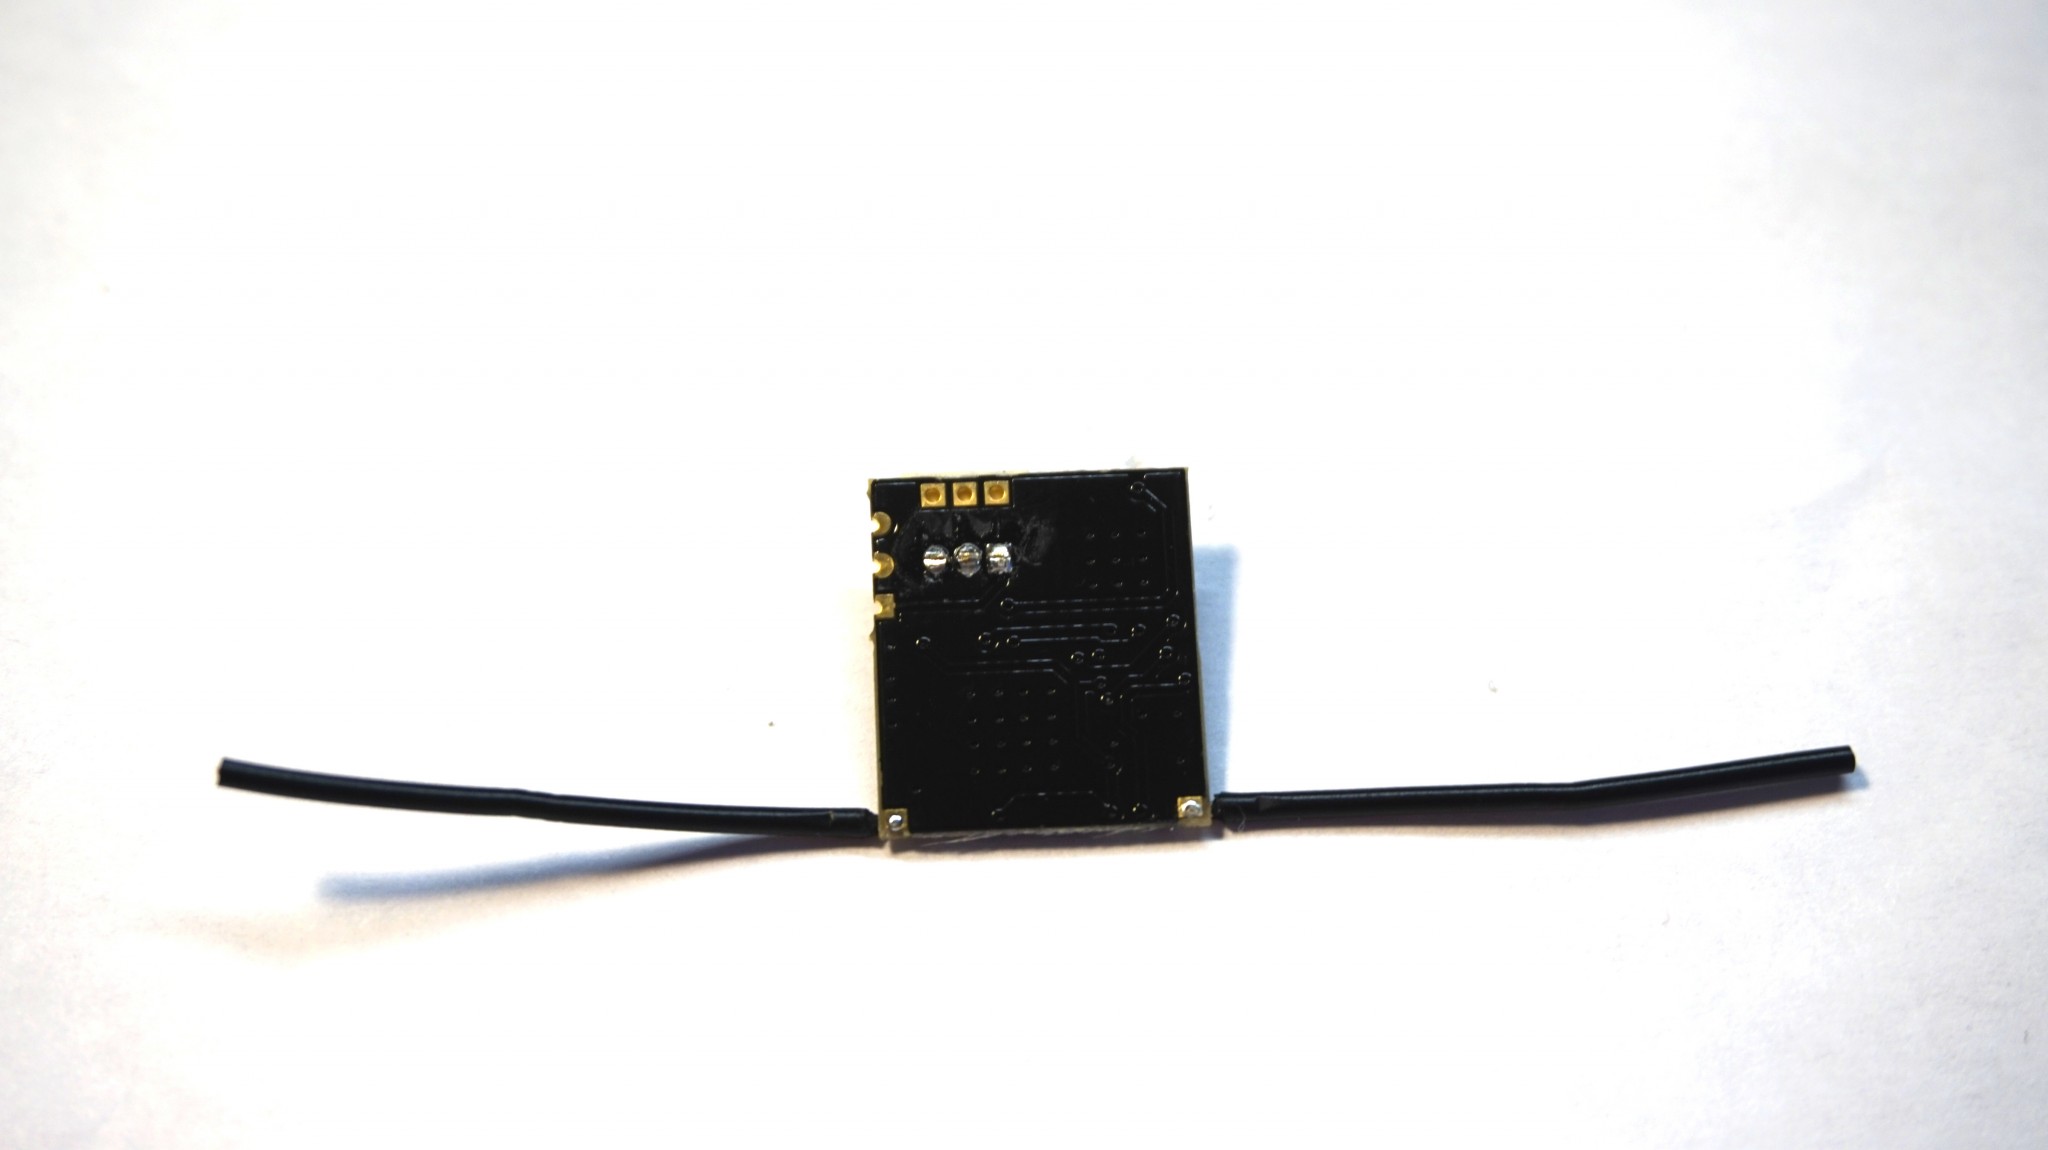
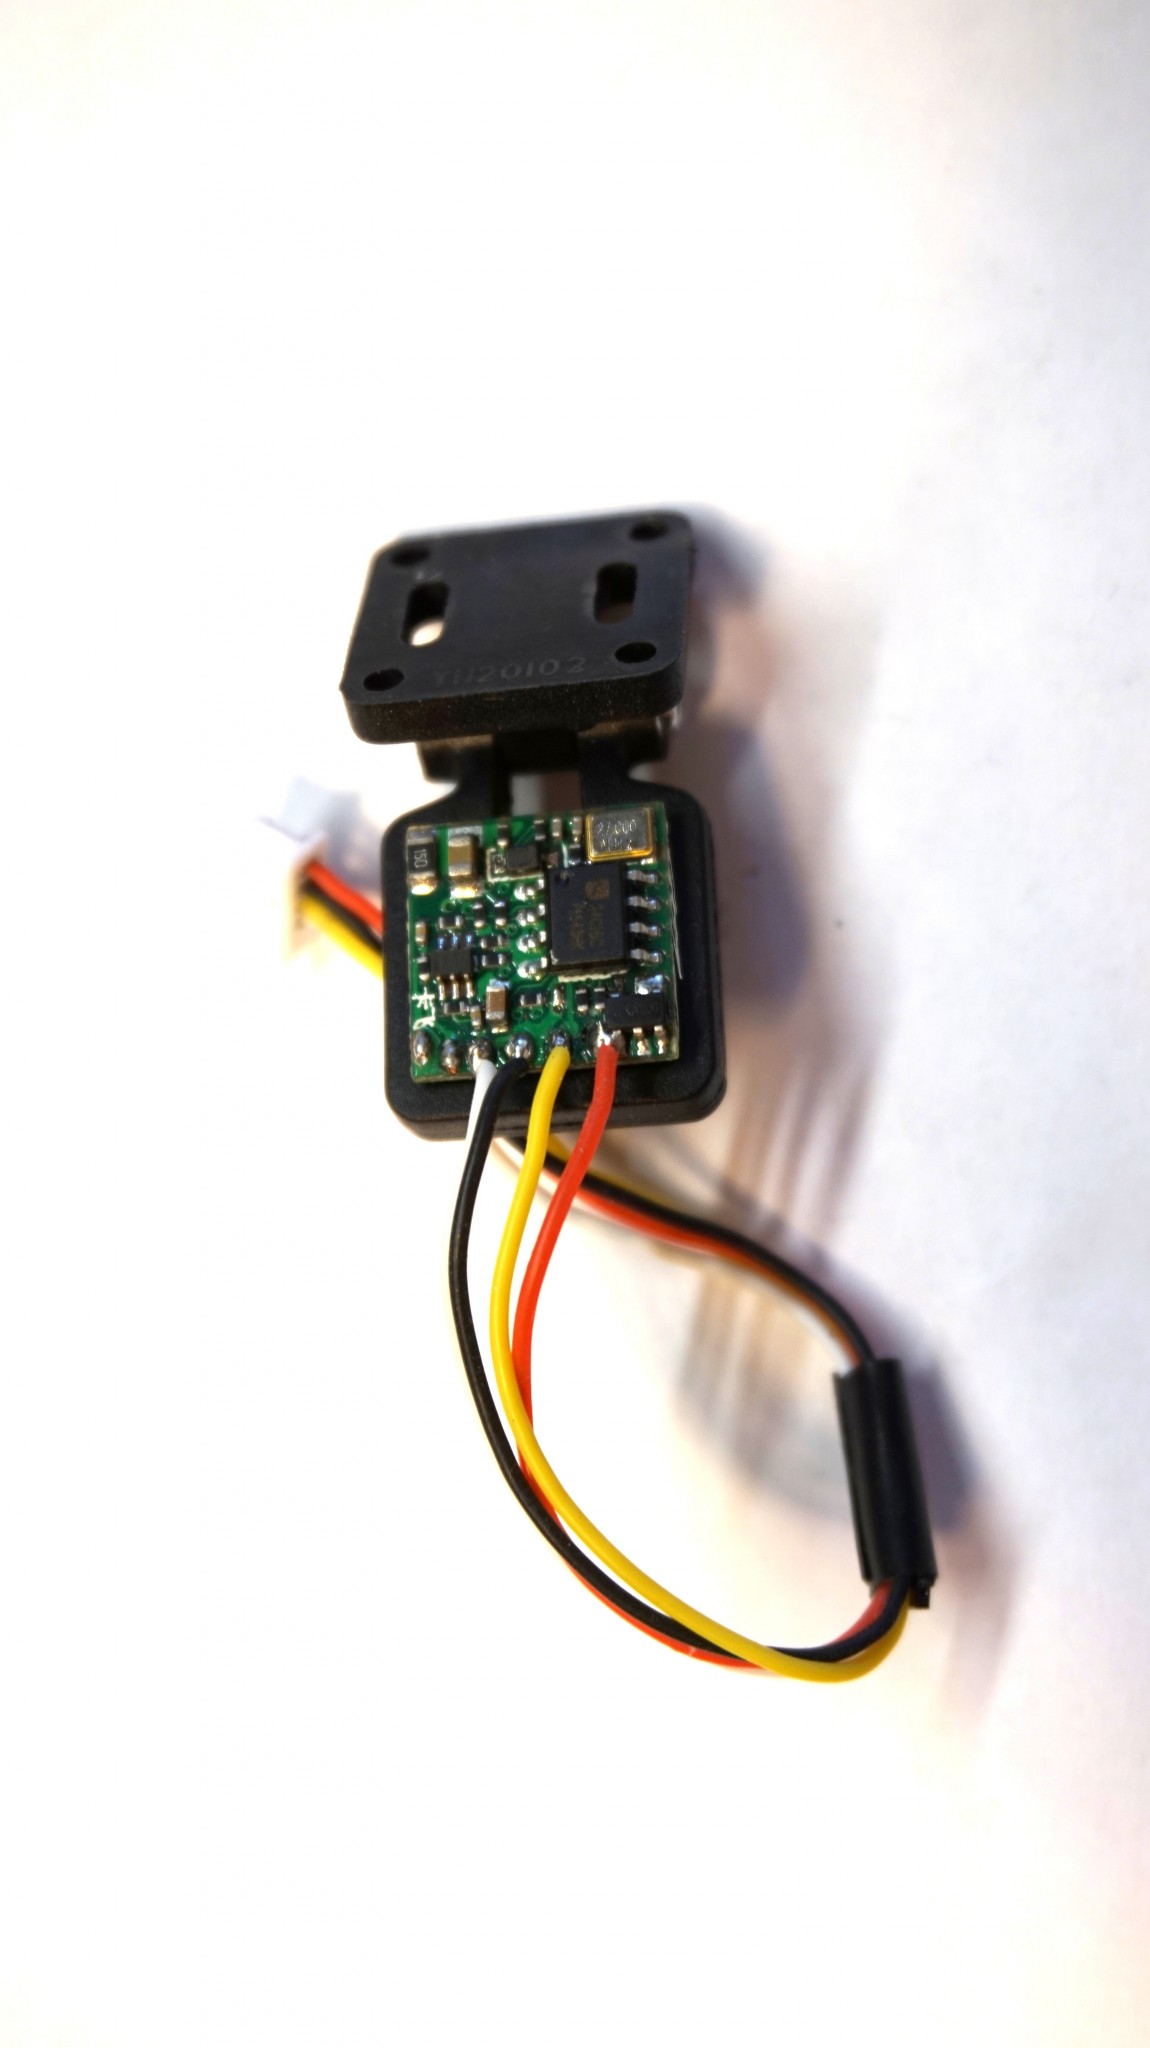
It might be hard to see on the picture, but contacts at the back side of receiver are too long and I suggest to cut them off to make them shorter, so result will look approximately like this:
Step #3
Now insert wire which comes with the receiver into receiver and then cut it approximately at 3-5cm of length, use your judgement to decide how much of wire do you want to keep, because you will need just enough to put receiver on top of the flight controller and solder it all together.
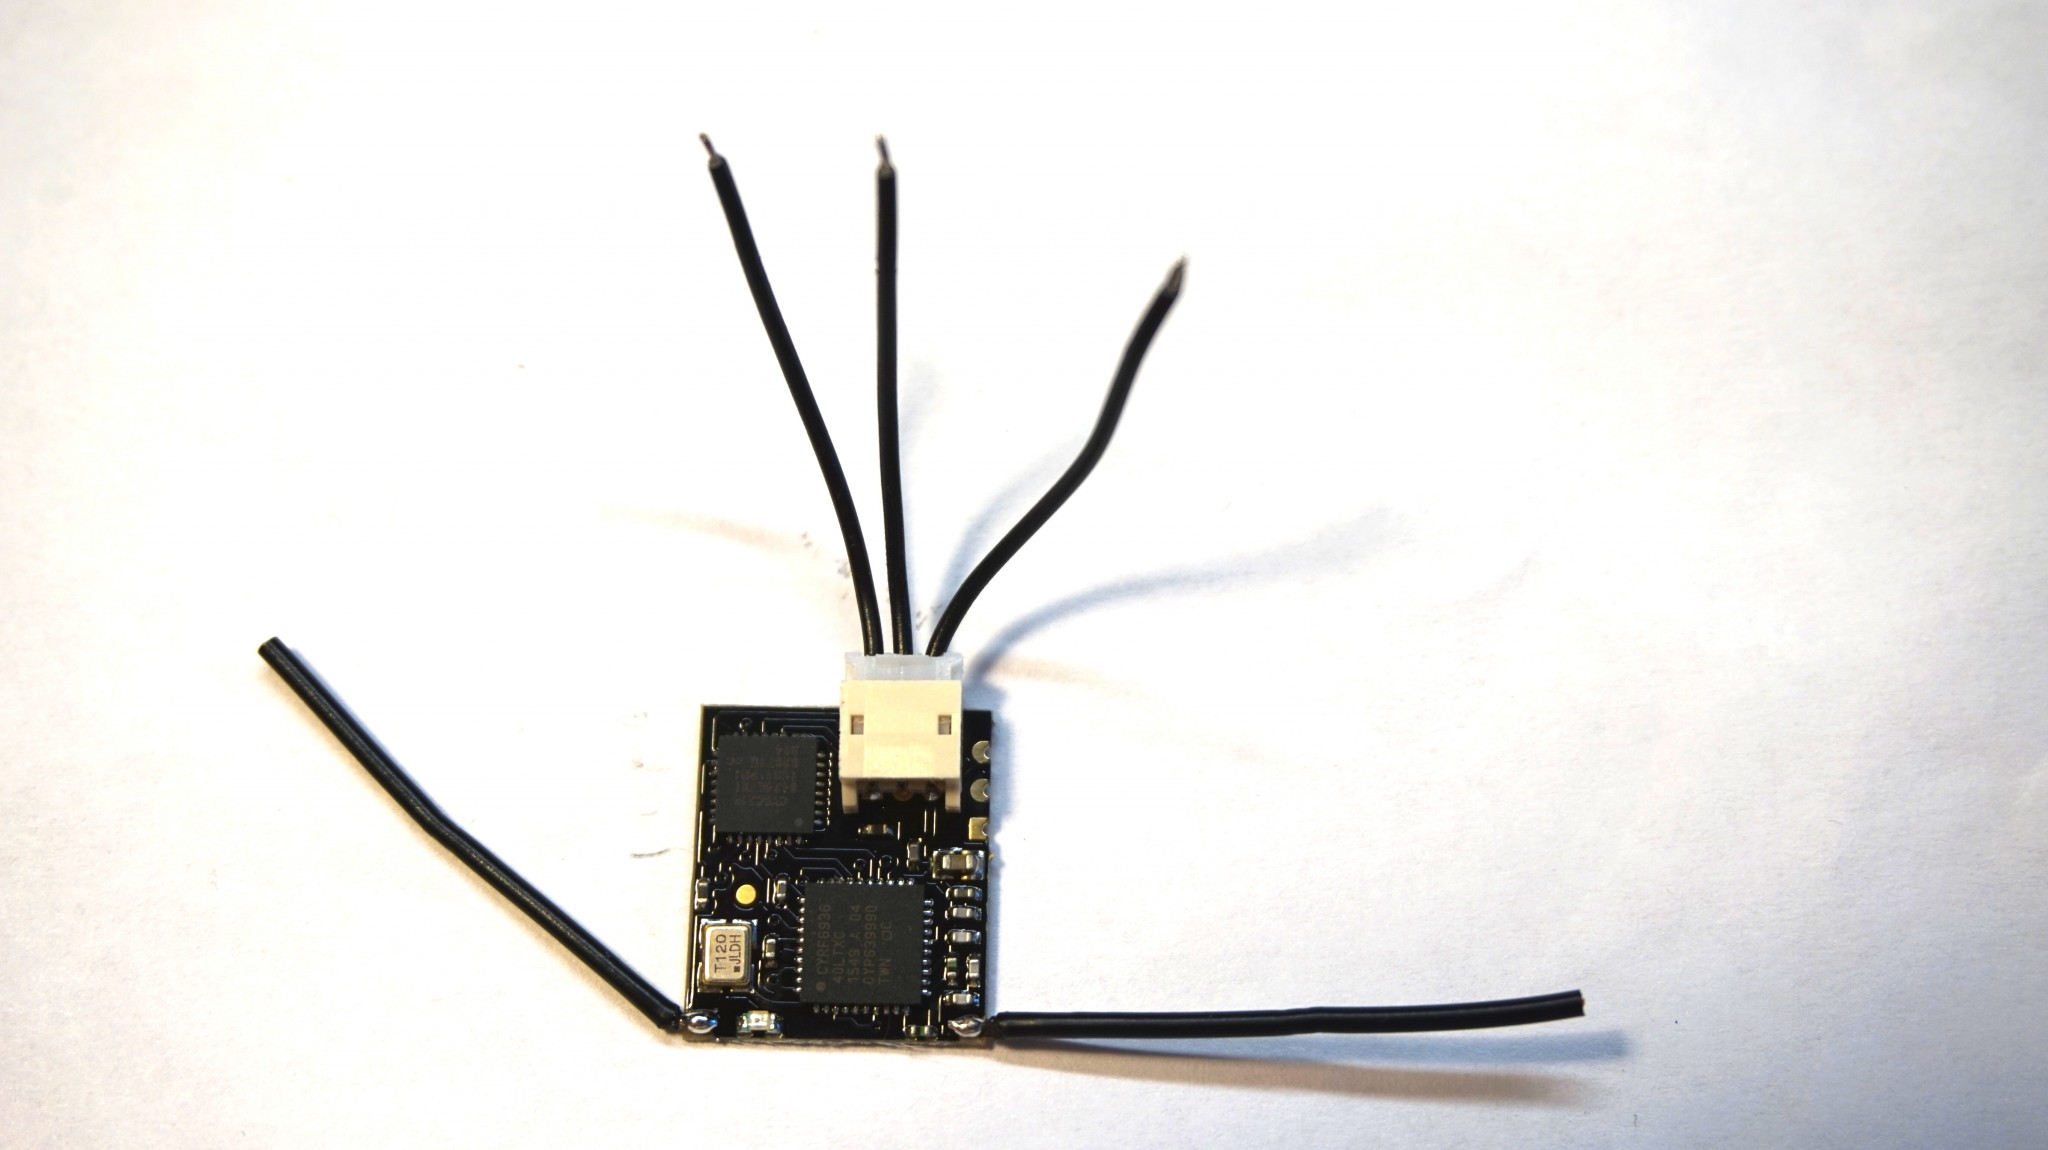
Check the following picture for the reference:

Step #4
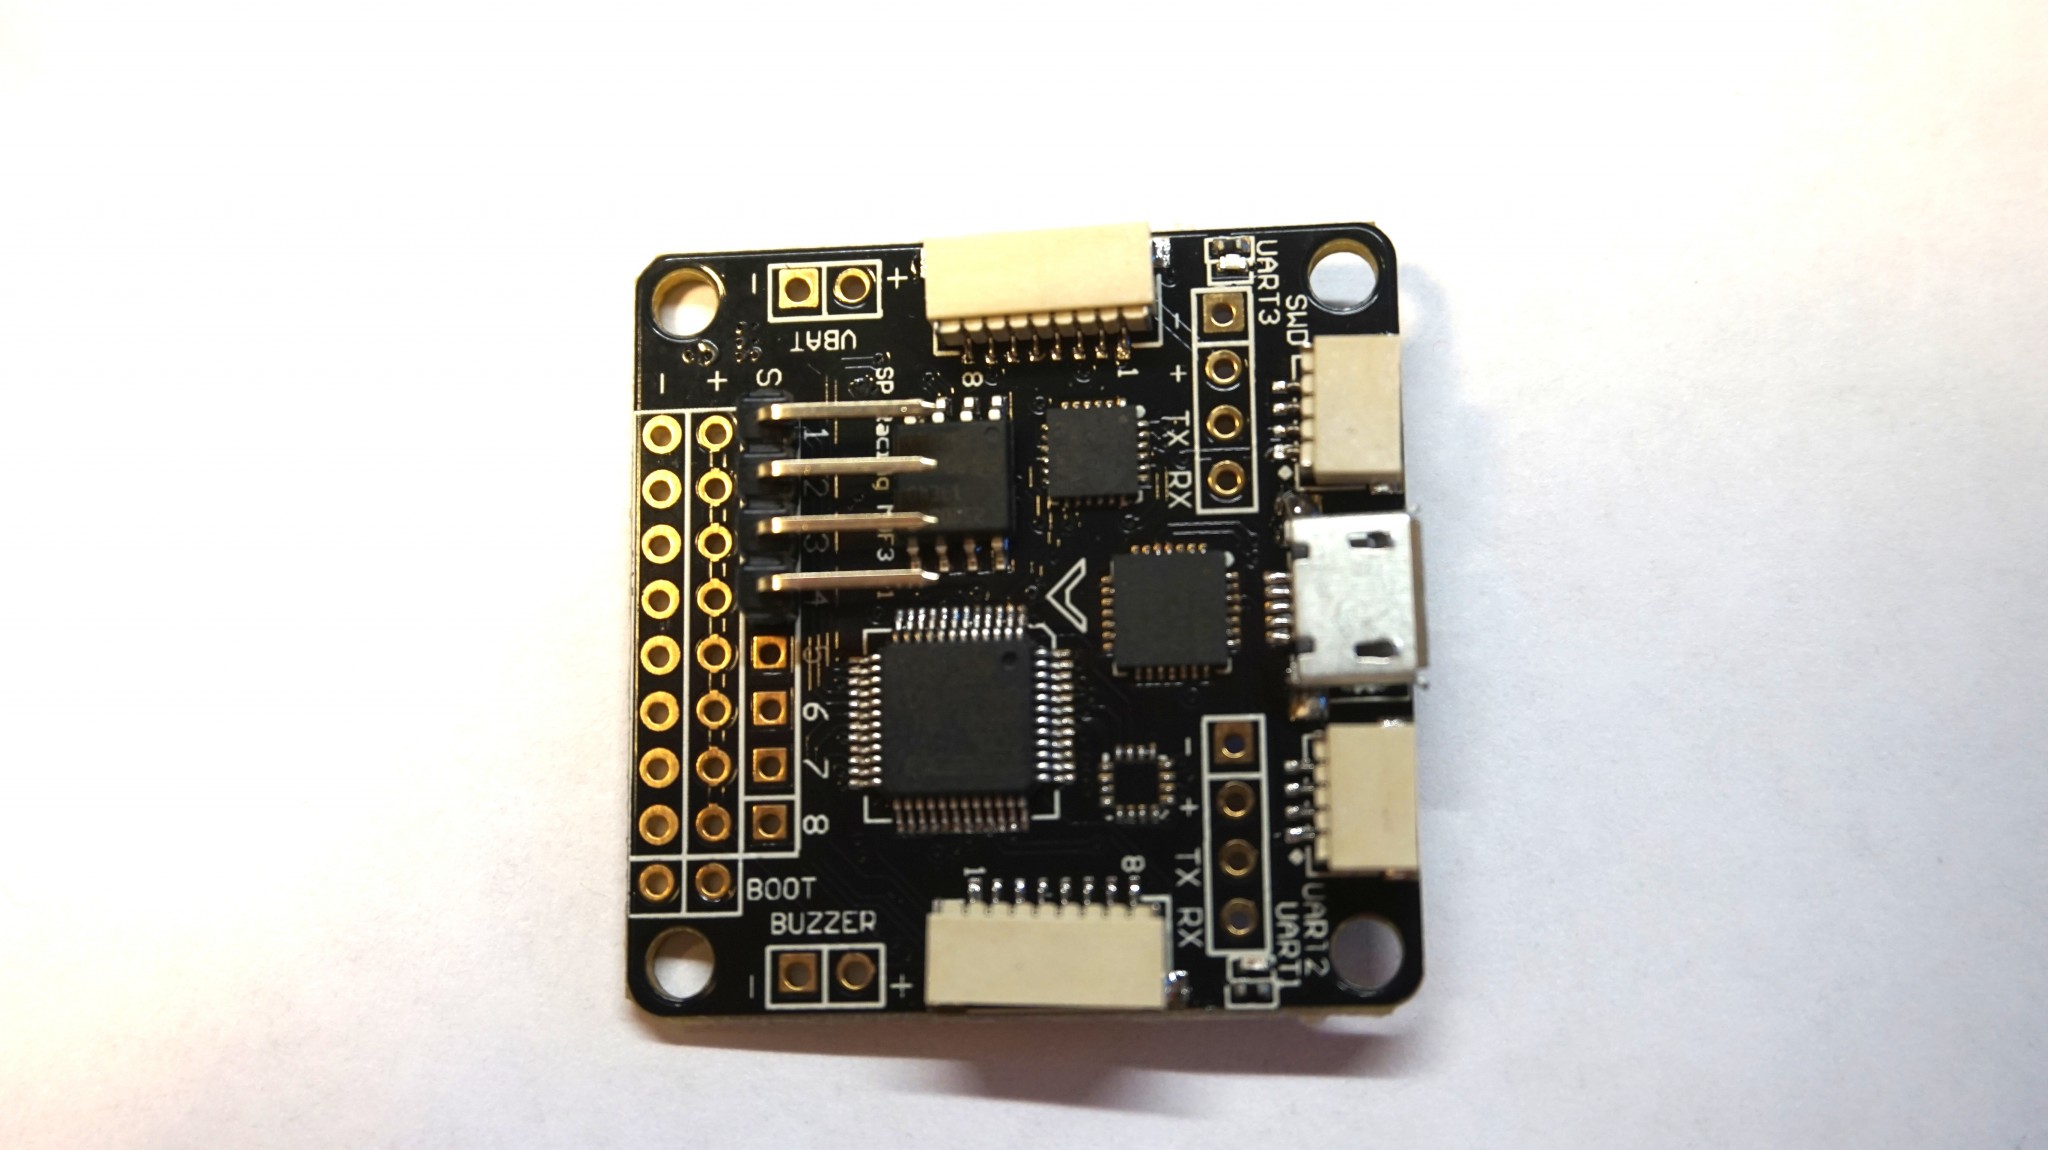
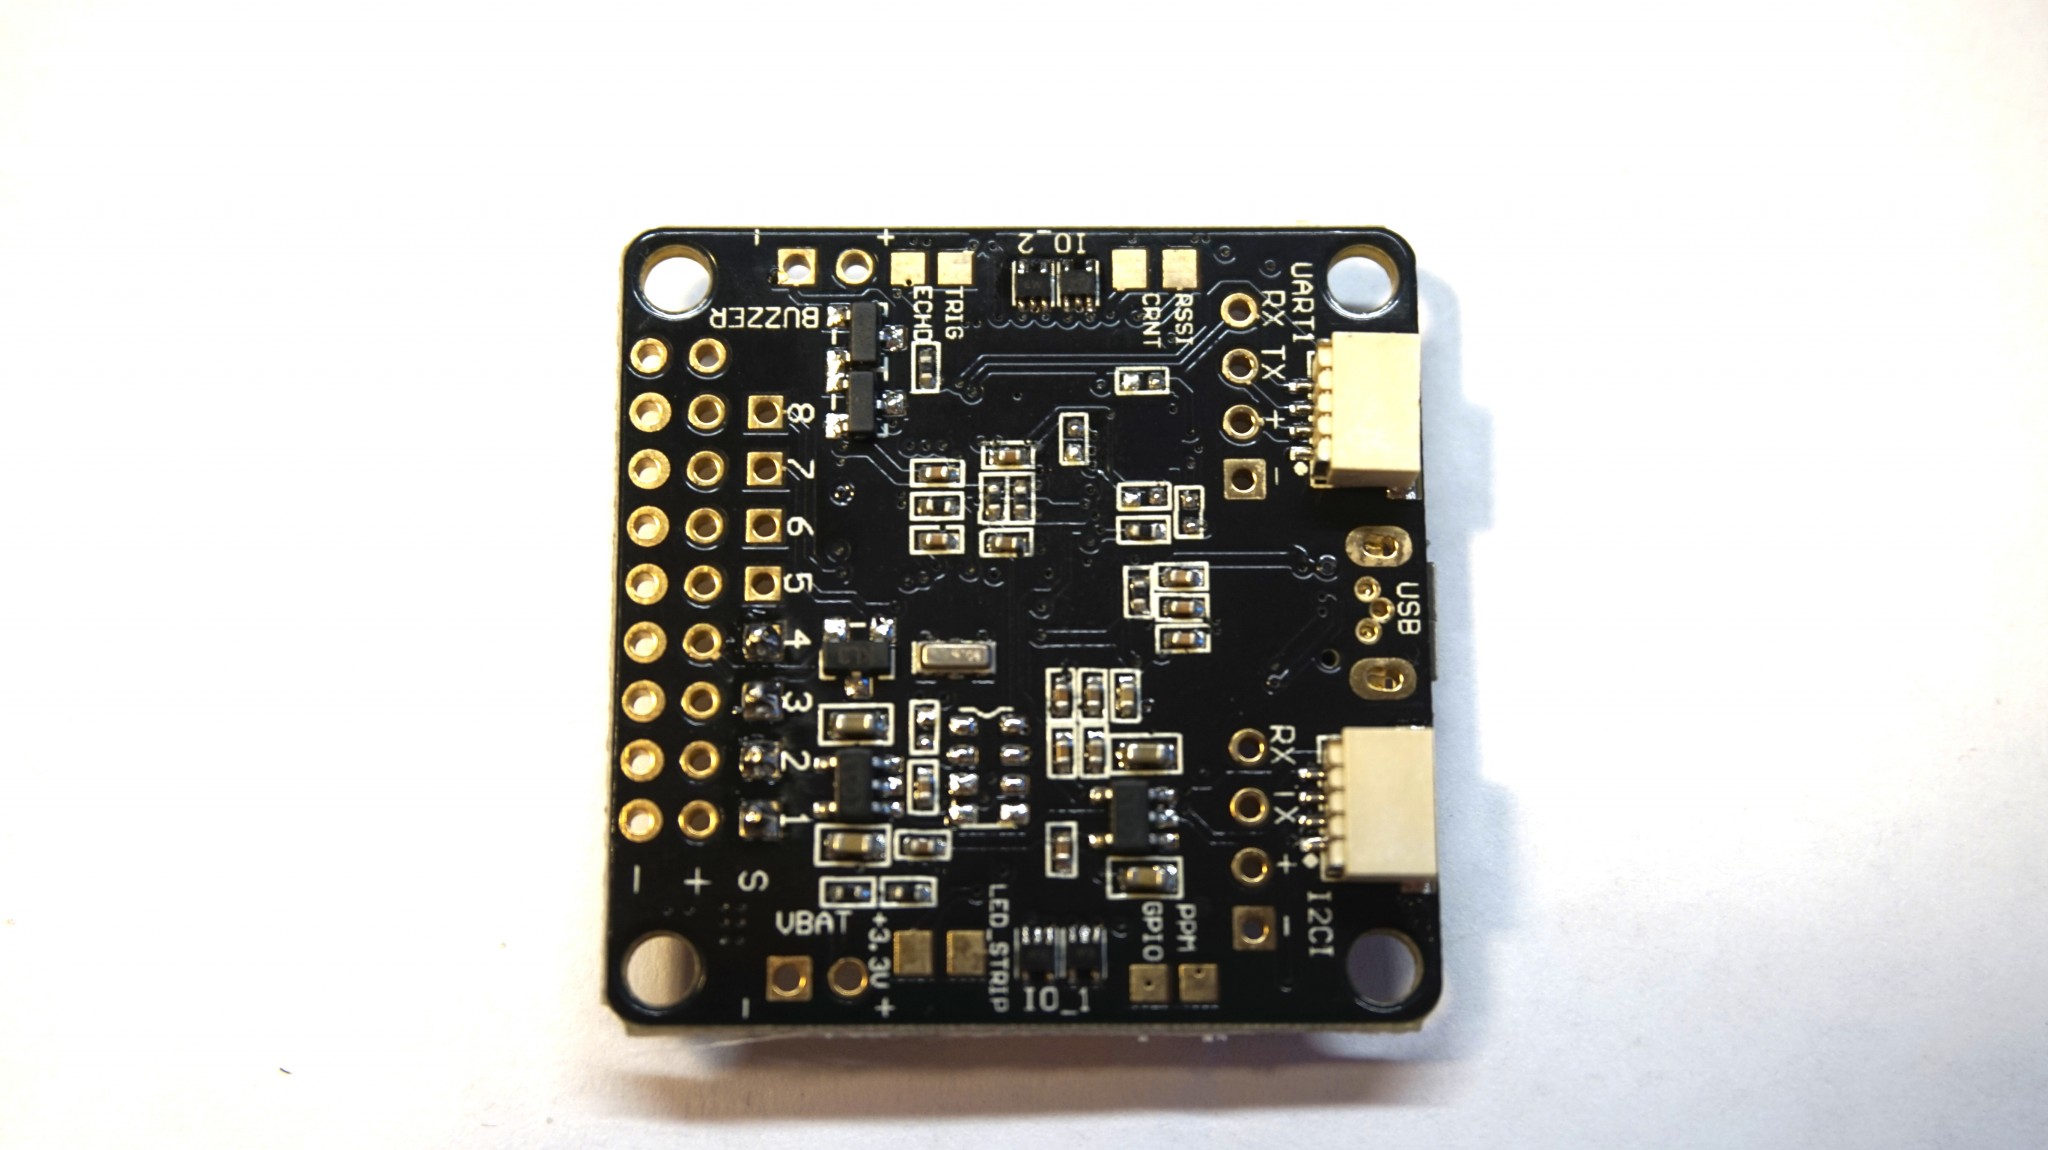
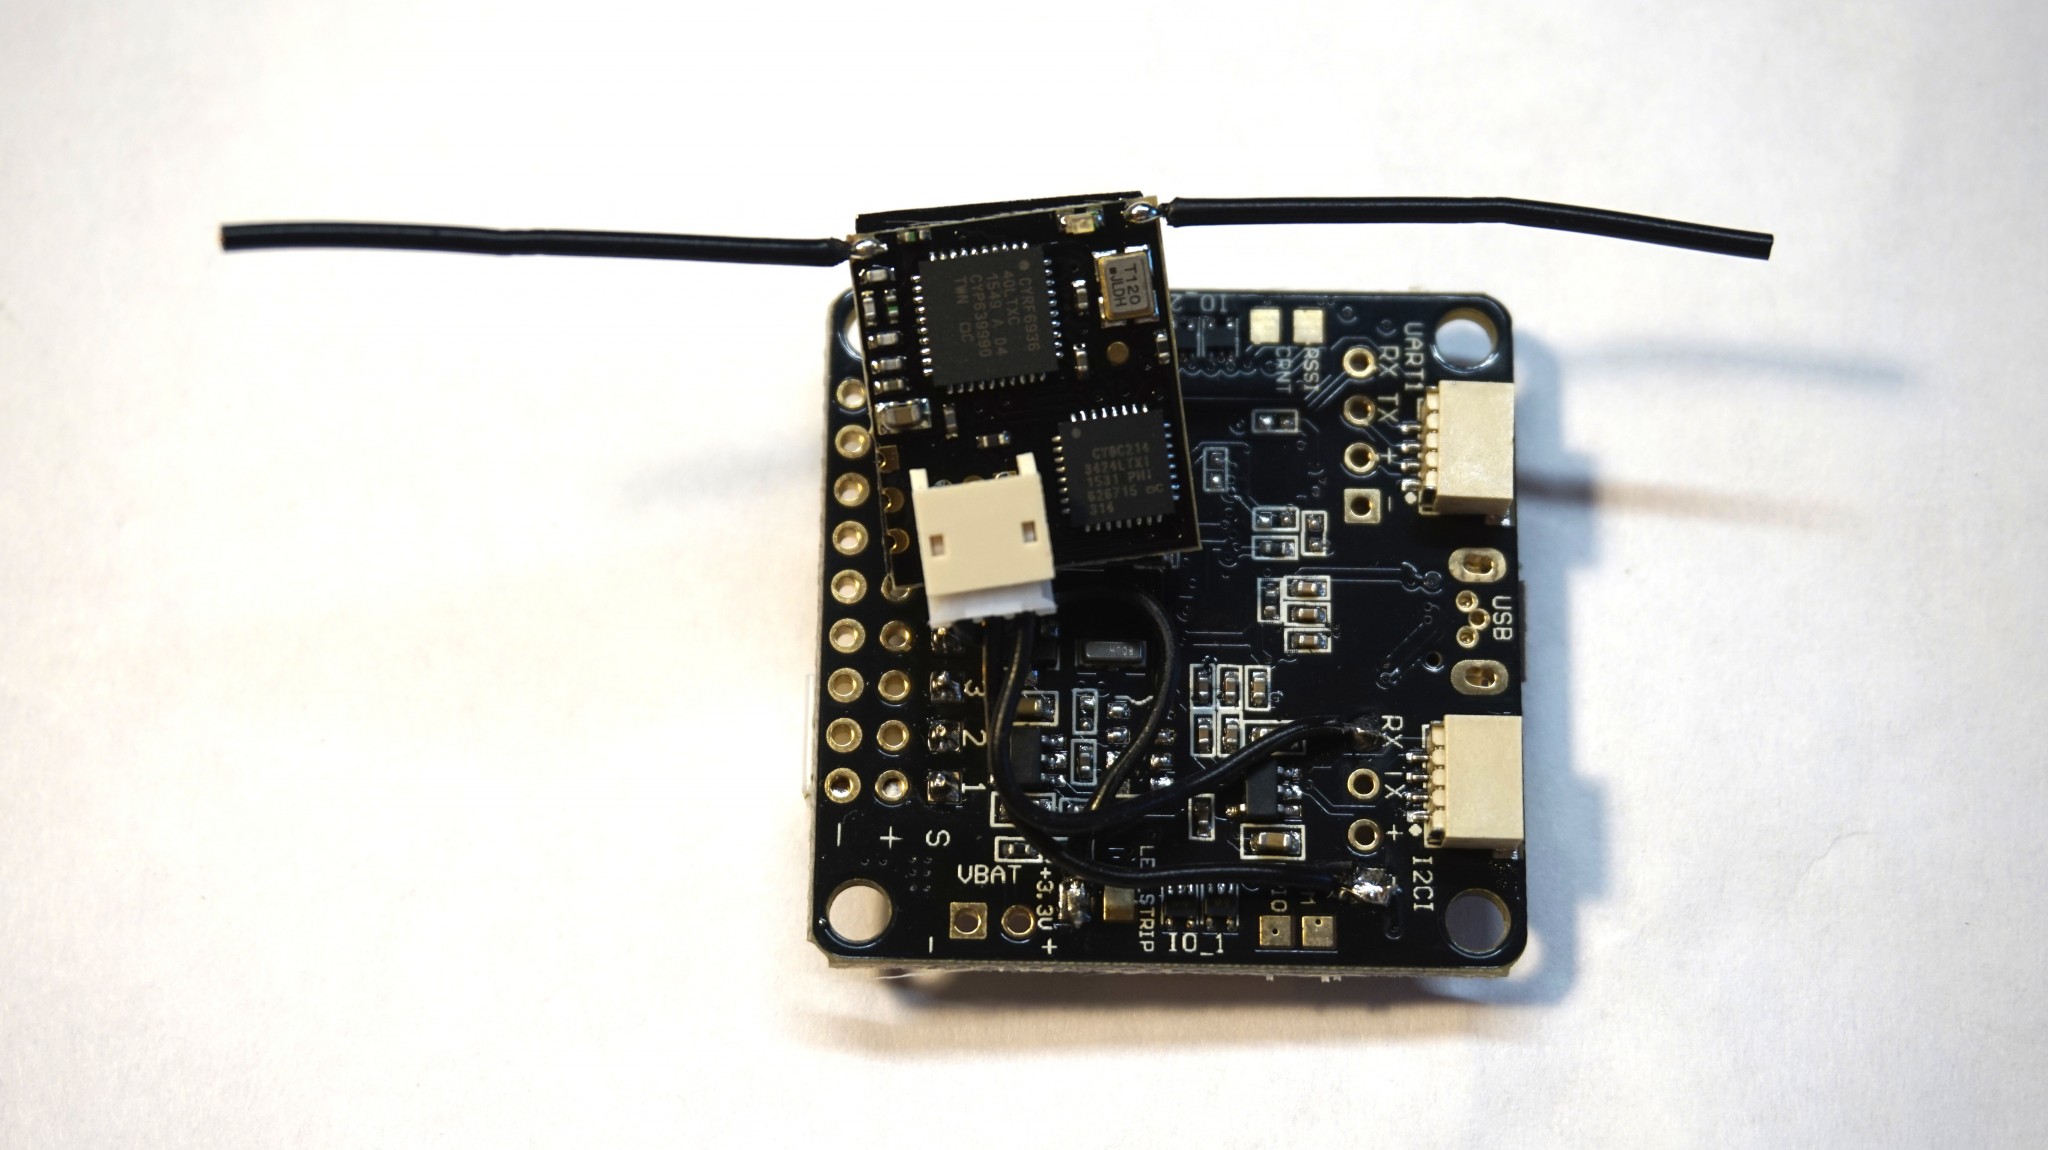
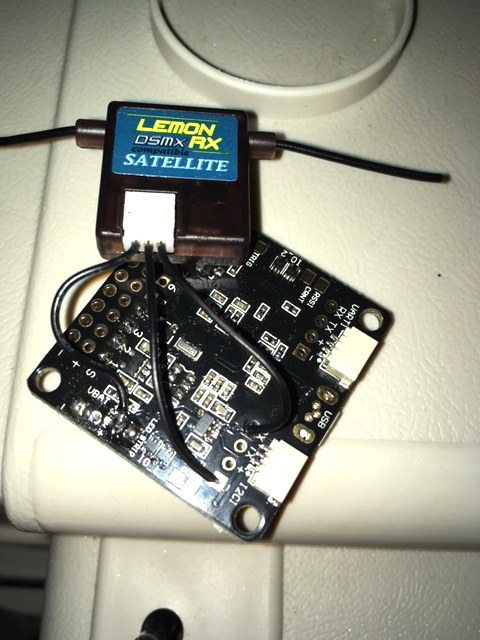
Now we need to install pins on our flight controller. I usually use only 4 pins and then bend them or use already pre-bent pins and install like this:
Step #5
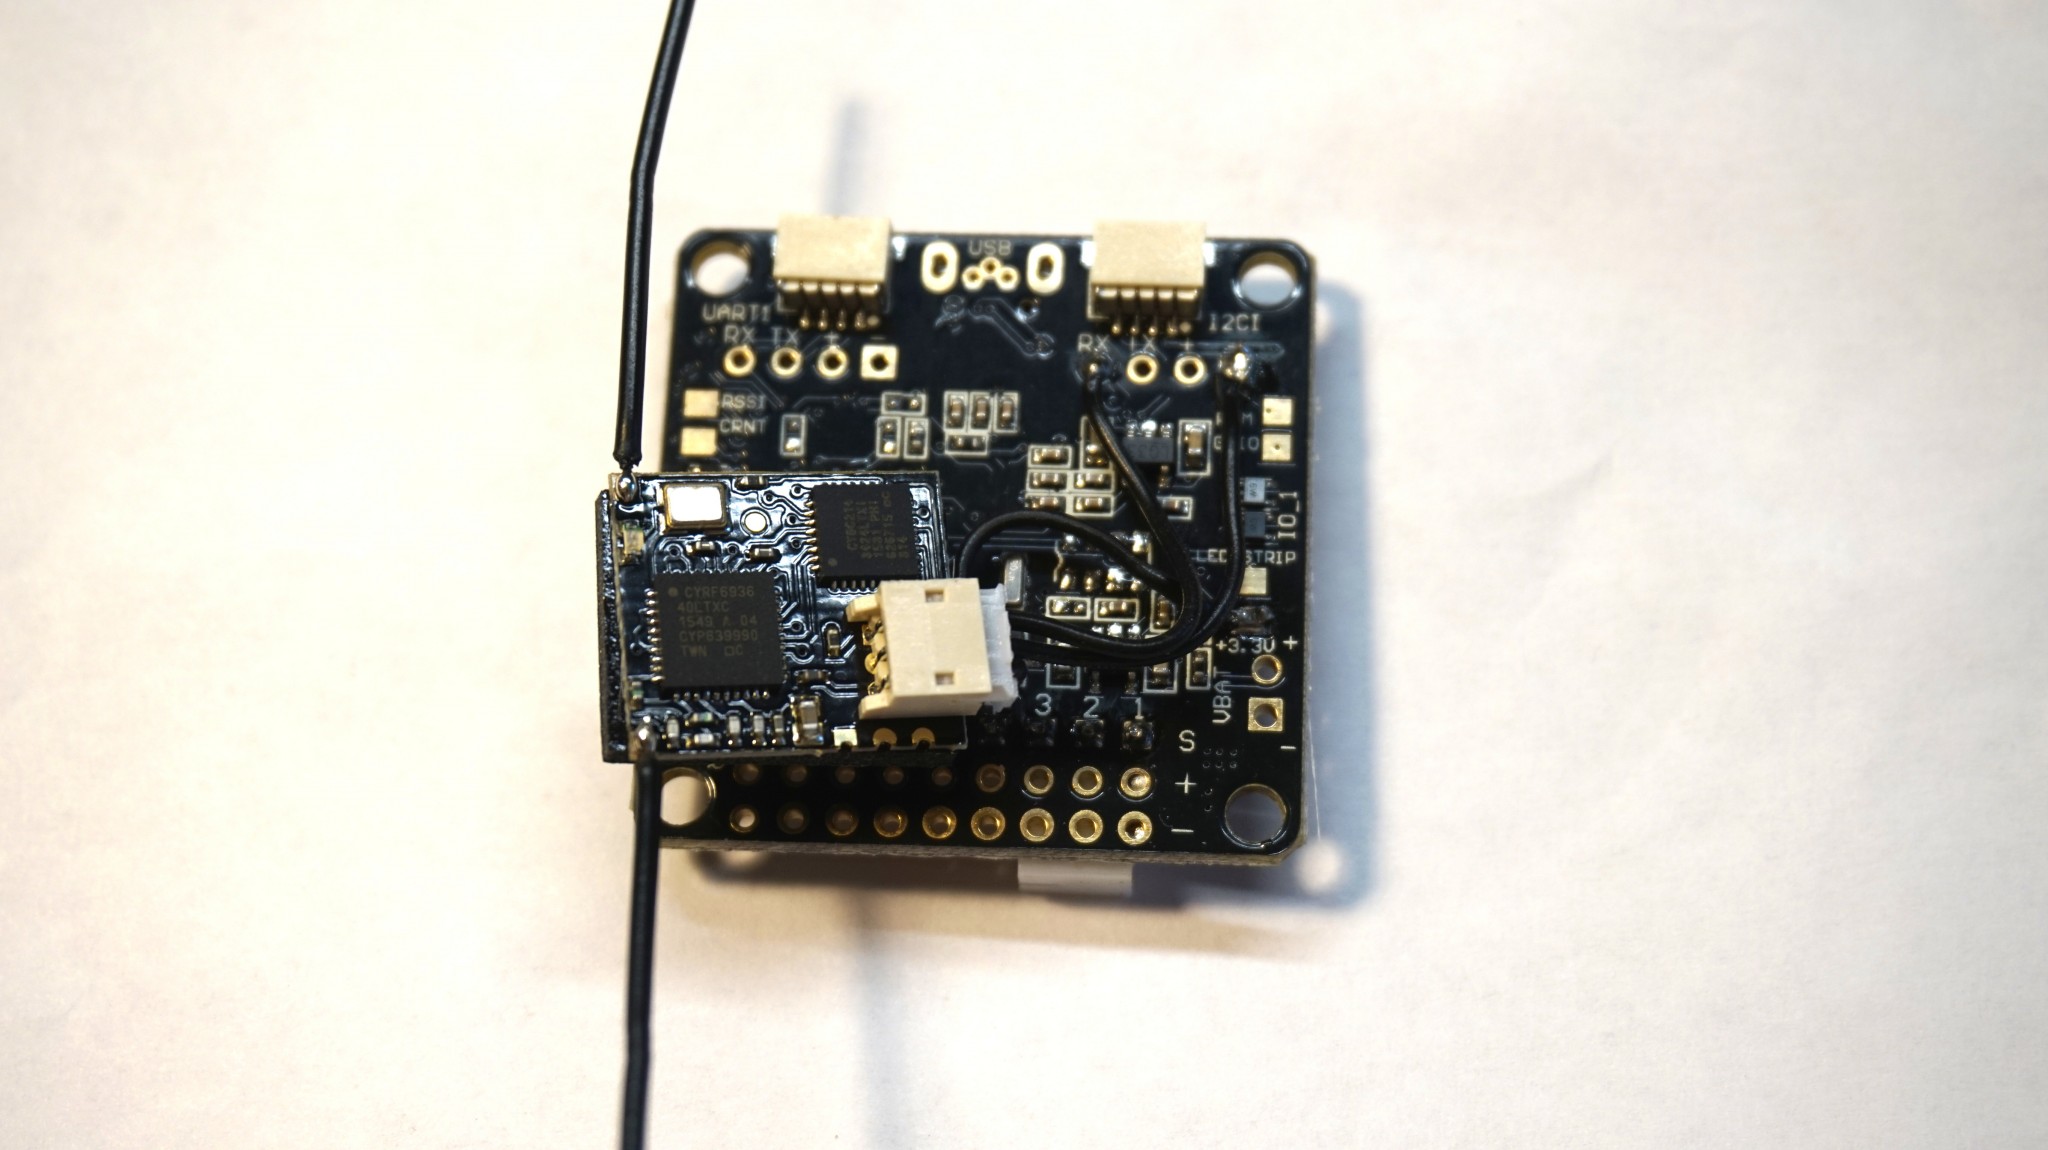
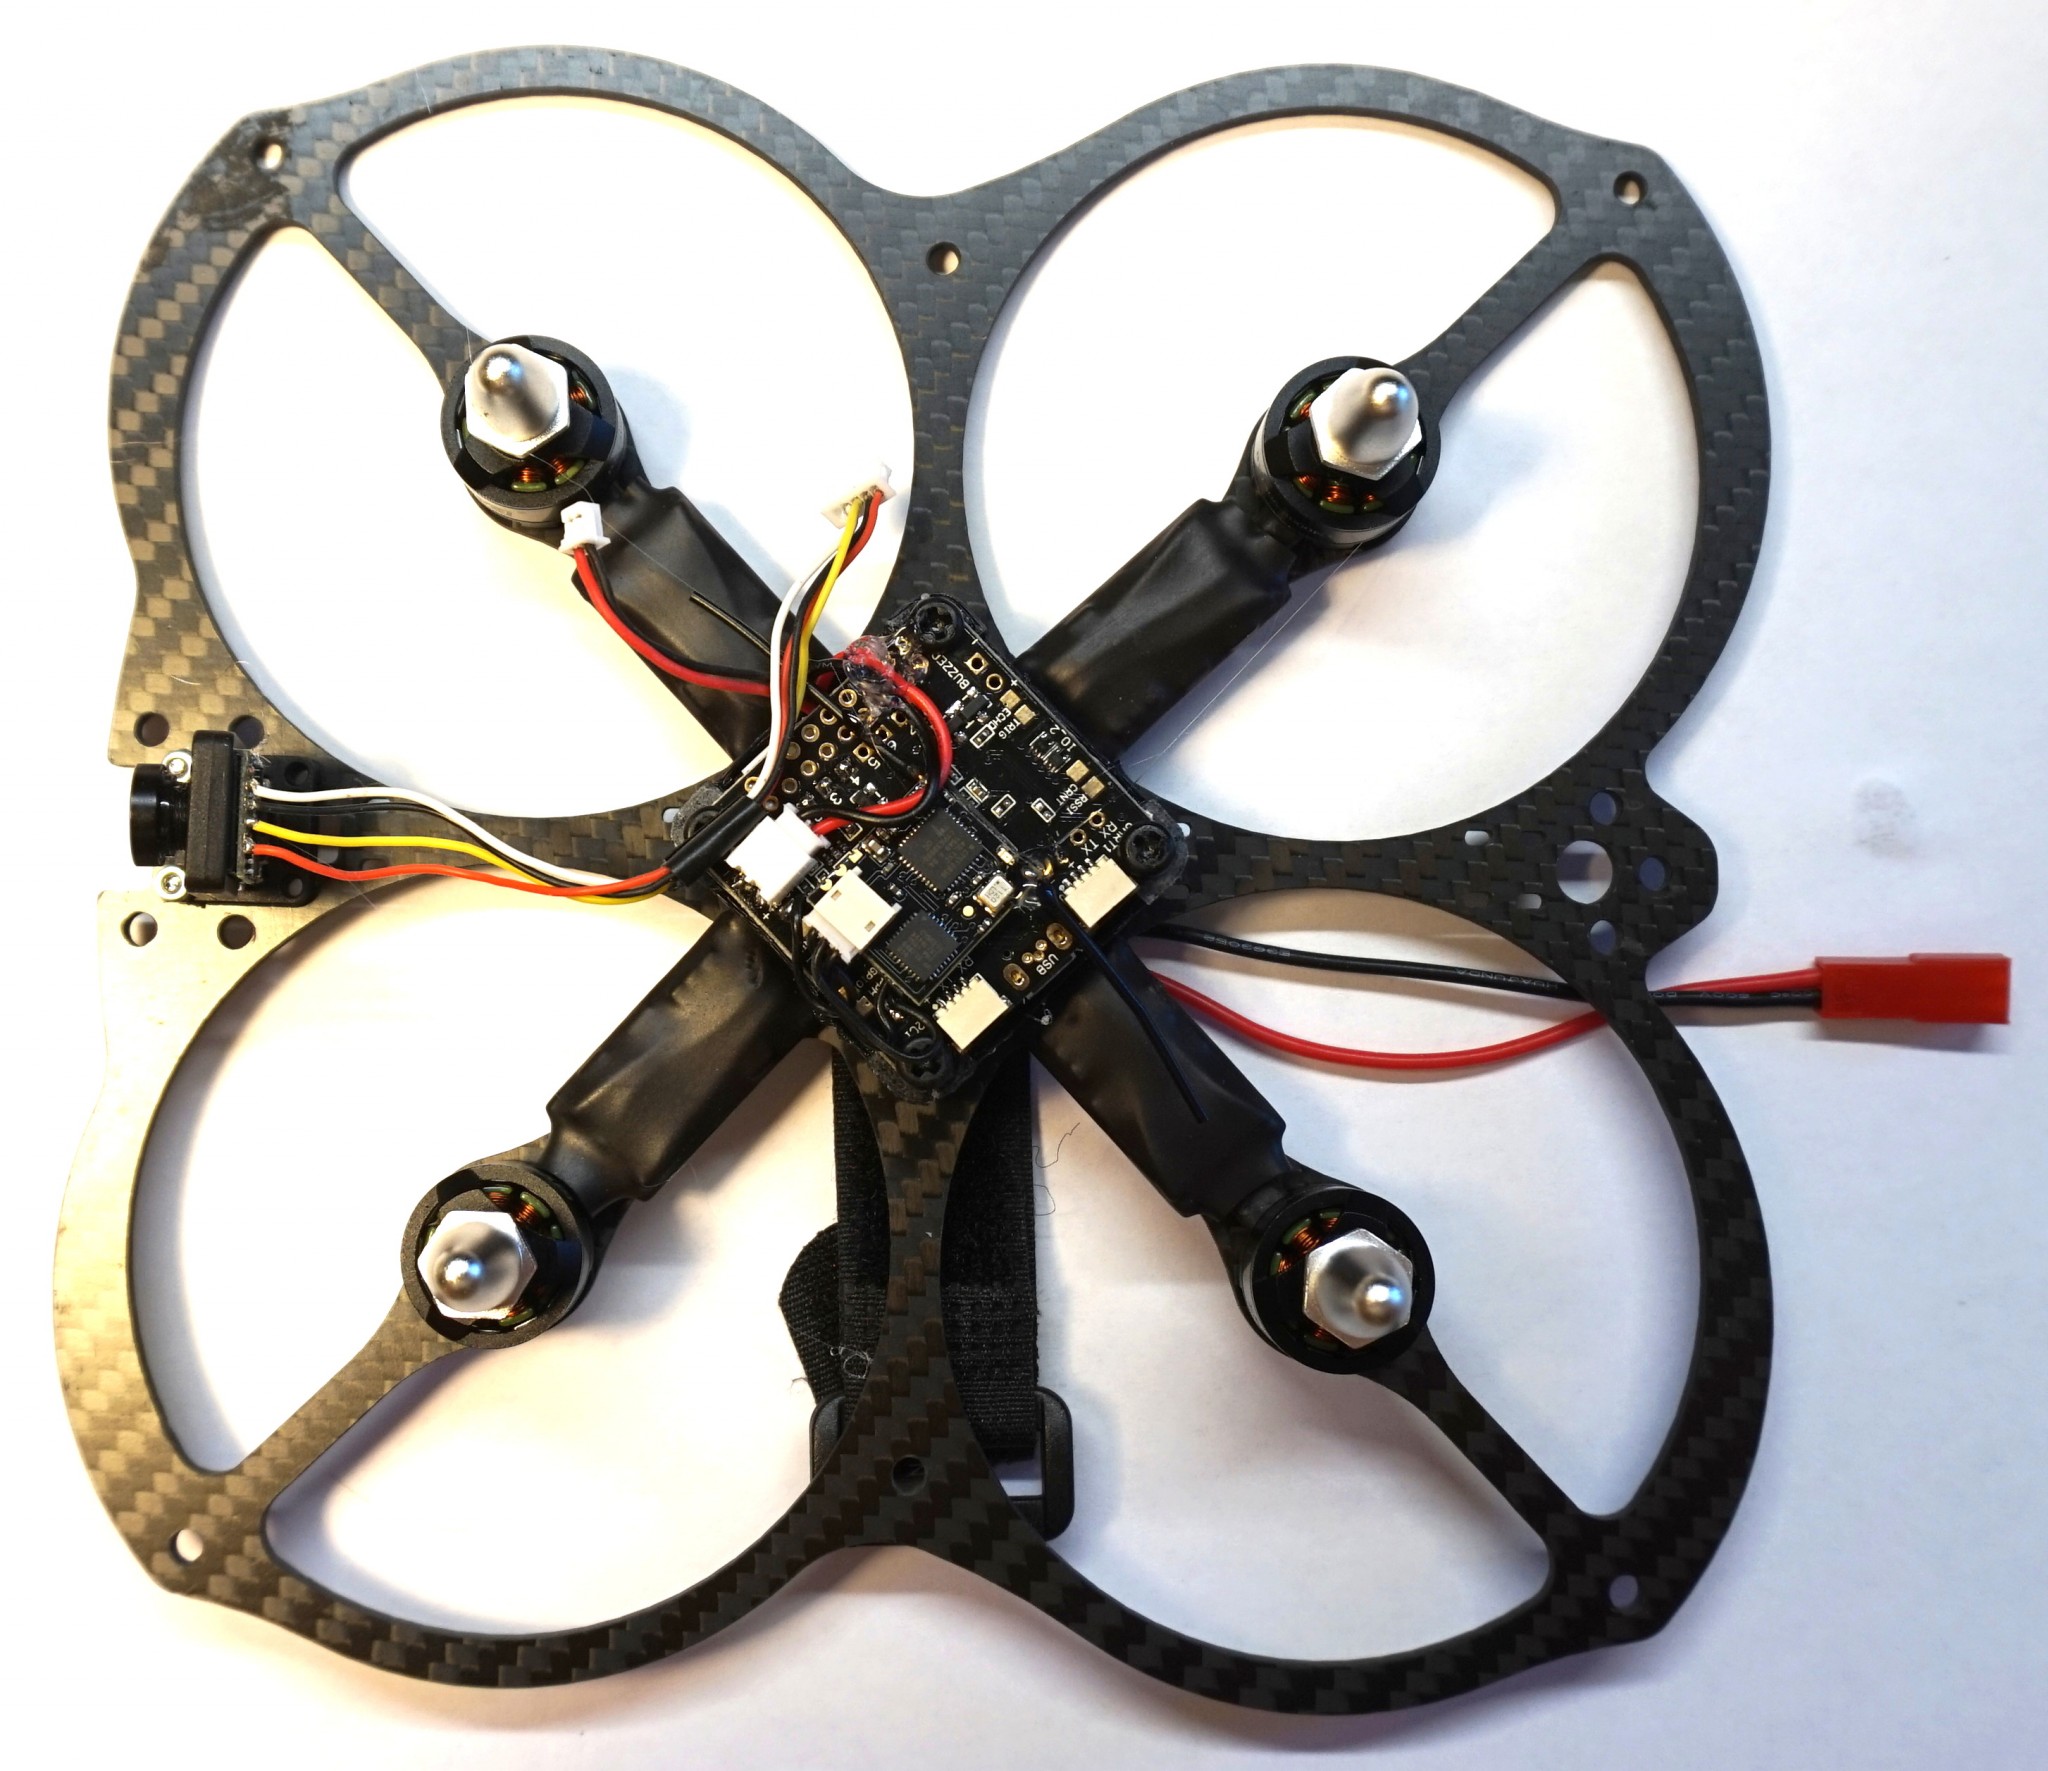
Now it is time to solder receiver to our flight controller. I usually connect it to UART3.
Just use the following pictures for the reference of where which wire should be connected.
Step #6
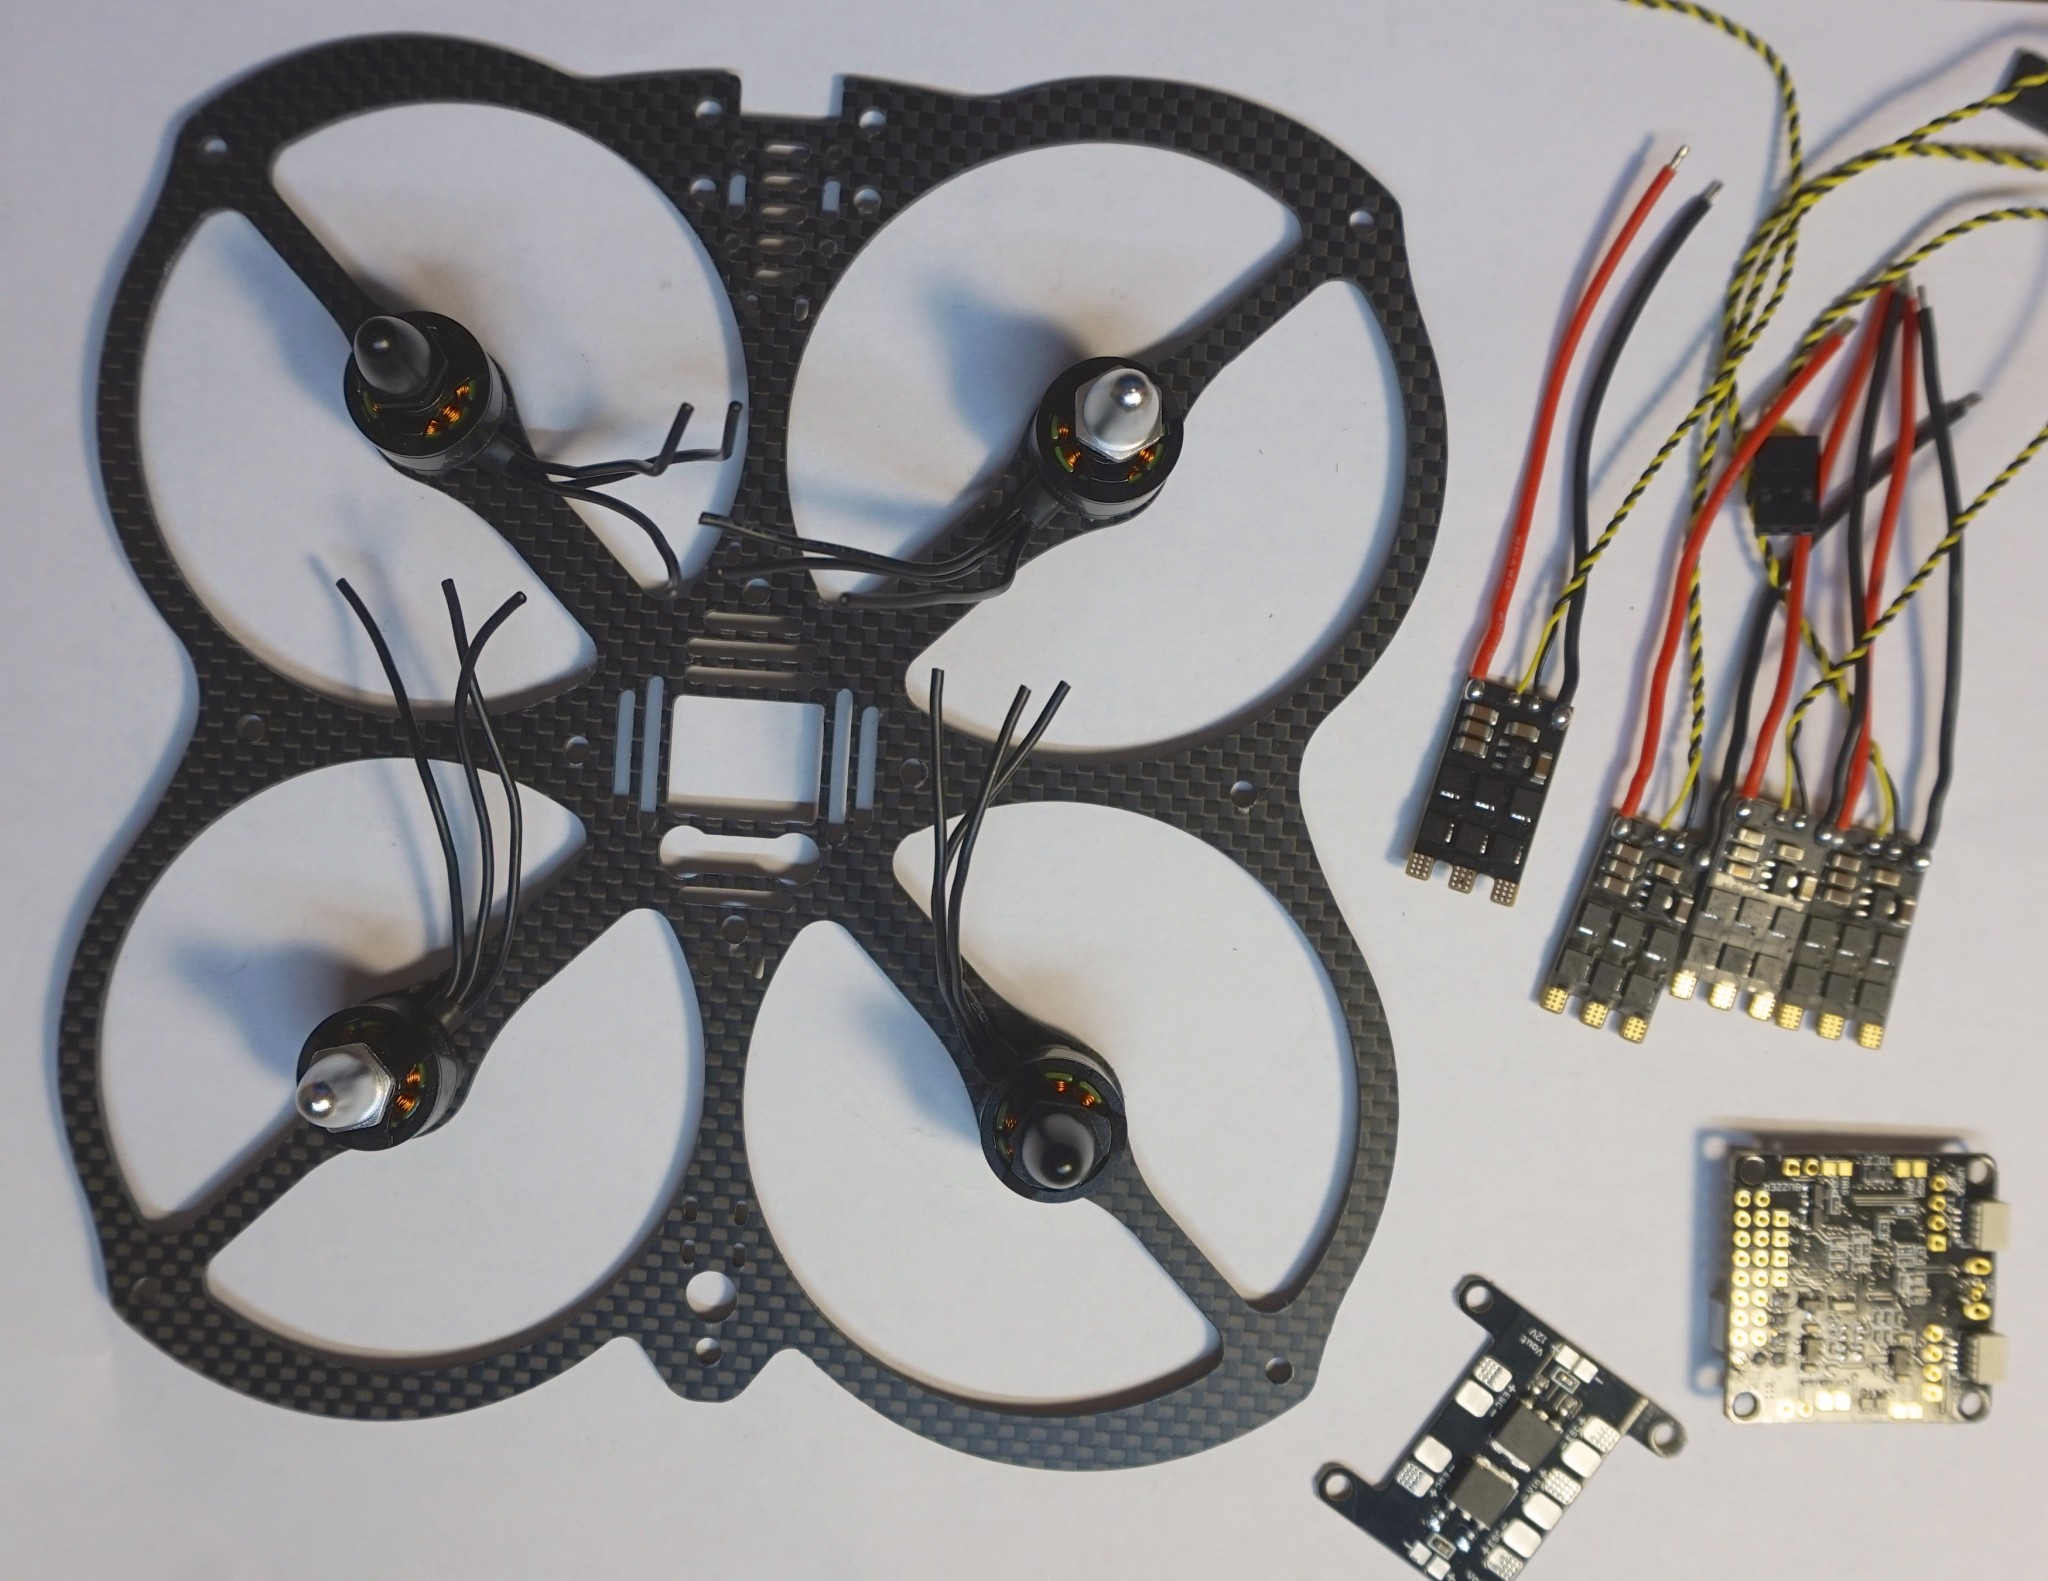
Now lets unpack and install motors to the base Owl frame plate:
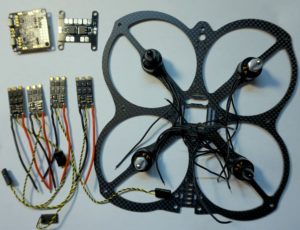
Step #7
Lets cut excessive motor wires, for this we will take one ESC and put it on top of the motor wire with connection pads facing the motor and then wrap this wire around ESC so it will touch ESC connection pad, then mark this place on the wire and measure required length with the ruler. It is usually around 5.5cm – 6cm, but I’d suggest to verify it yourself.
Once you will have required length, just measure it on all the wires and cut anything over this length.
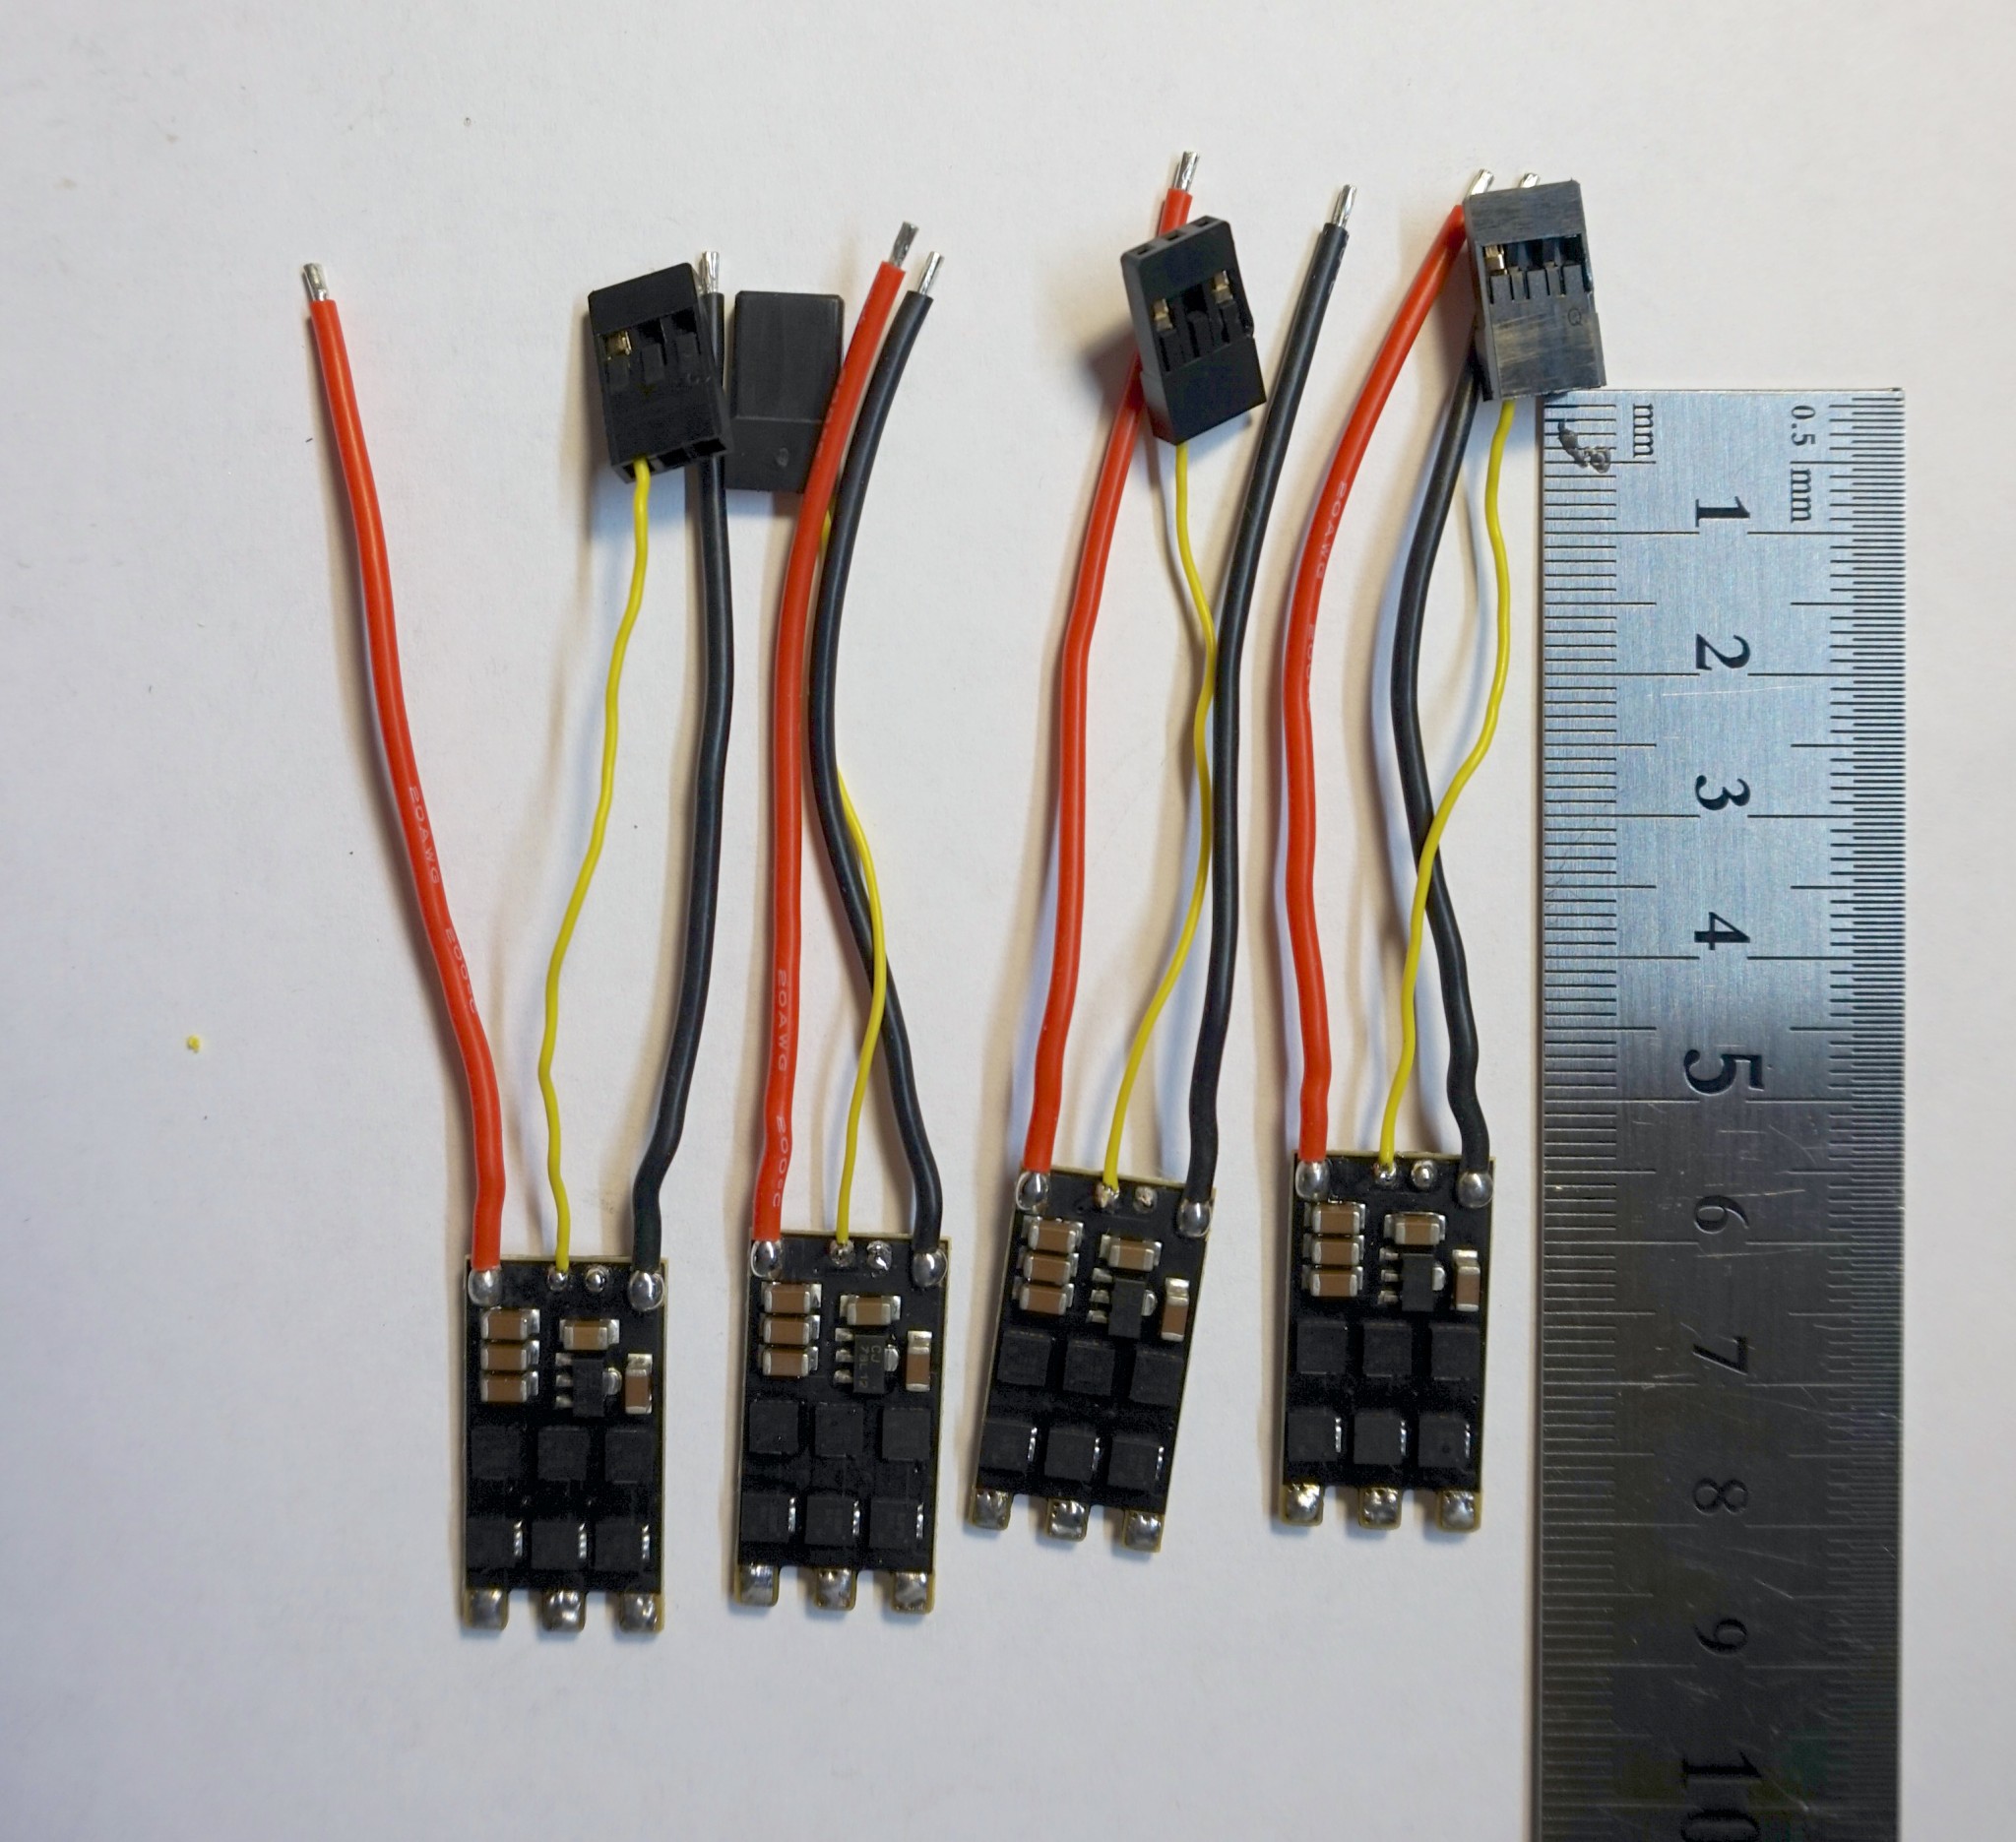
Step #8
Now we will have to use scissors to remove heat shrink from included ESCs, once it is done we will have to reduce length of wires.
For Owl 5.5cm signal wire works well and we don’t need negative wire. We can measure required length from the top and cut the wire, then we can un-solder negative wire completely and re-solder signal wire with required length.
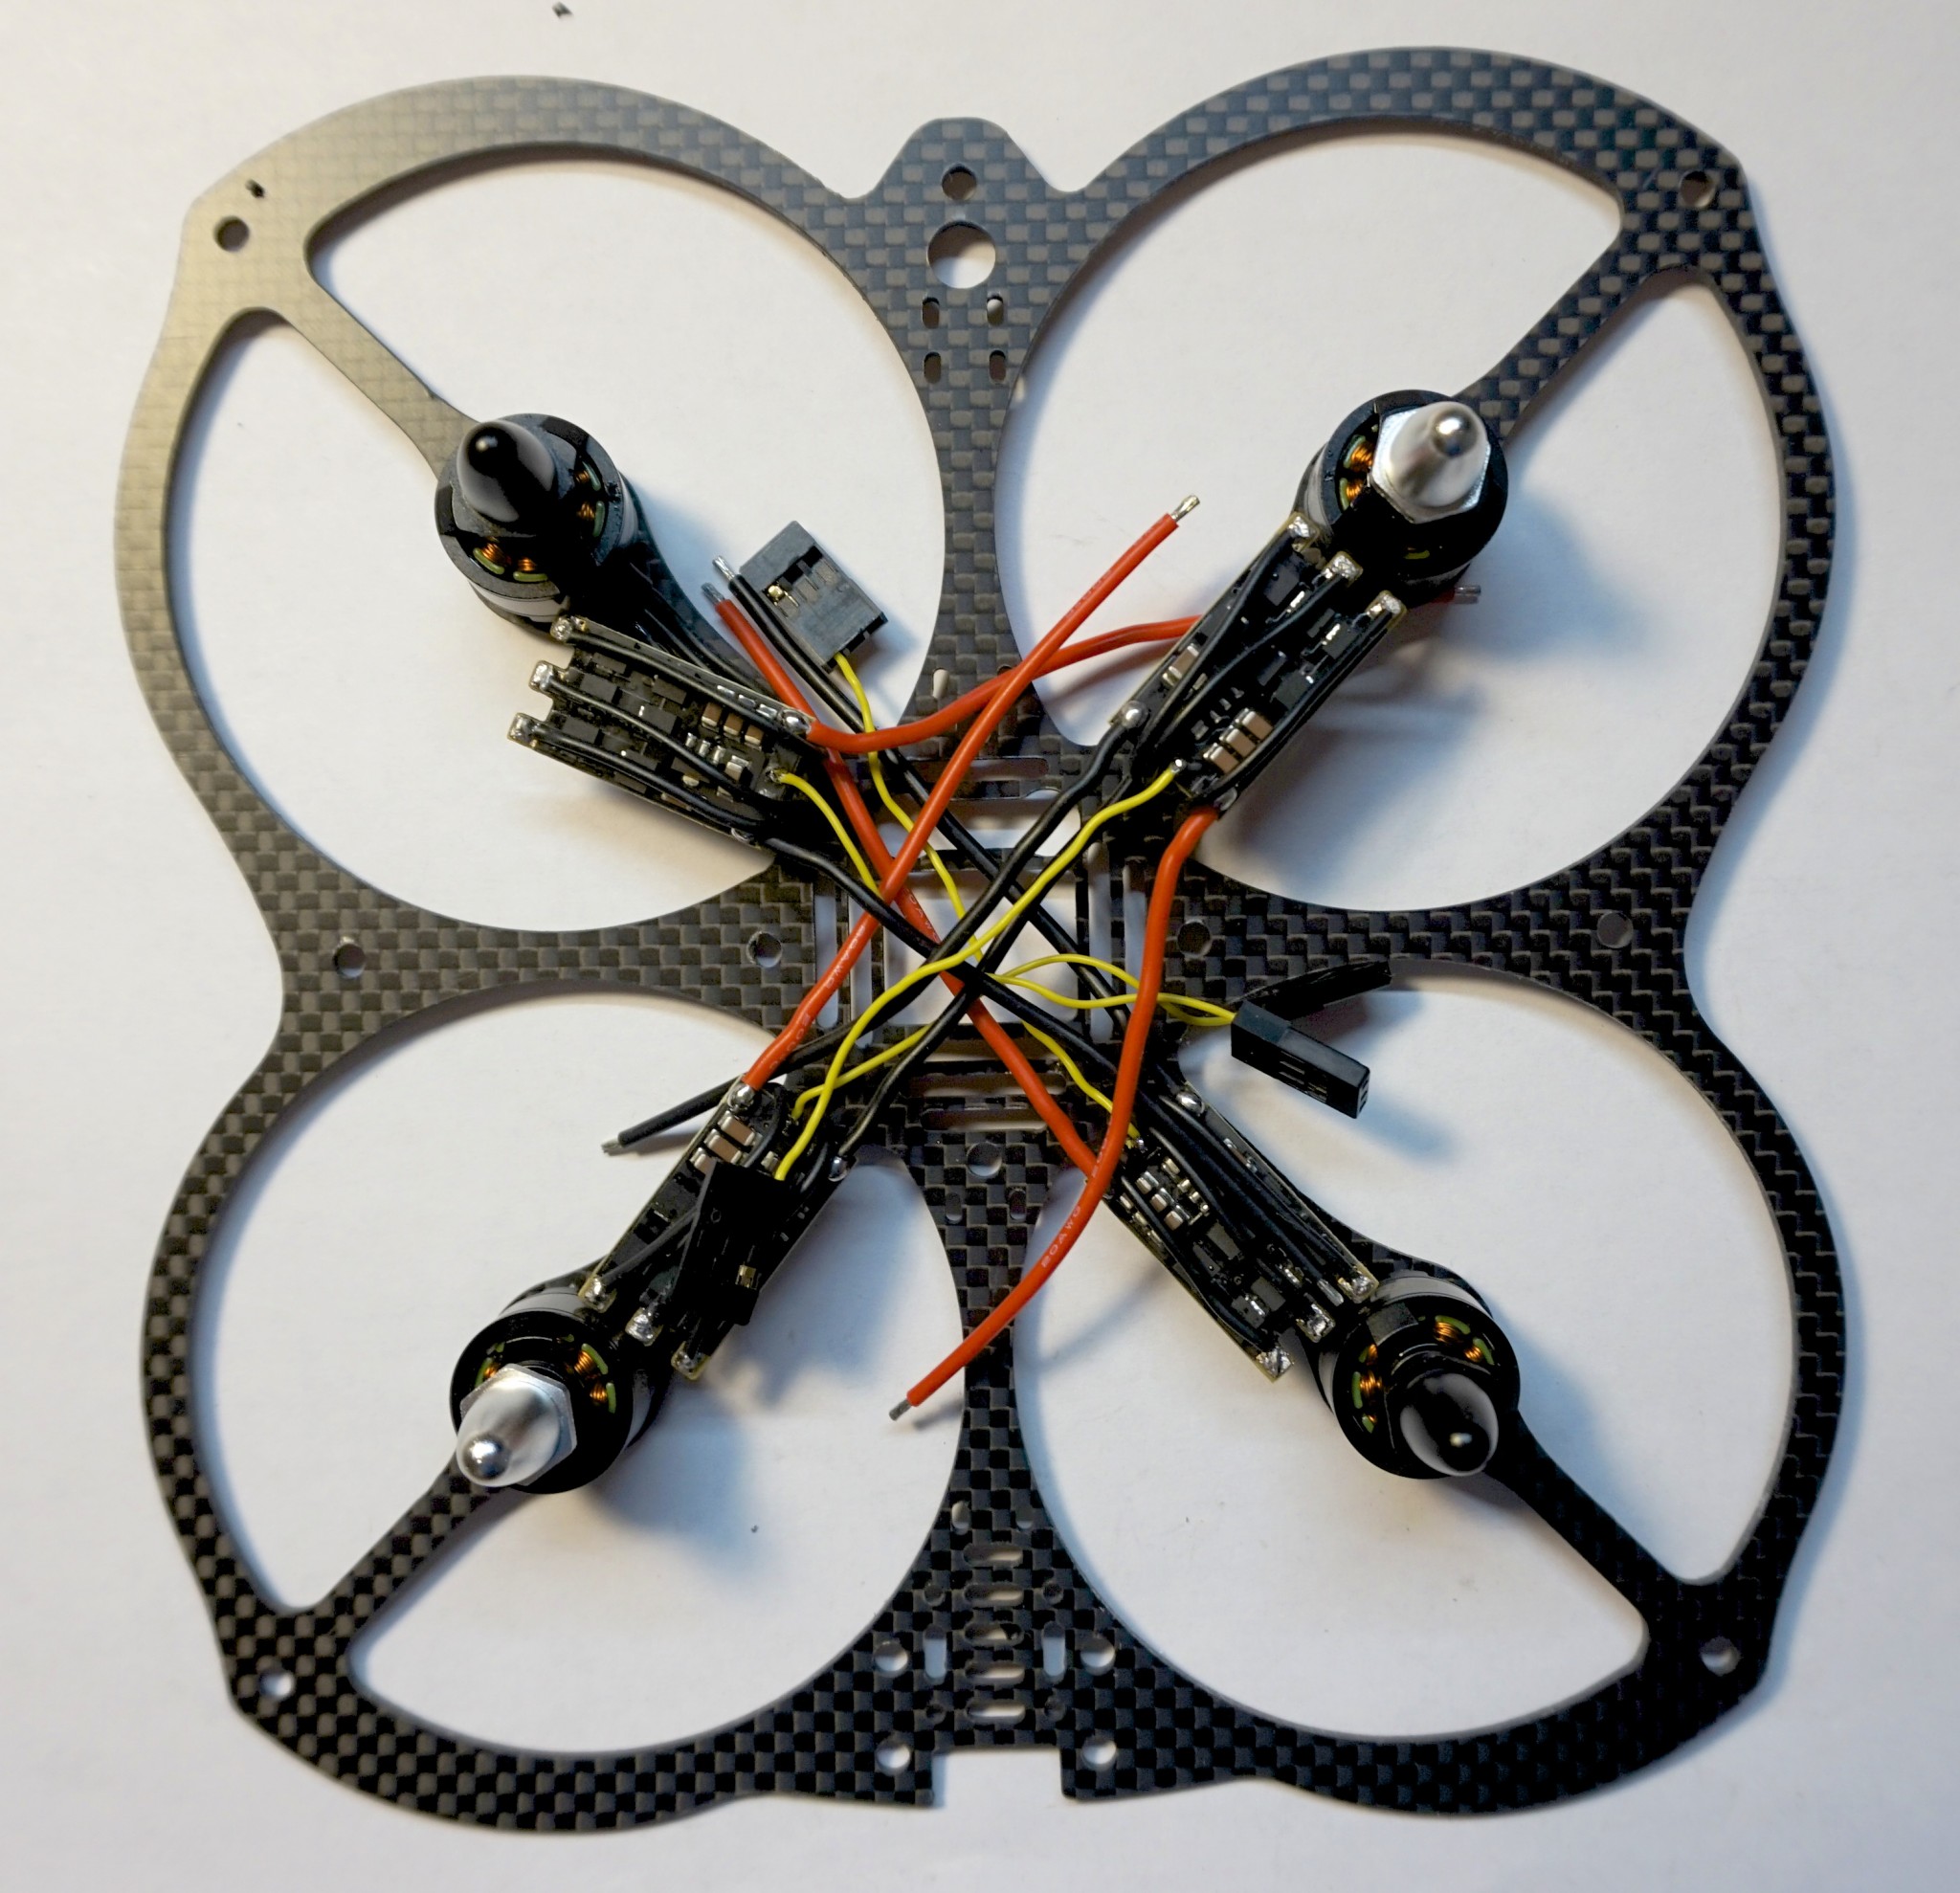
Step #9
Now we will solder motor wires with ESC. In Step #7 we’ve cut motor wires just so they will be able to wrap around ESC, now it is time to solder them to ESC.
1. First put some solder on ESC pads, by first melting a bit of solder on the tip of your solder iron and then heating ESC pad and applying solder directly to the pad until it will melt and cover it nicely. You don’t need to add too much solder and try to make that this solder will cover entire pad and look nice and smooth.
2. Using same approach as in 1, heat motor wires one by one and melt some solder on each of them.
3. Gently press motor wire covered with solder to ESC pad and use soldering iron to heat it up until it will melt together, then remove soldering iron but still keep holding the wire until it will cool down.
Repeat it for all motor wires.
Step #9
Now we need to cut ESC power wires to appropriate length, for this position PDB how you are going to install and and carefully measure that each wire to where it should and and then cut it.
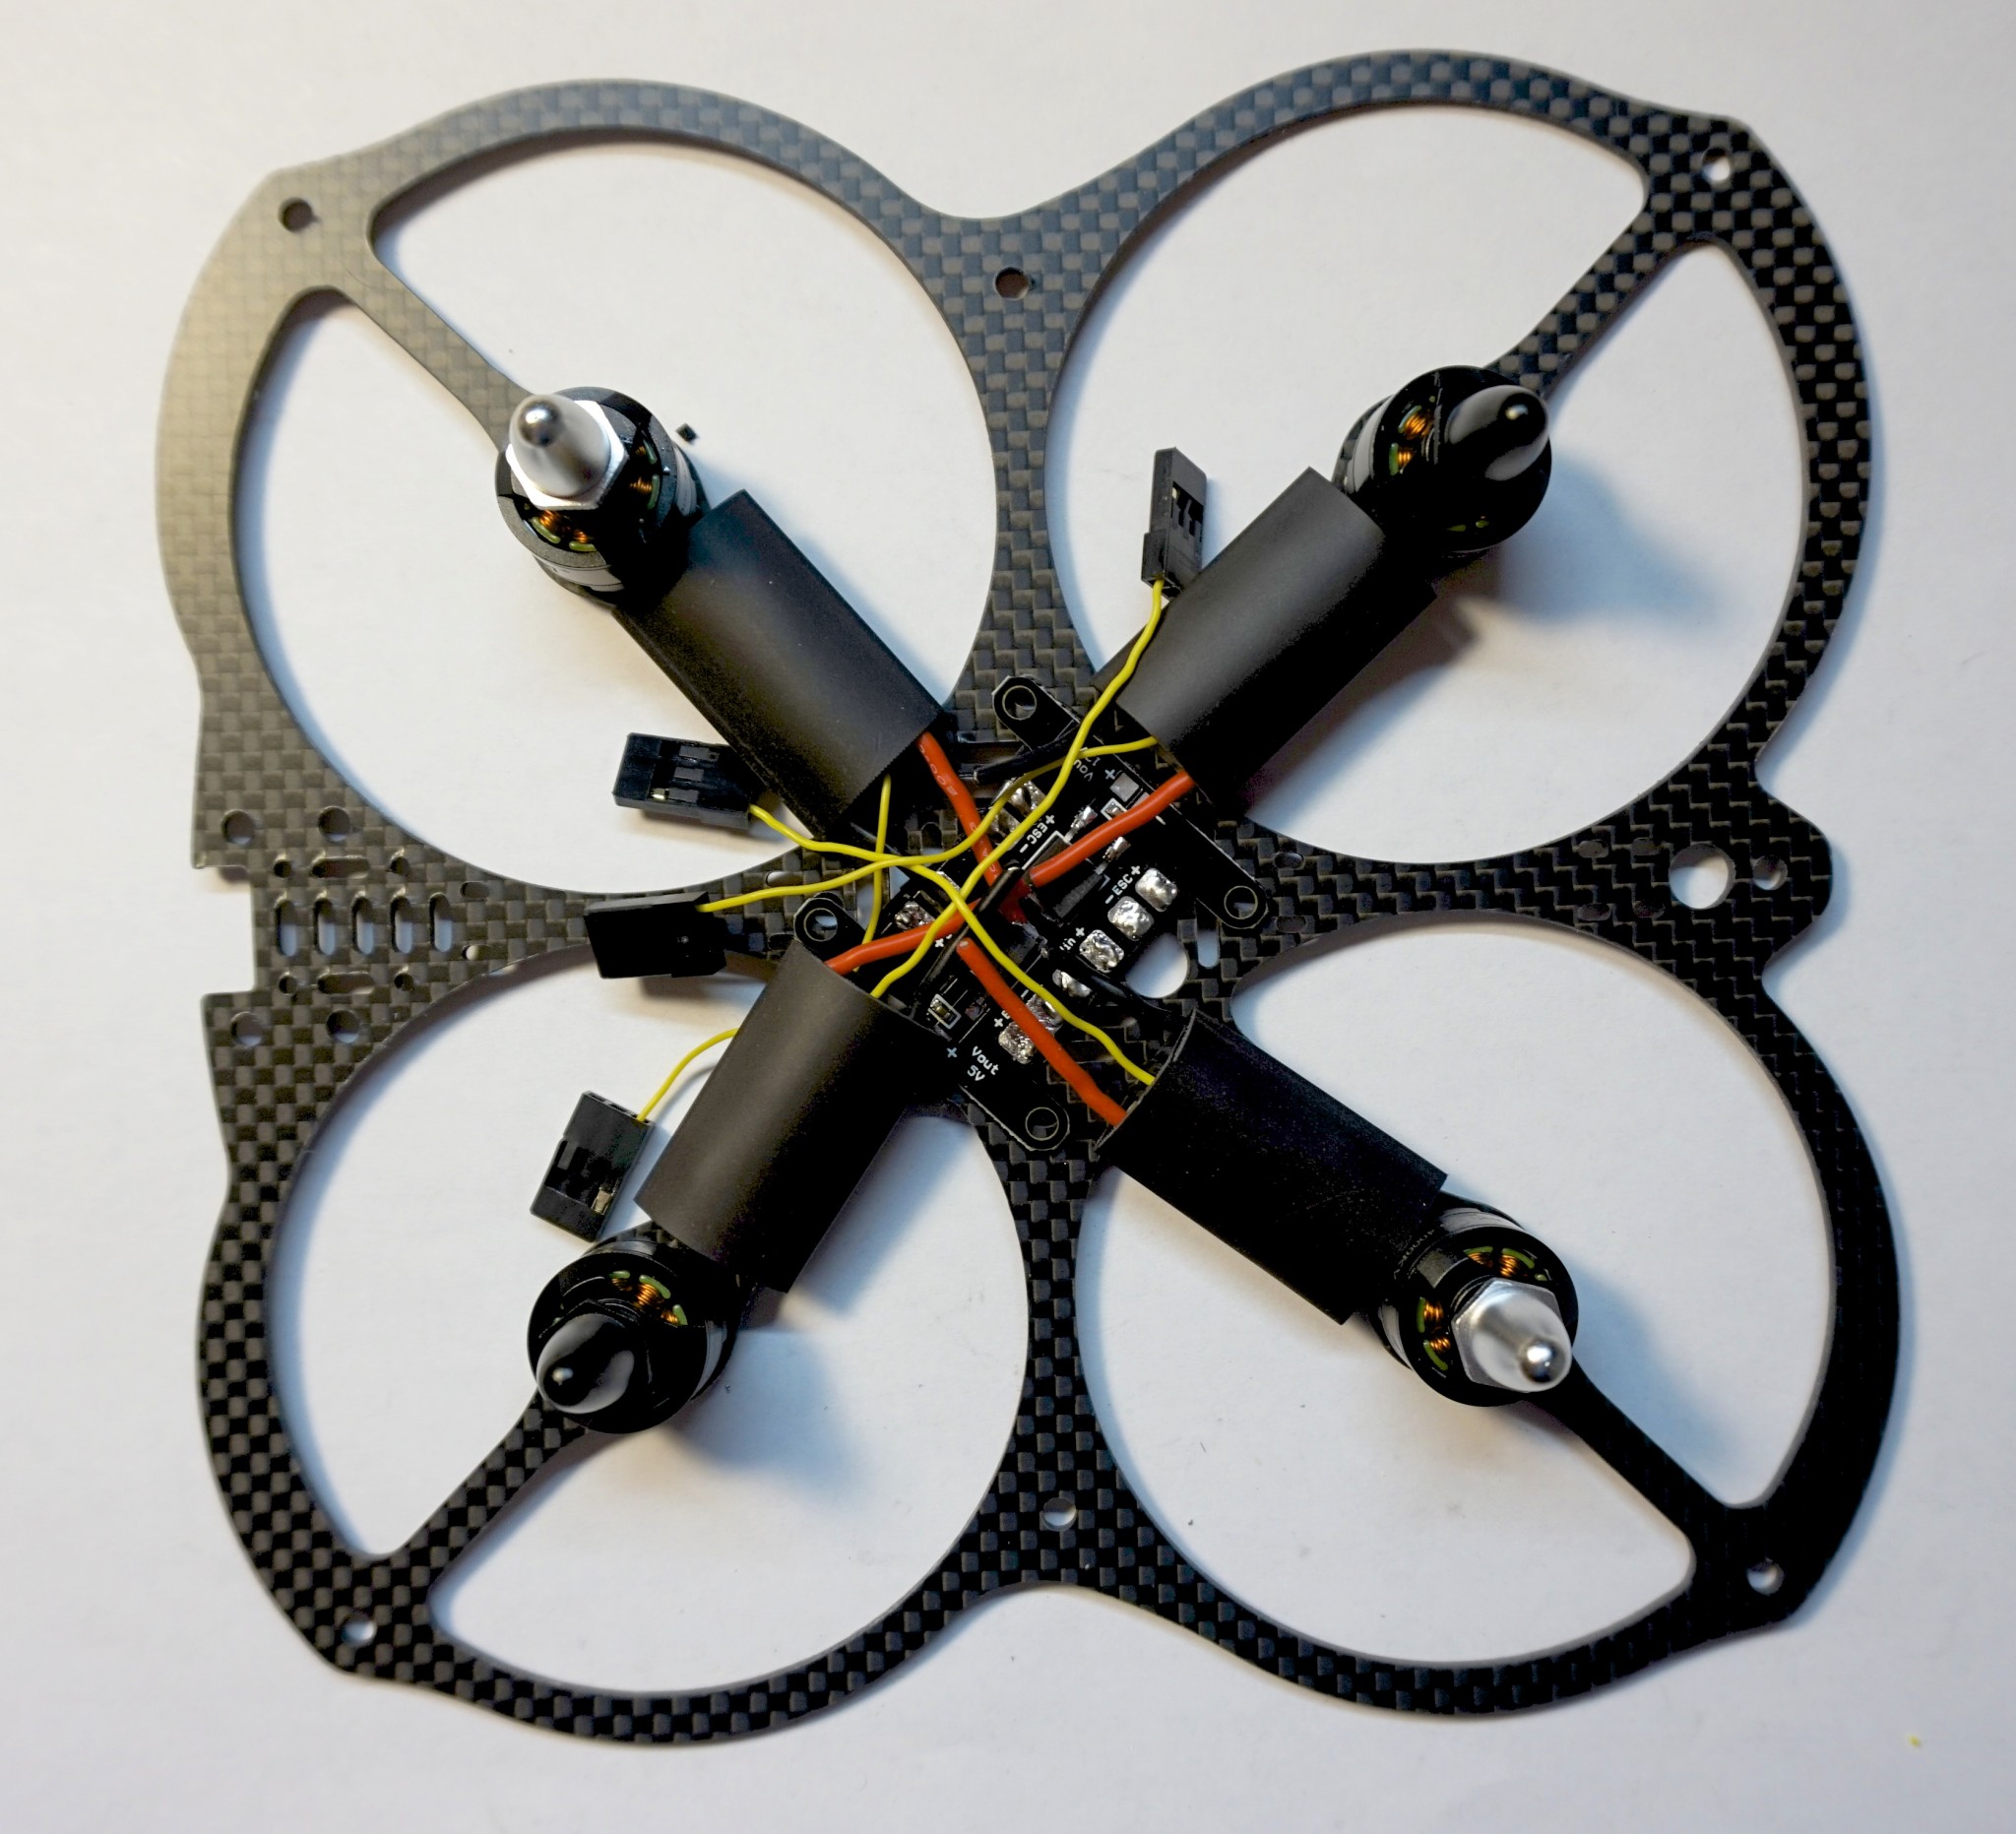
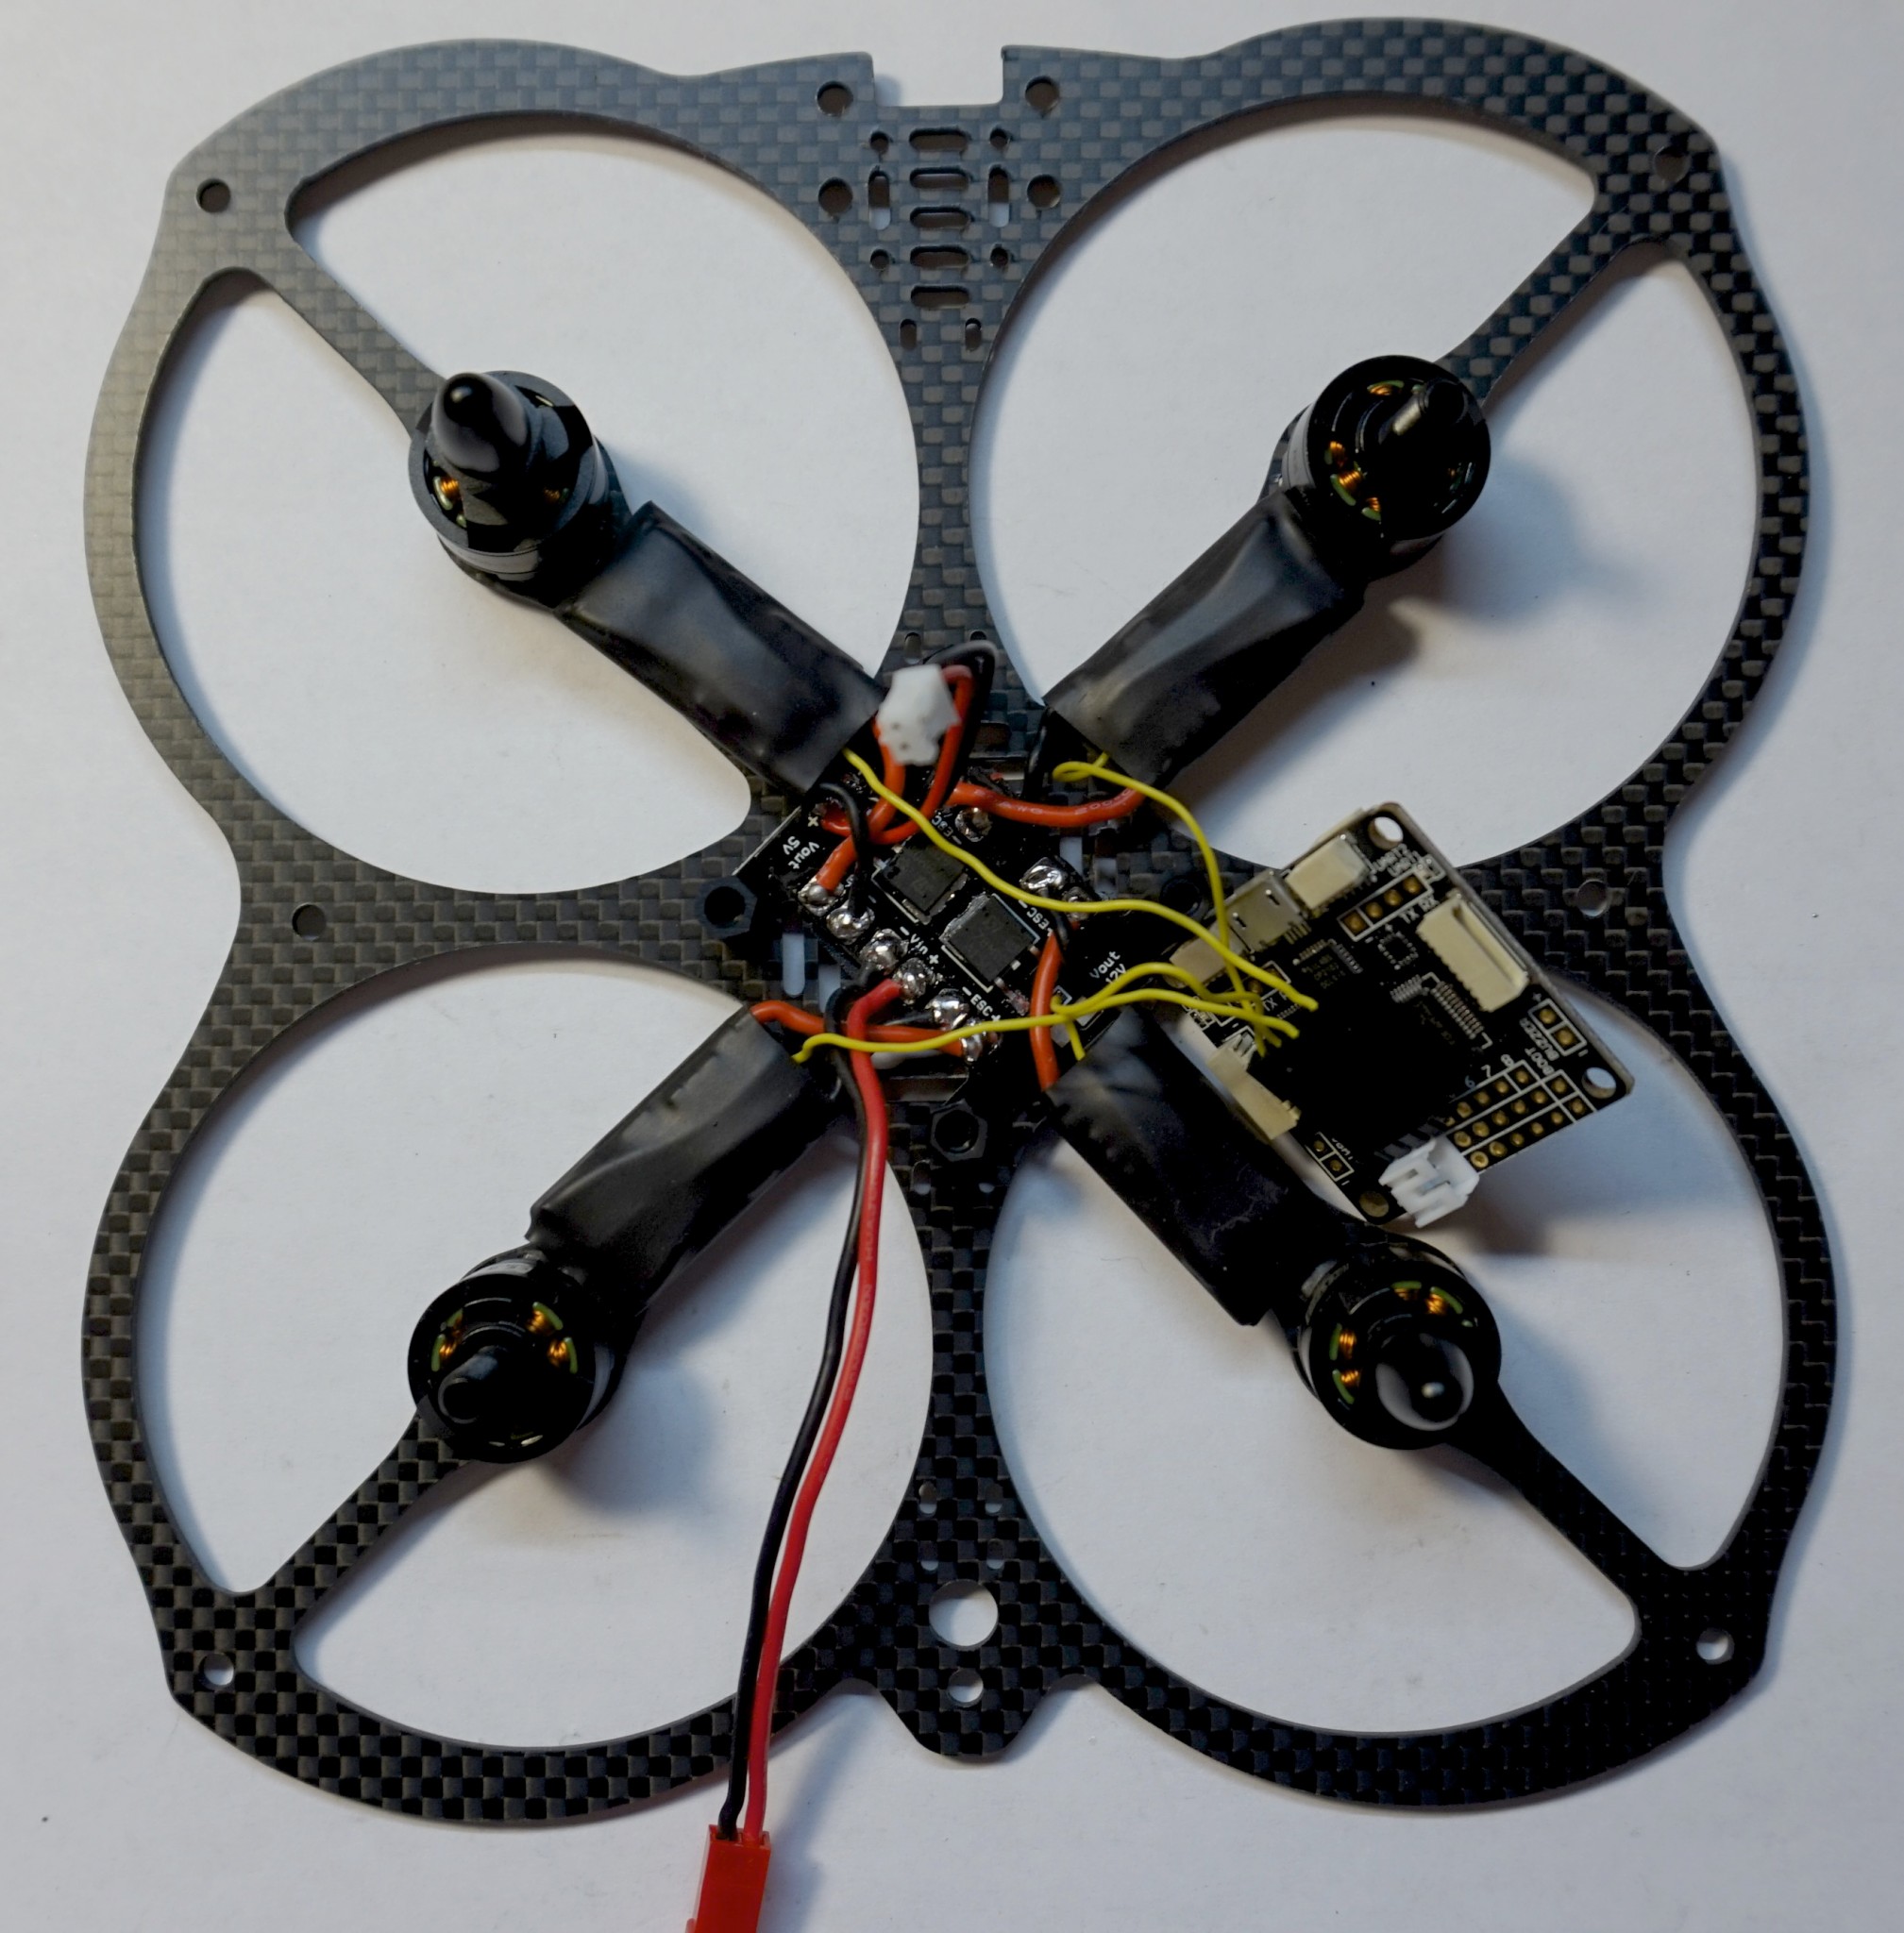
Step #10
It is time to solder ESC power wires to our PDB. Follow the same approach from Step #4 and first put some solder on PDB pads, then on wires and then press and solder wires to appropriate pads.
Then we will have to install some wire to 5V contacts which will be used to feed power to our Flight Controller.
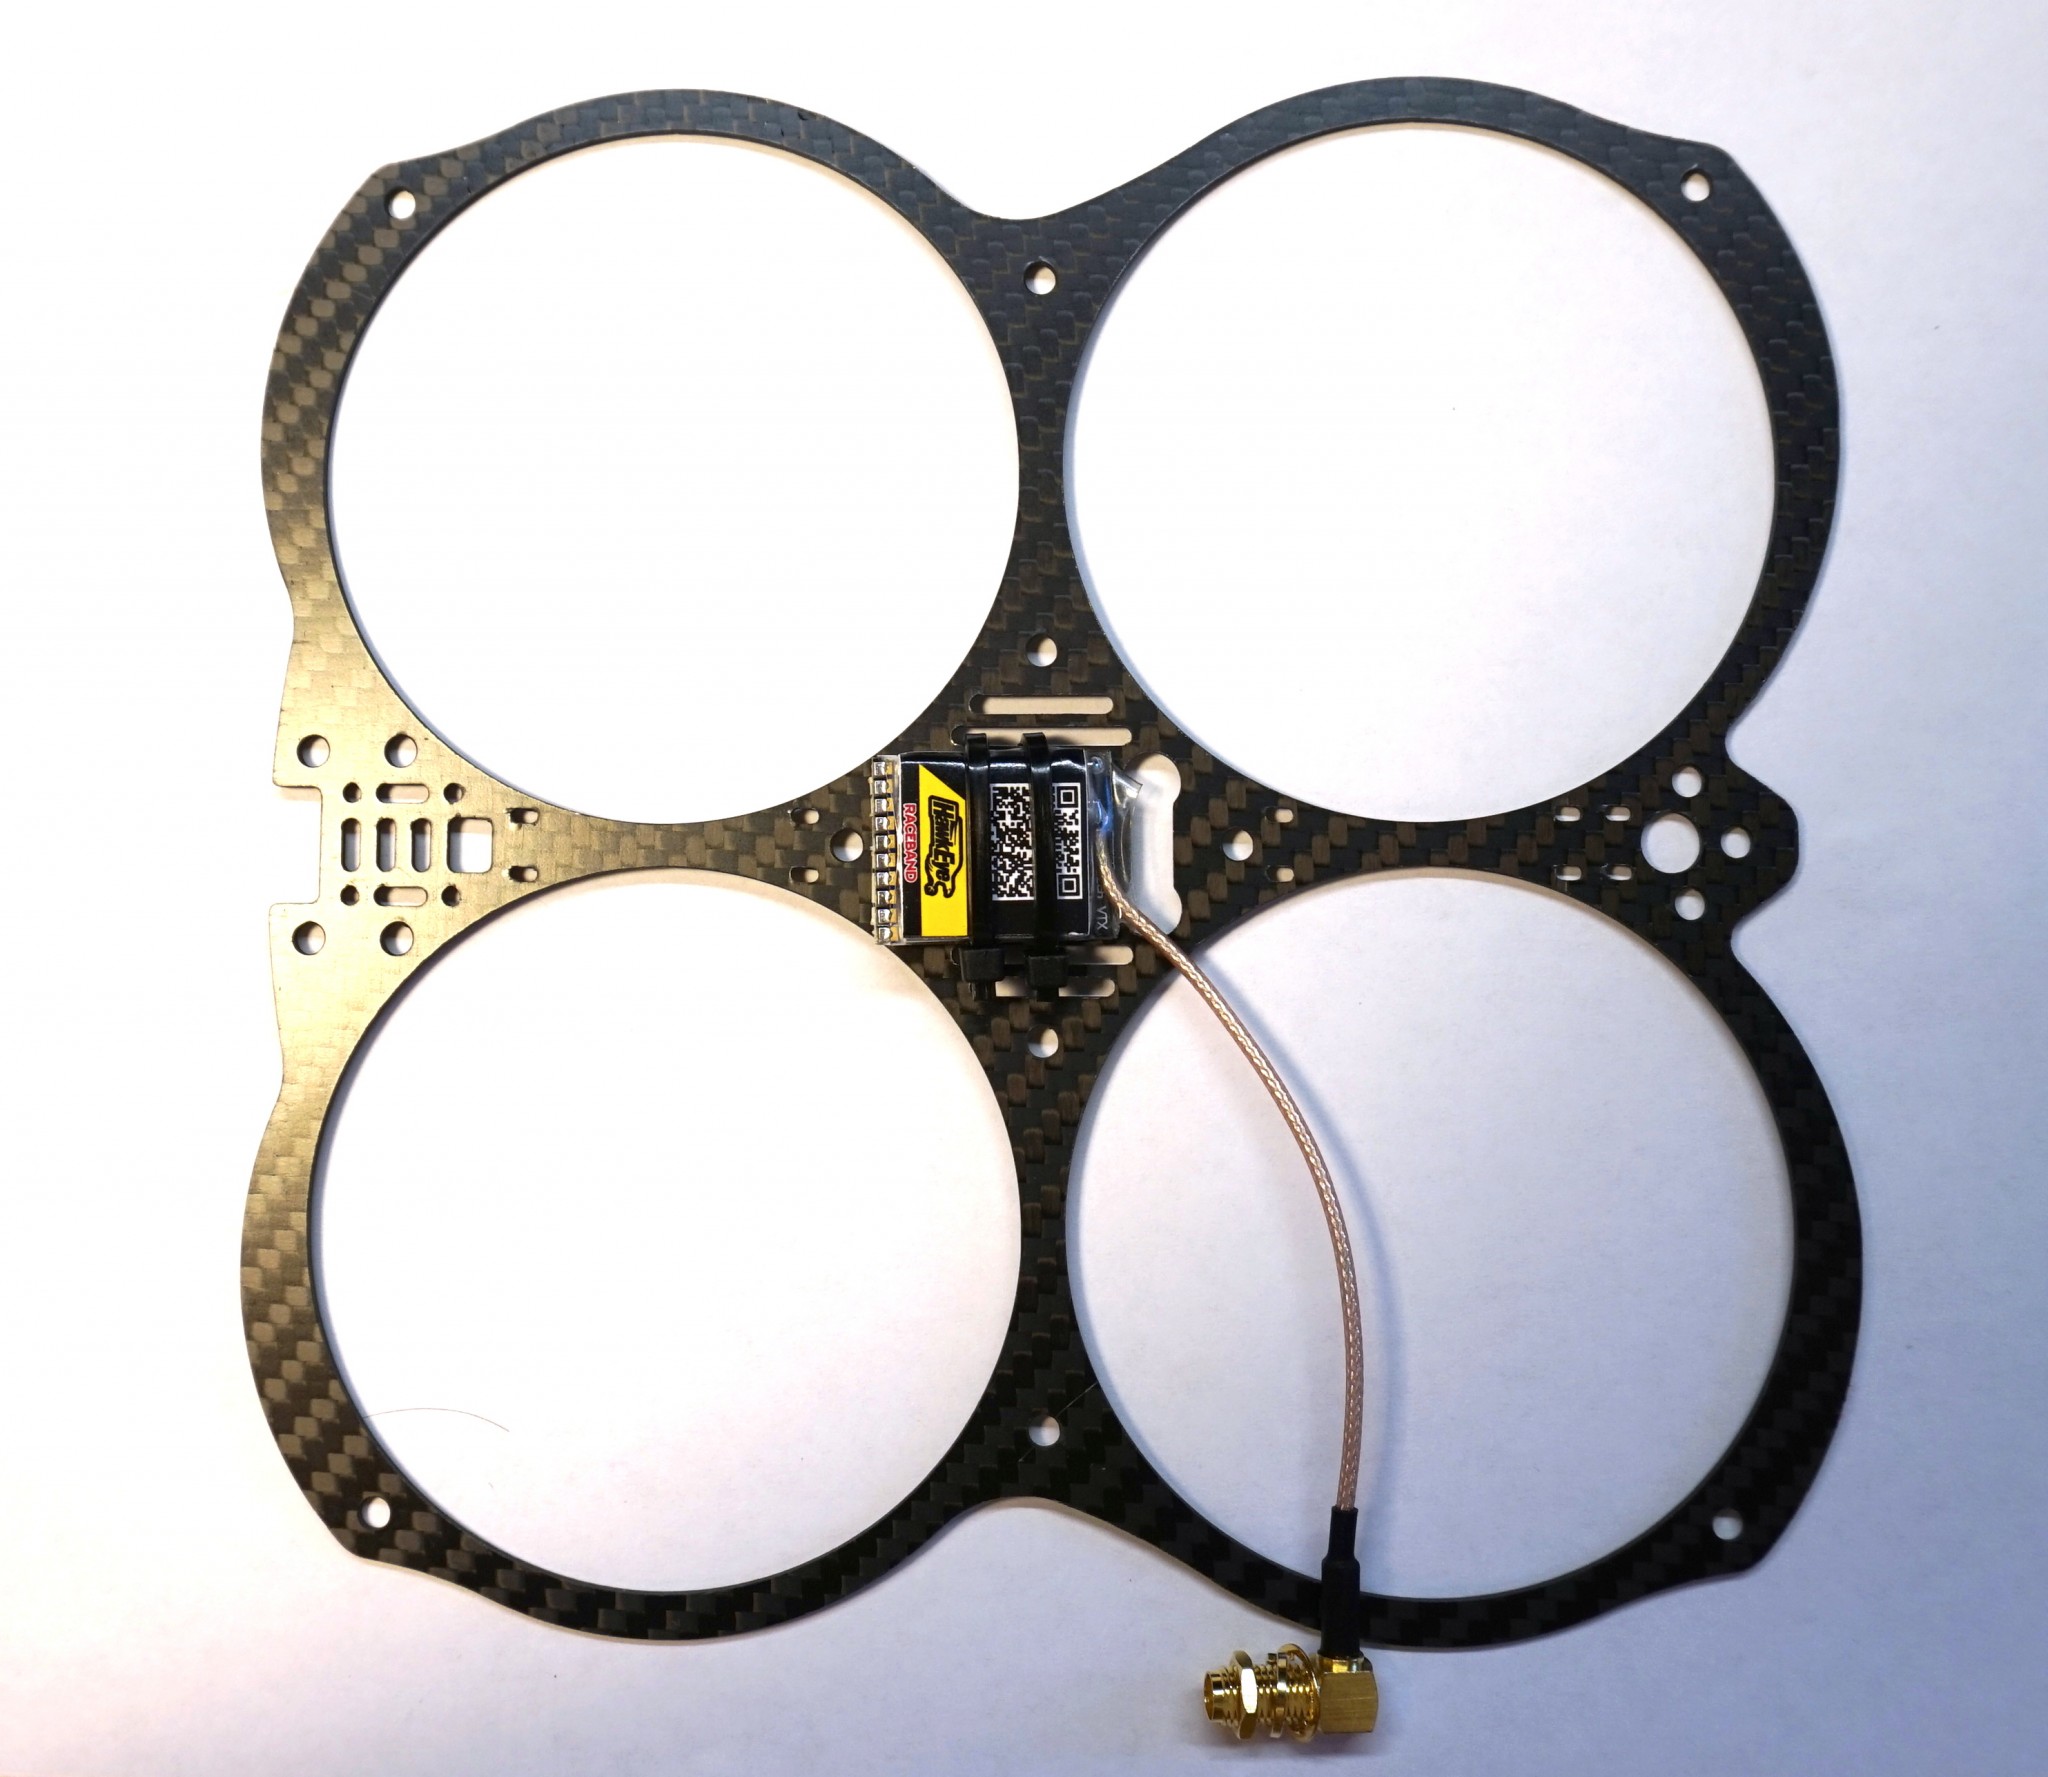
And finally if you are planing to use Hawkeye 200mW VTX, it is time to solder its power wire to the battery pads or one of ESC. Please note that it won’t work from 5V or 12V and you will have to feed it directly from your battery.
Also don’t forget to solder your favorite battery connector. In this case I’m using JST connector, but people also recommend to go with XT30 as a better alternative.

Step #11
It is good time to shrink isolation over our ESC, for this you will have to heat it with either heat pump, soldering iron or a fire torch. I usually use fire torch as a cheap and unsafe method to get this job done 🙂
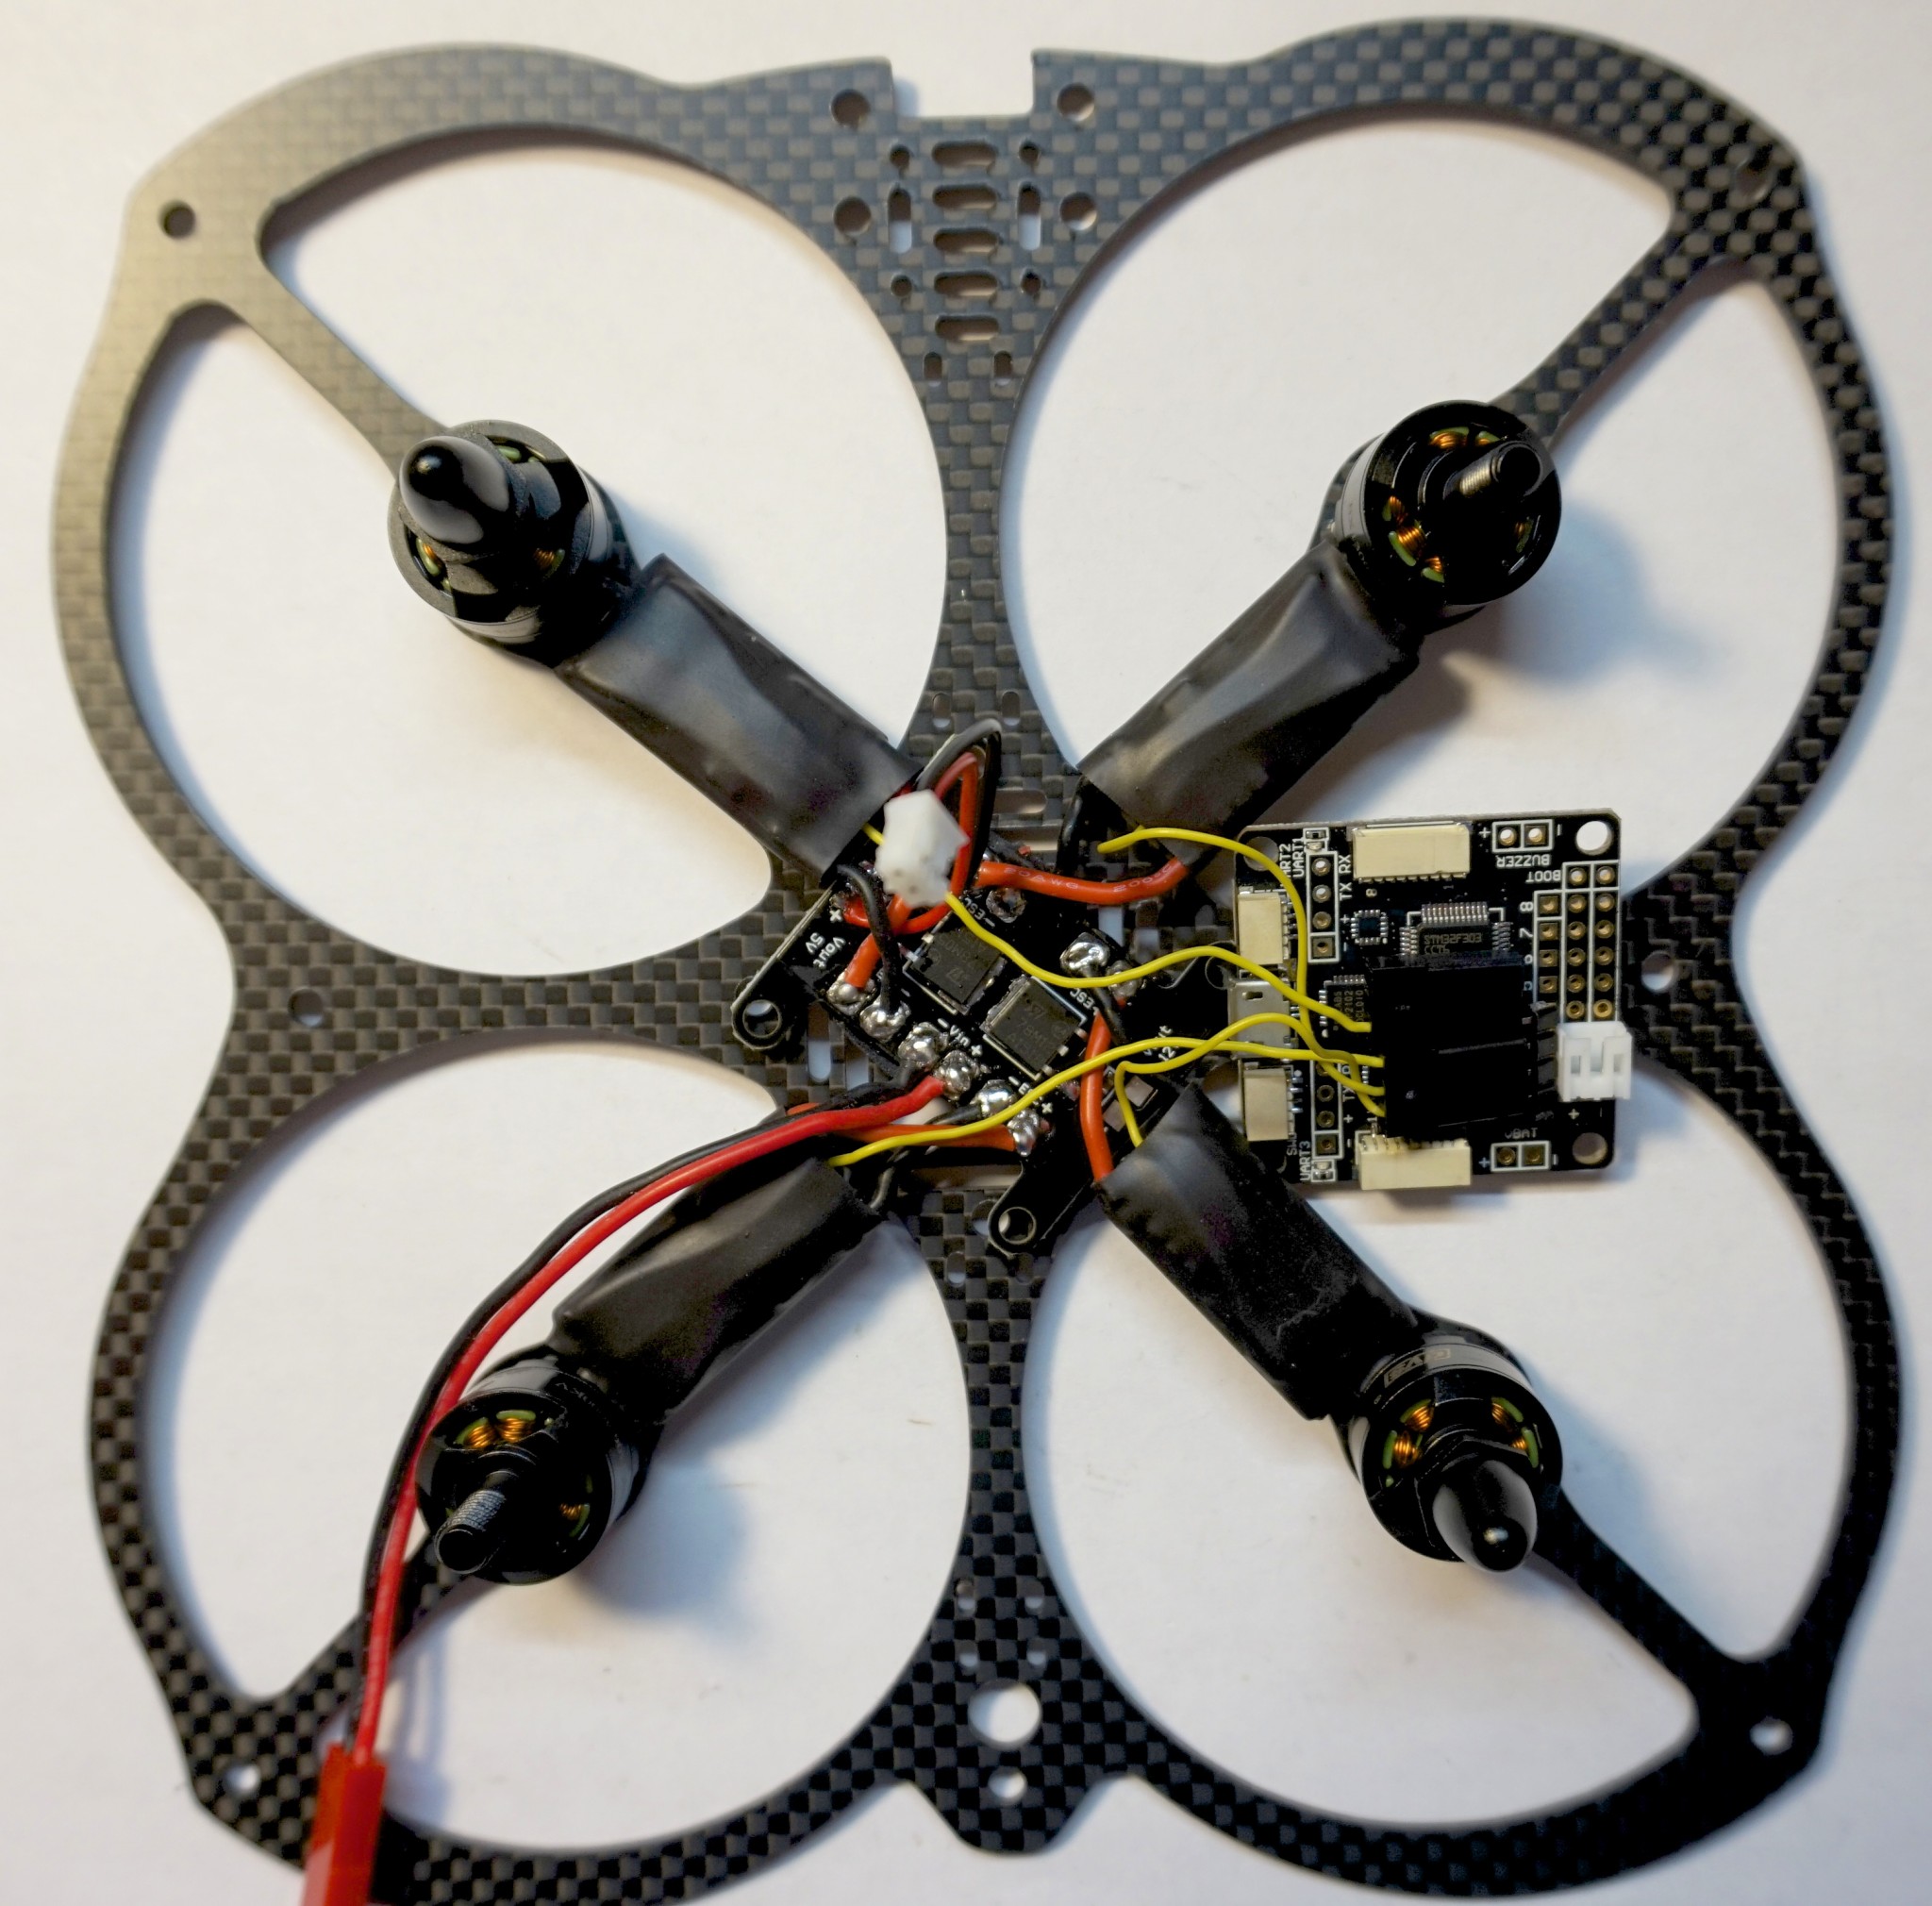
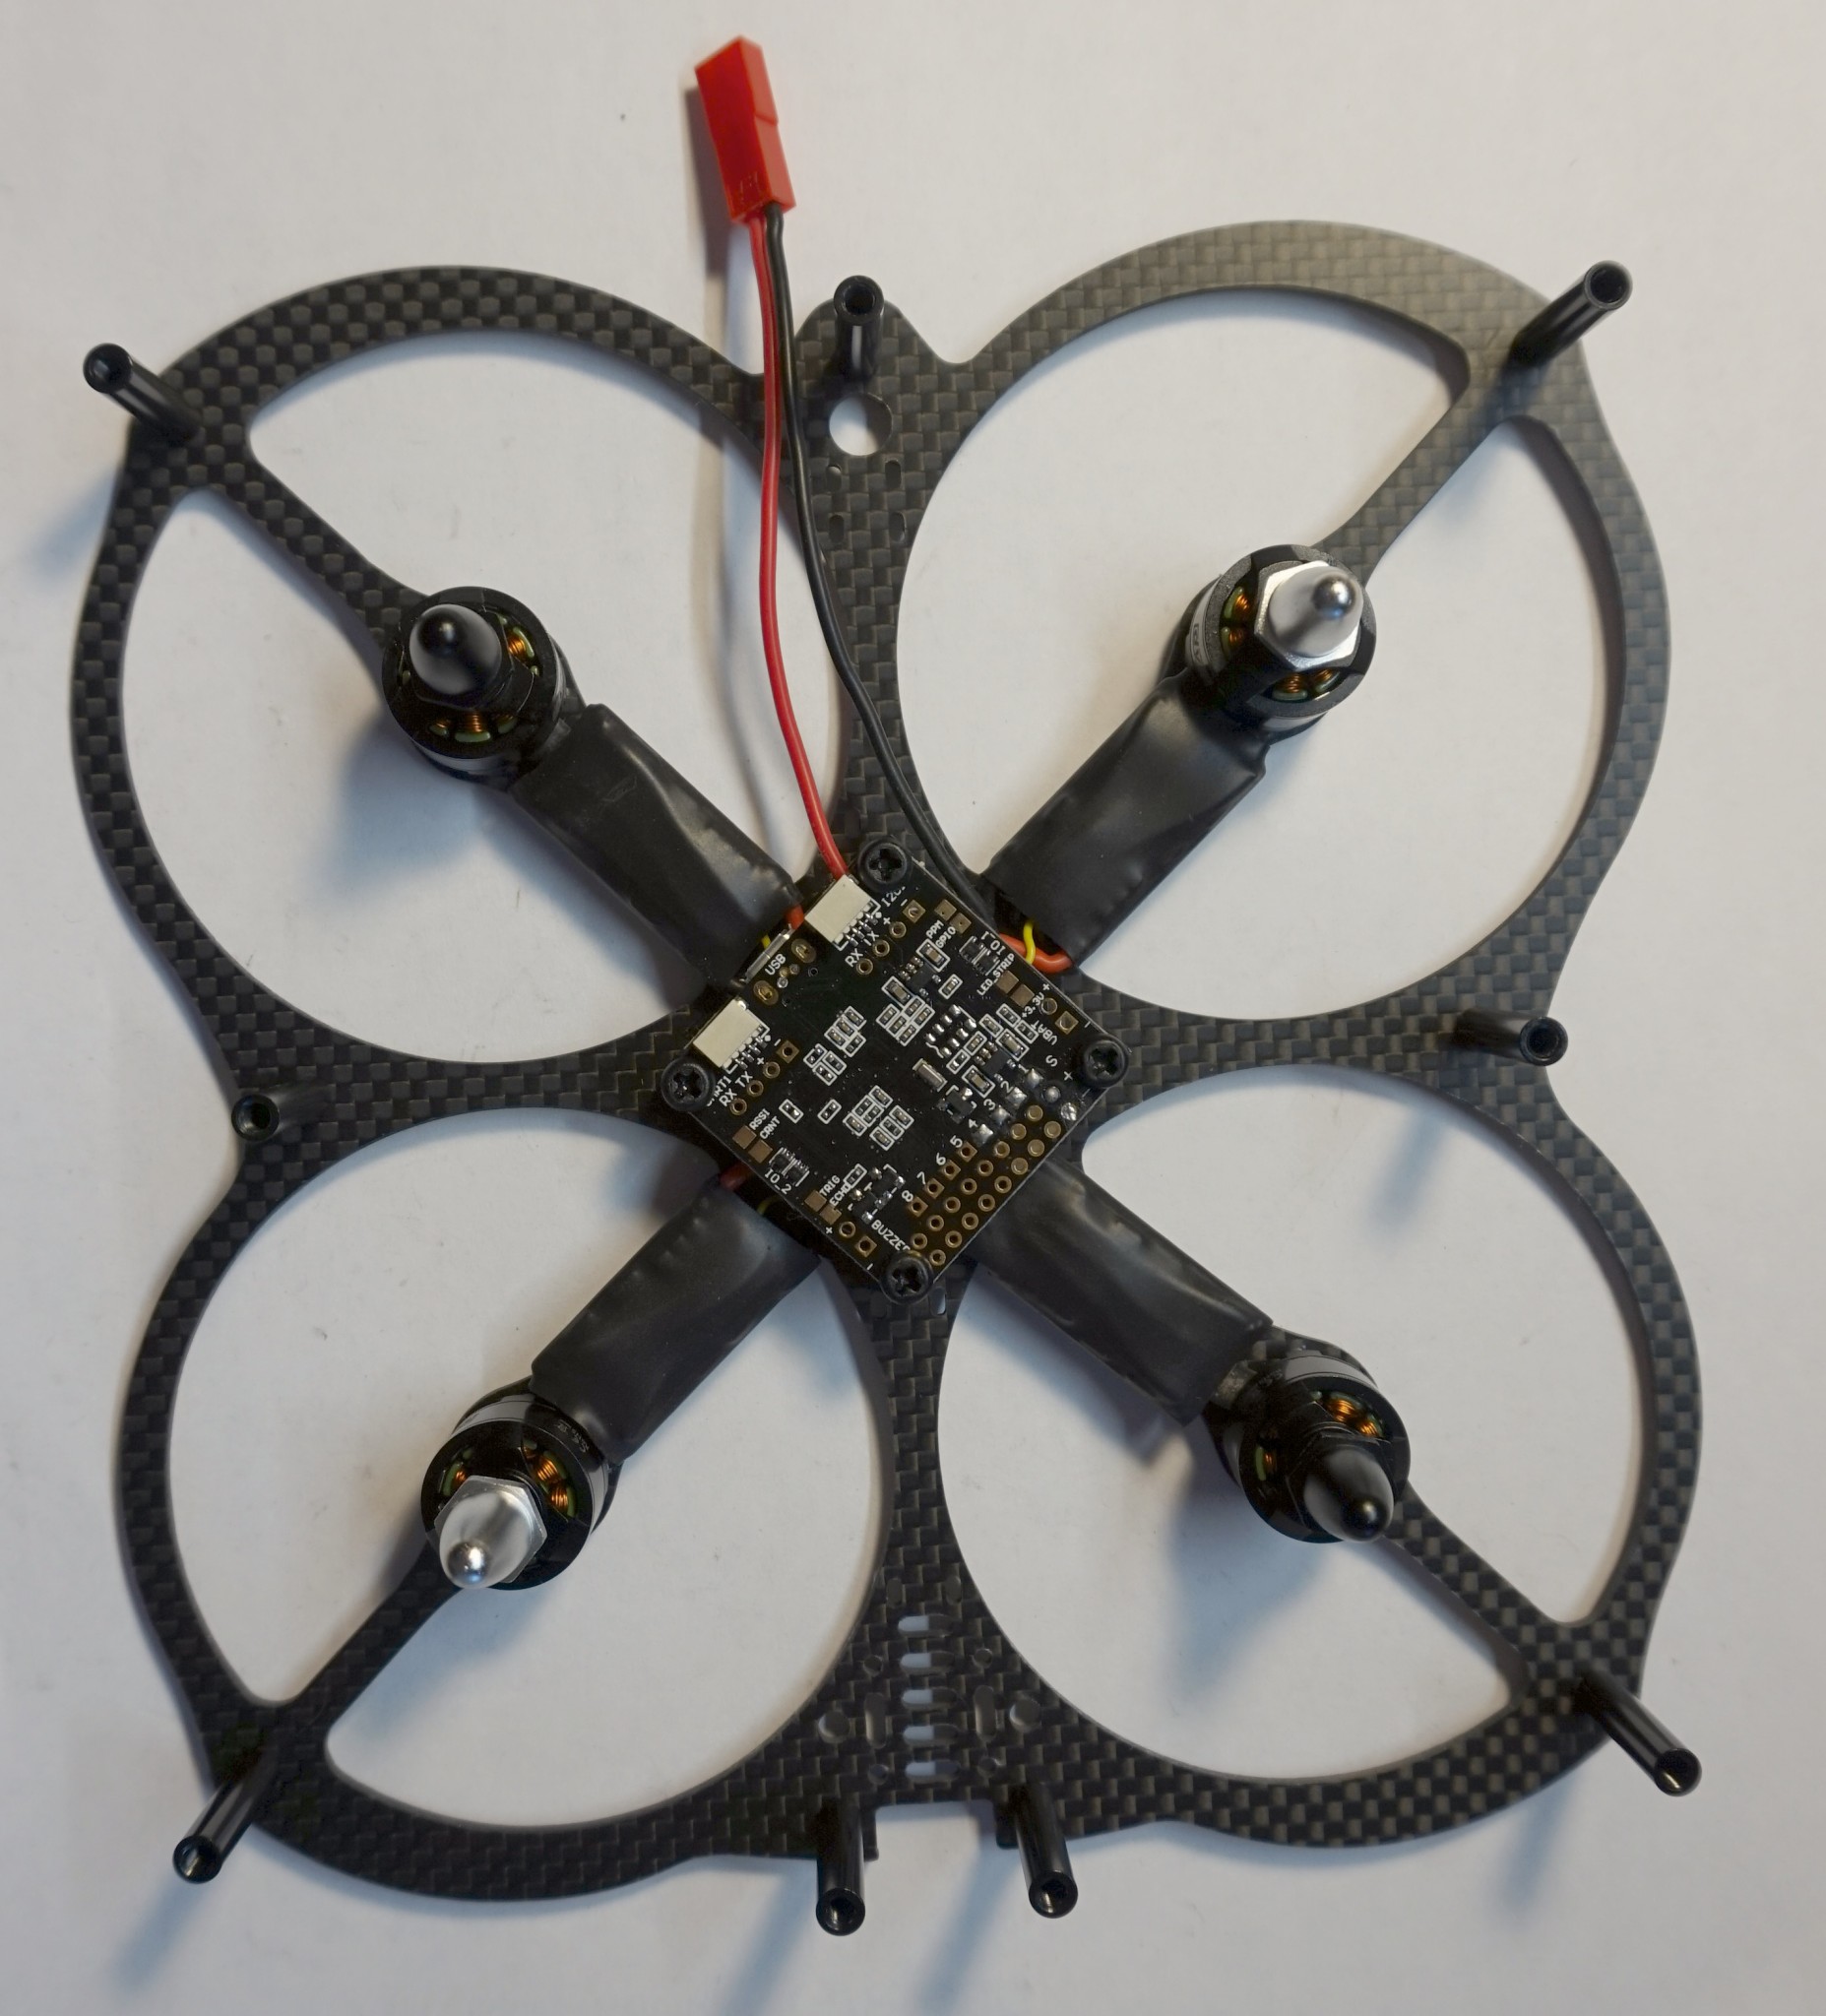
Step #12
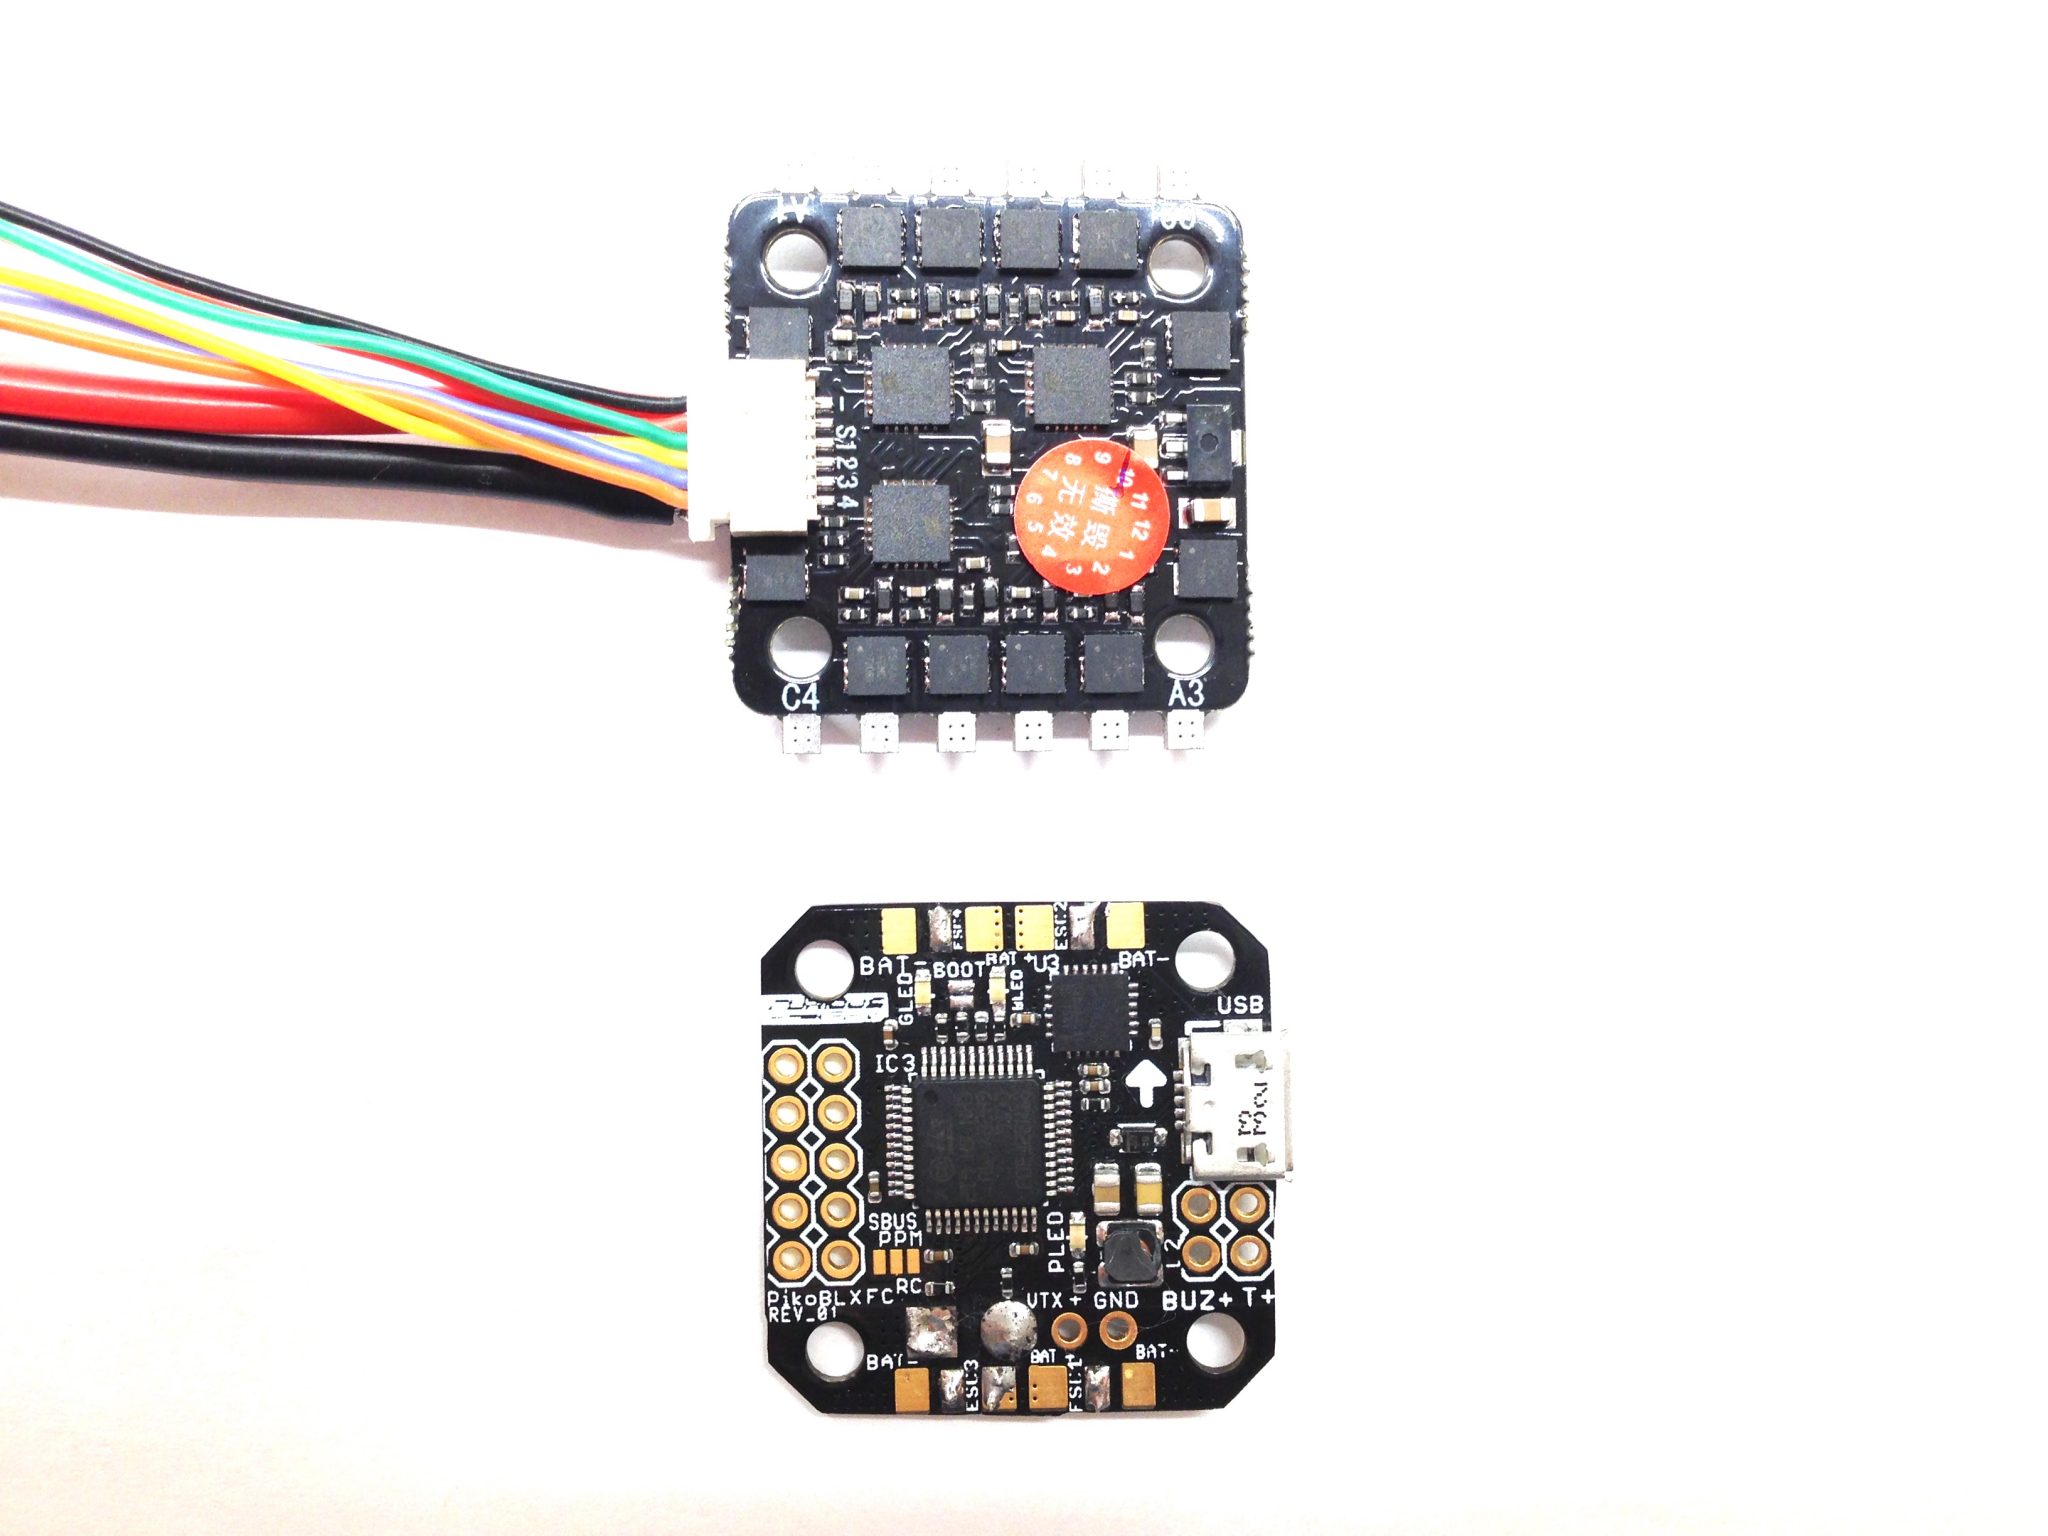
Now we can install Standoffs for our flight controller and mount it on them.
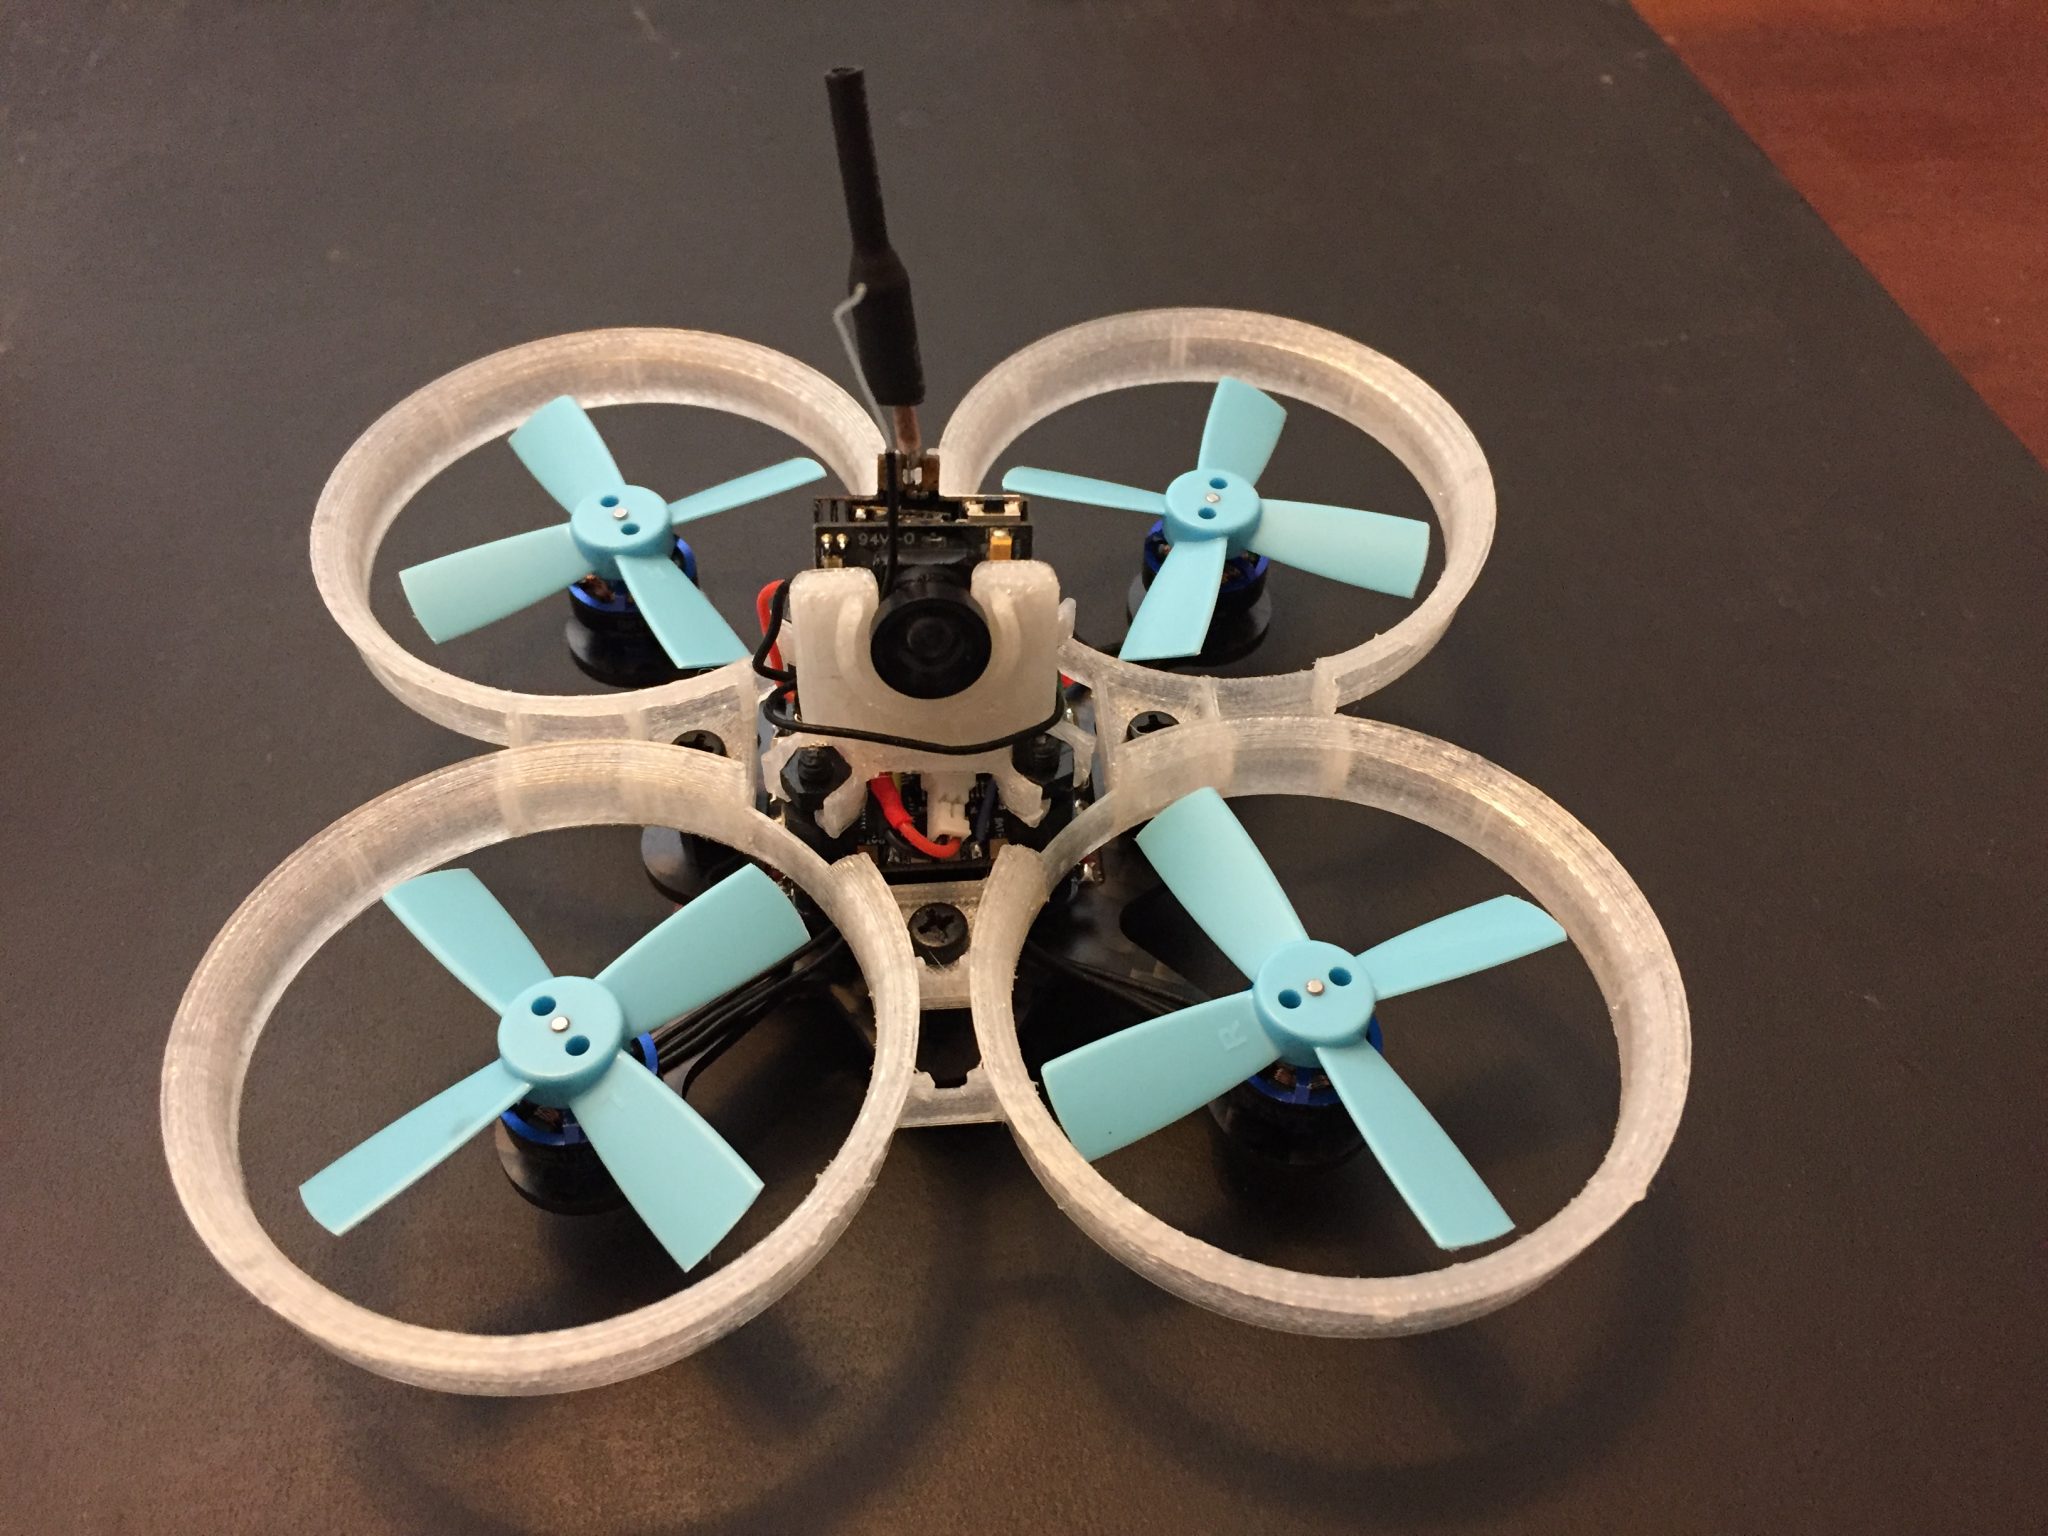
Step #13
It is time to install FPV equipment. We will have to unsolder wires from Diatone 600TVL camera and solder wires which come with our Hawkeye VTX.
Like this:
Step #14
Install camera on the frame plate:
Step #15
Use zip tie straps to mount VTX to the frame plate:
Last step
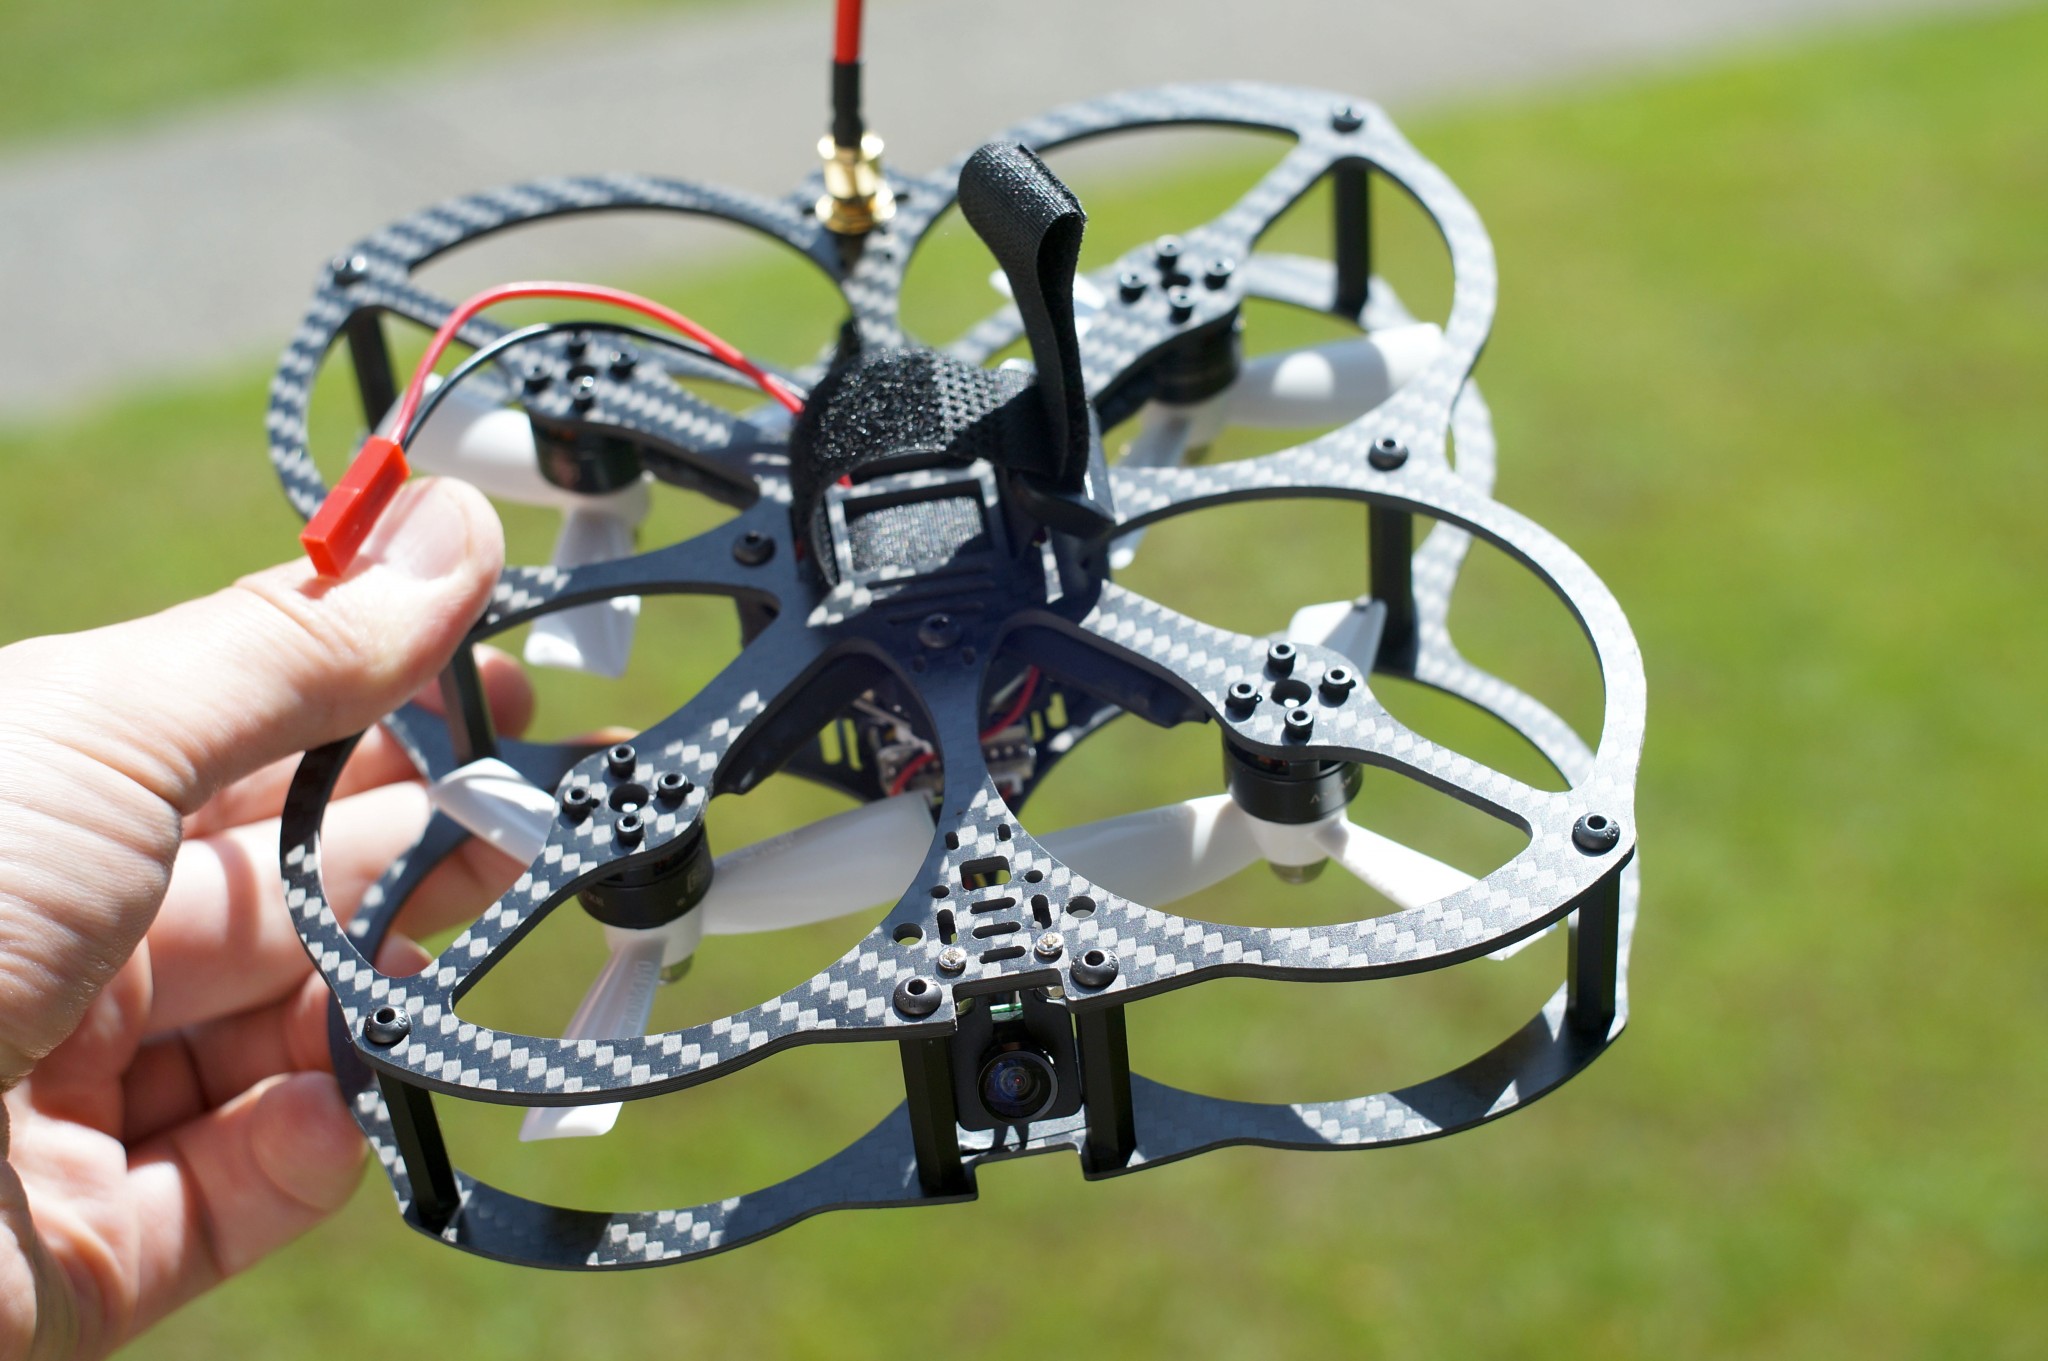
Install propellers and screw both frame plates together.
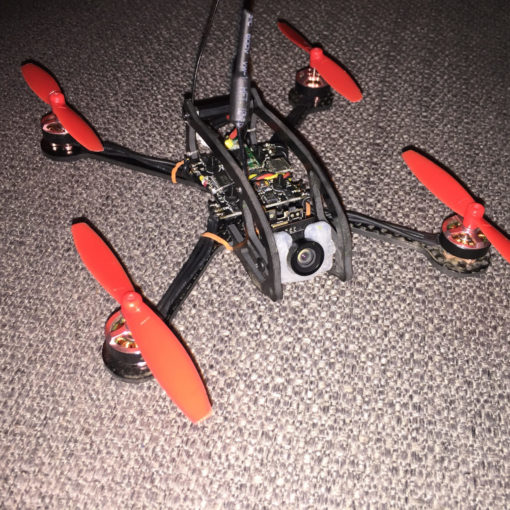
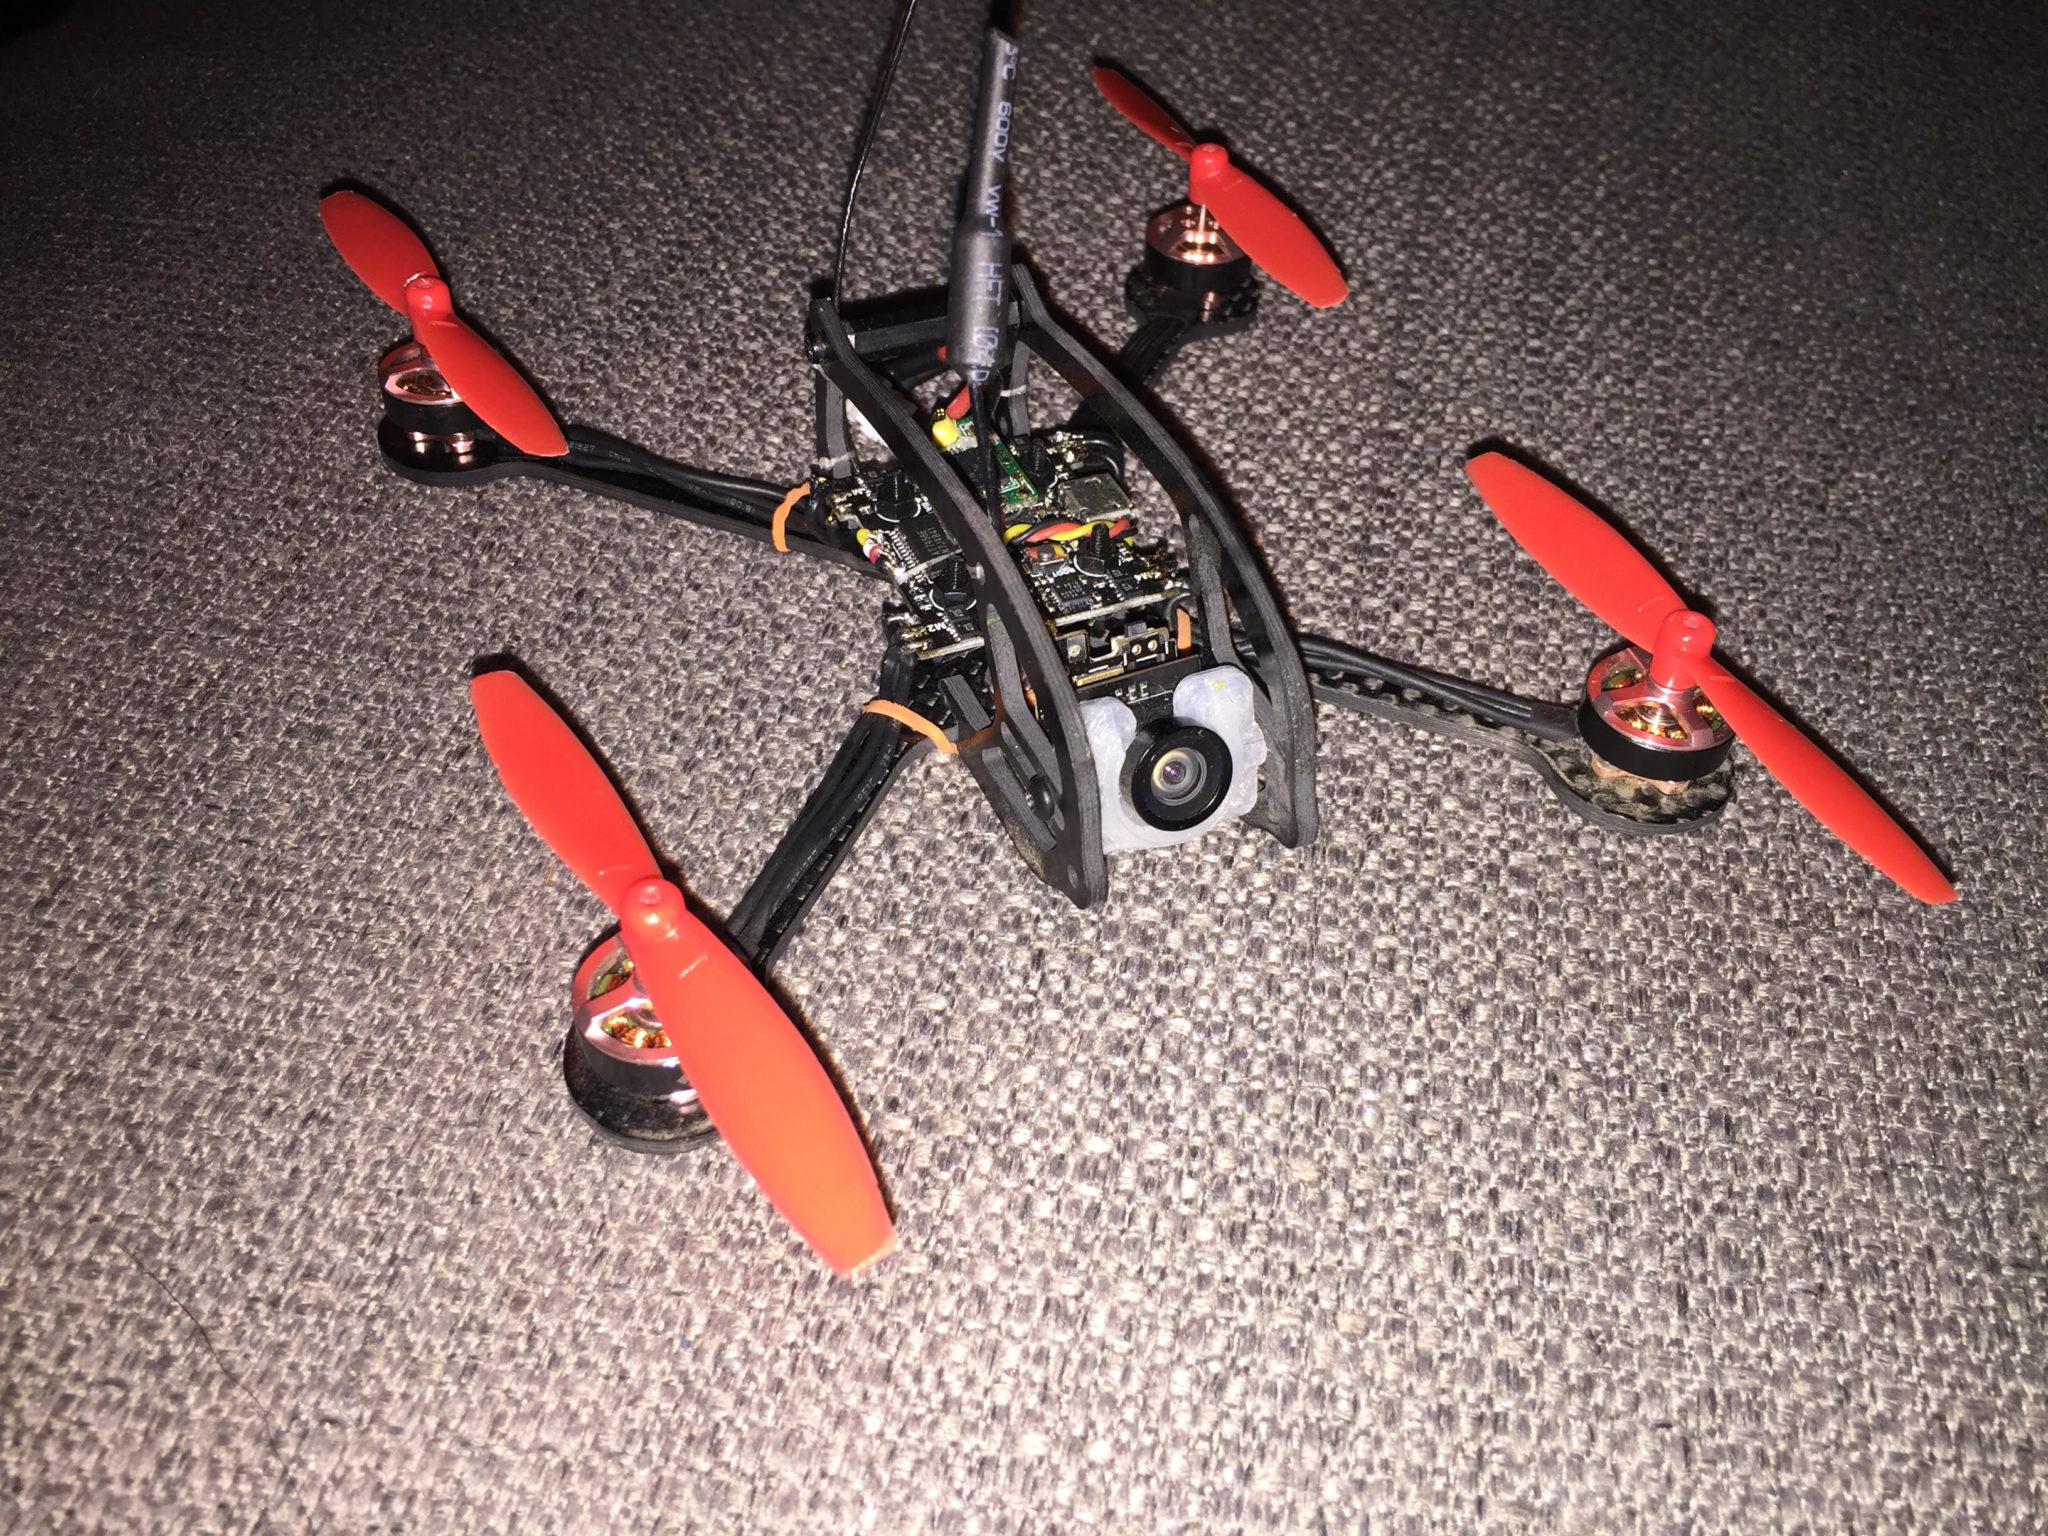
You lovely Owl quadcopter is assembled now:

Now you can configure Cleanflight / Betaflight
You can also refer to the following video as another guide of how to build Owl:
4 thoughts on “How to build Owl Universal Indoor and Outdoor racing quadcopter”
Thank you so much for this tutorial ! I see now where I made my (first) mistake.
Why would the hawkeye VTX not work from the 12v output on the PDB? The Hawkeye specs state that the Battery In works with 7-24v. Thanks!
Most likely BEC can’t provide enough of Amps for it
Ahh, OK, that makes sense. Thanks!