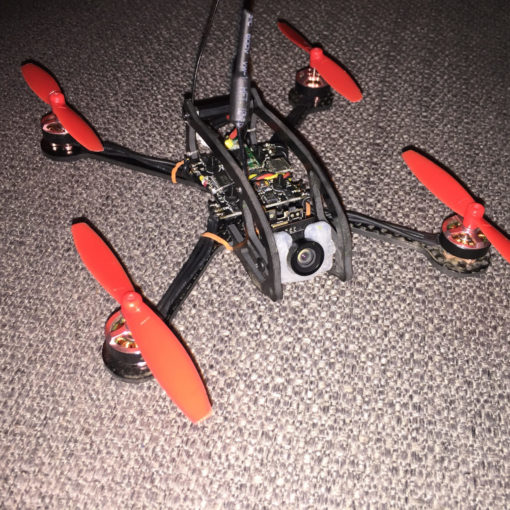
We are going to look at how to build Mini Owl – DIY Kit as clean as possible.
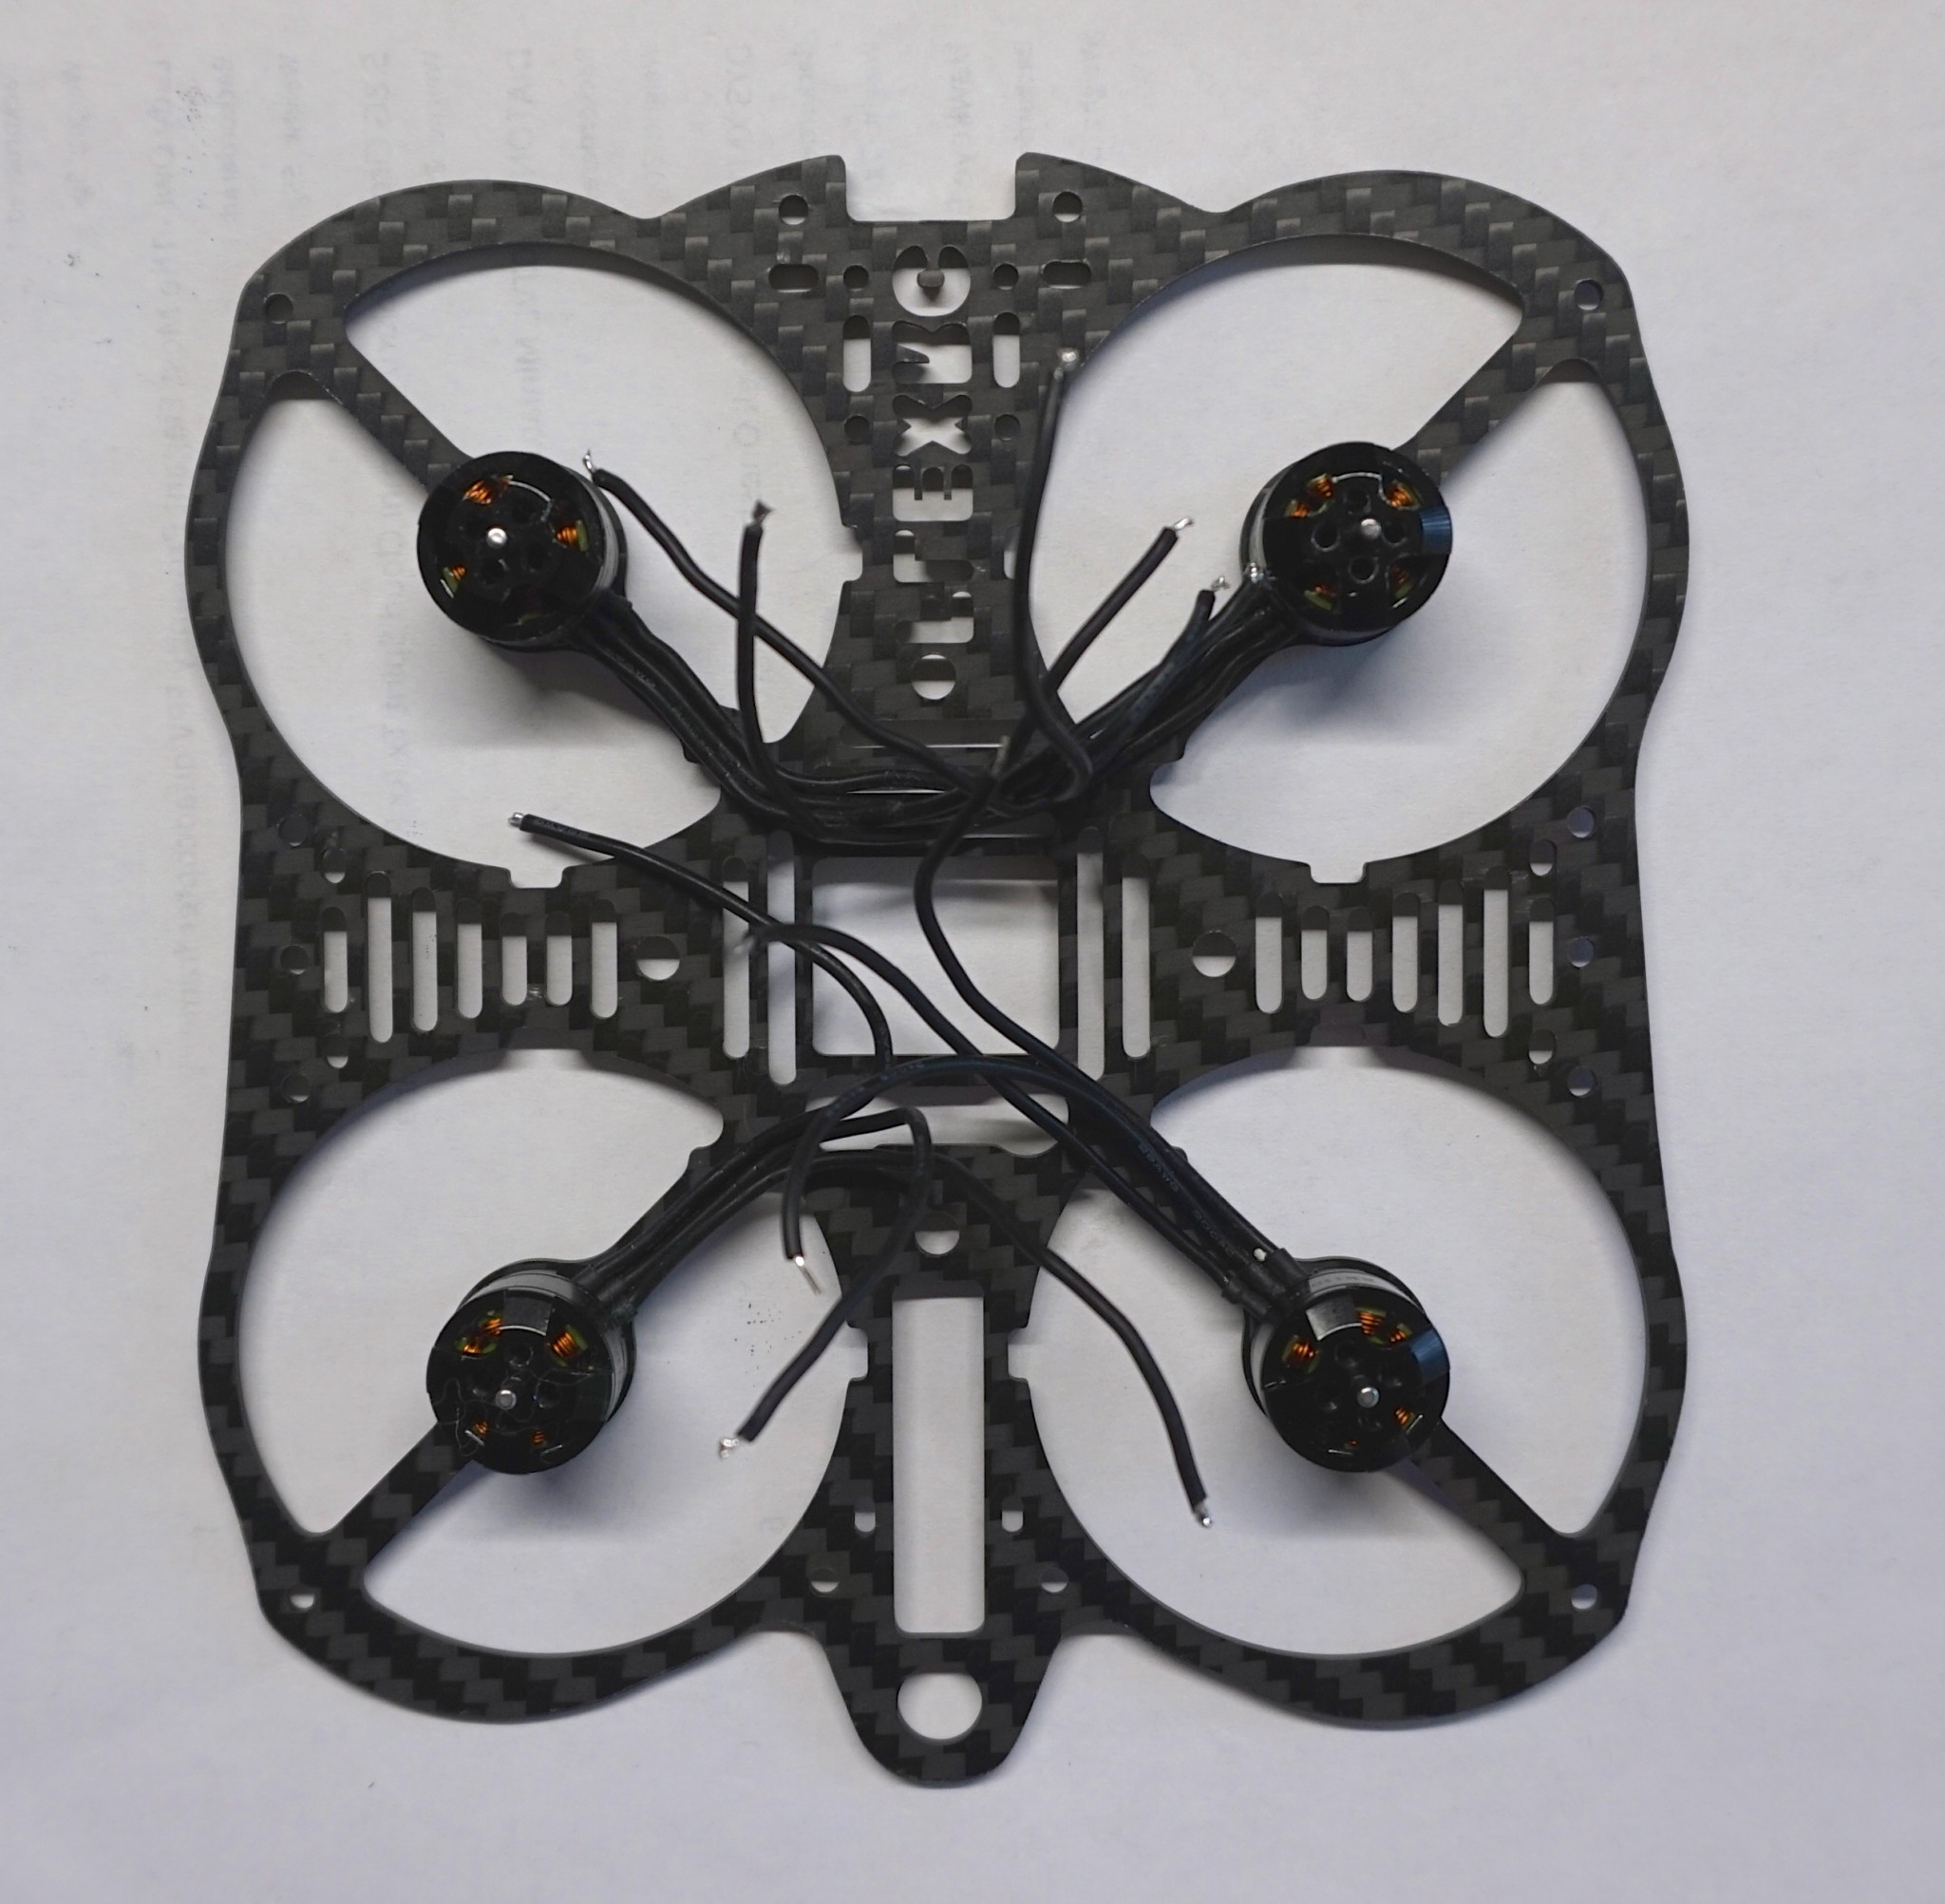
Step #1
Install motors on the frame with provided 4mm screws:
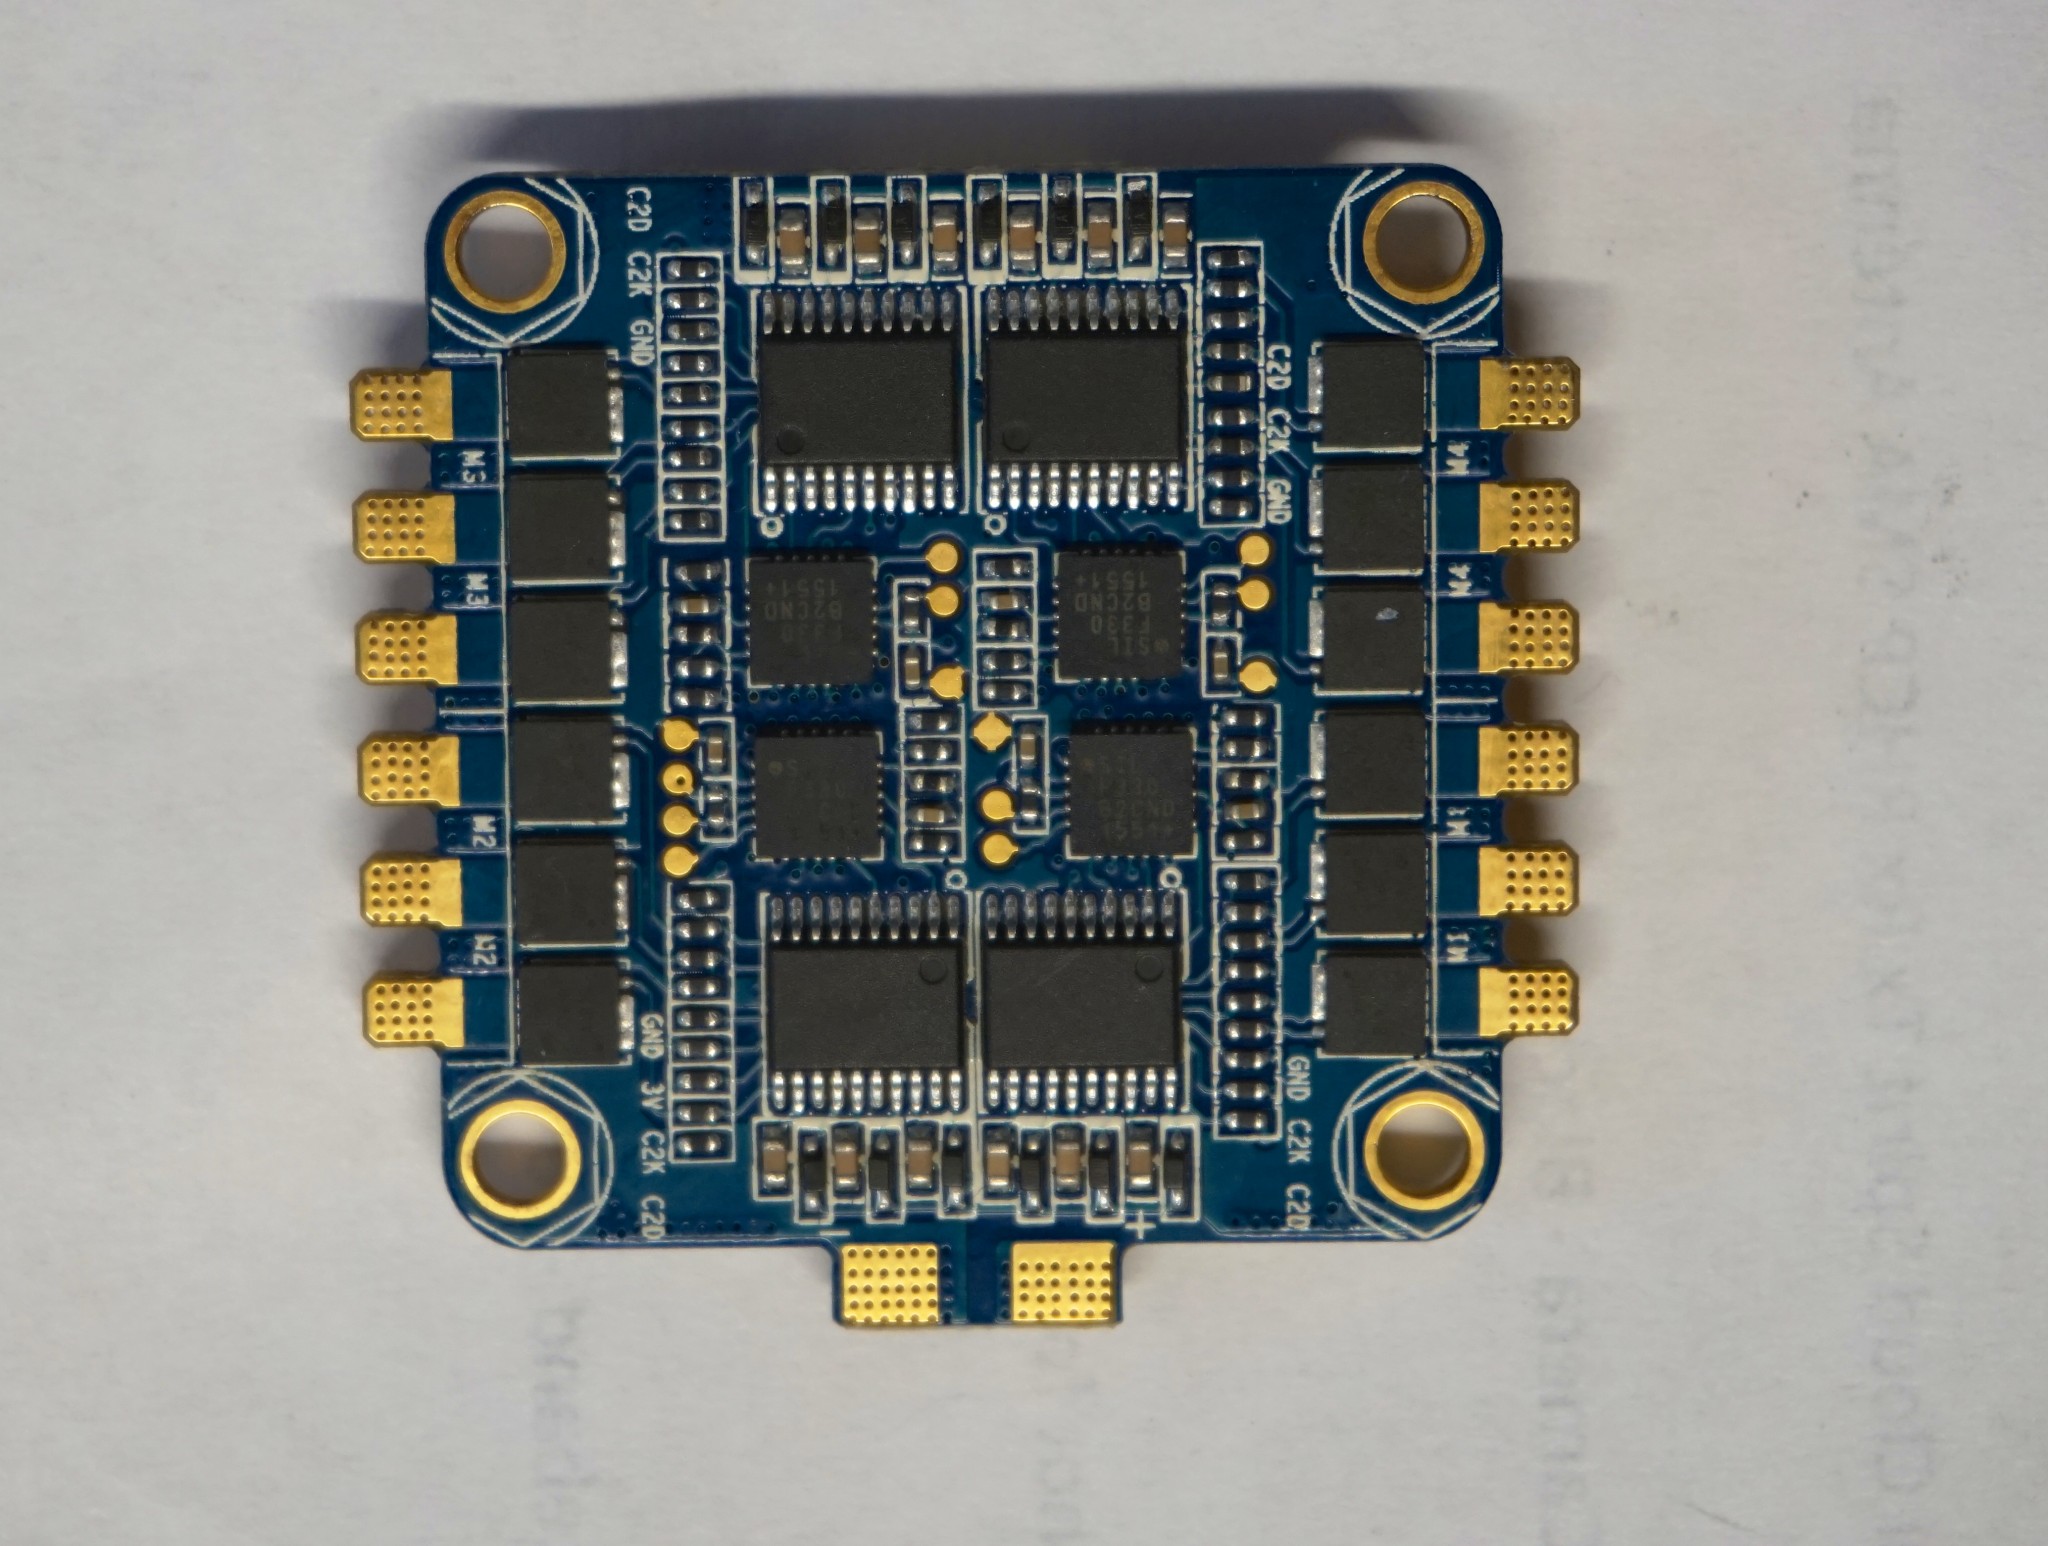
Step #2
Use electrical tape or other isolation method you prefer to protect one side of Typhoon 4 in 1 ESC from possible short circuit:

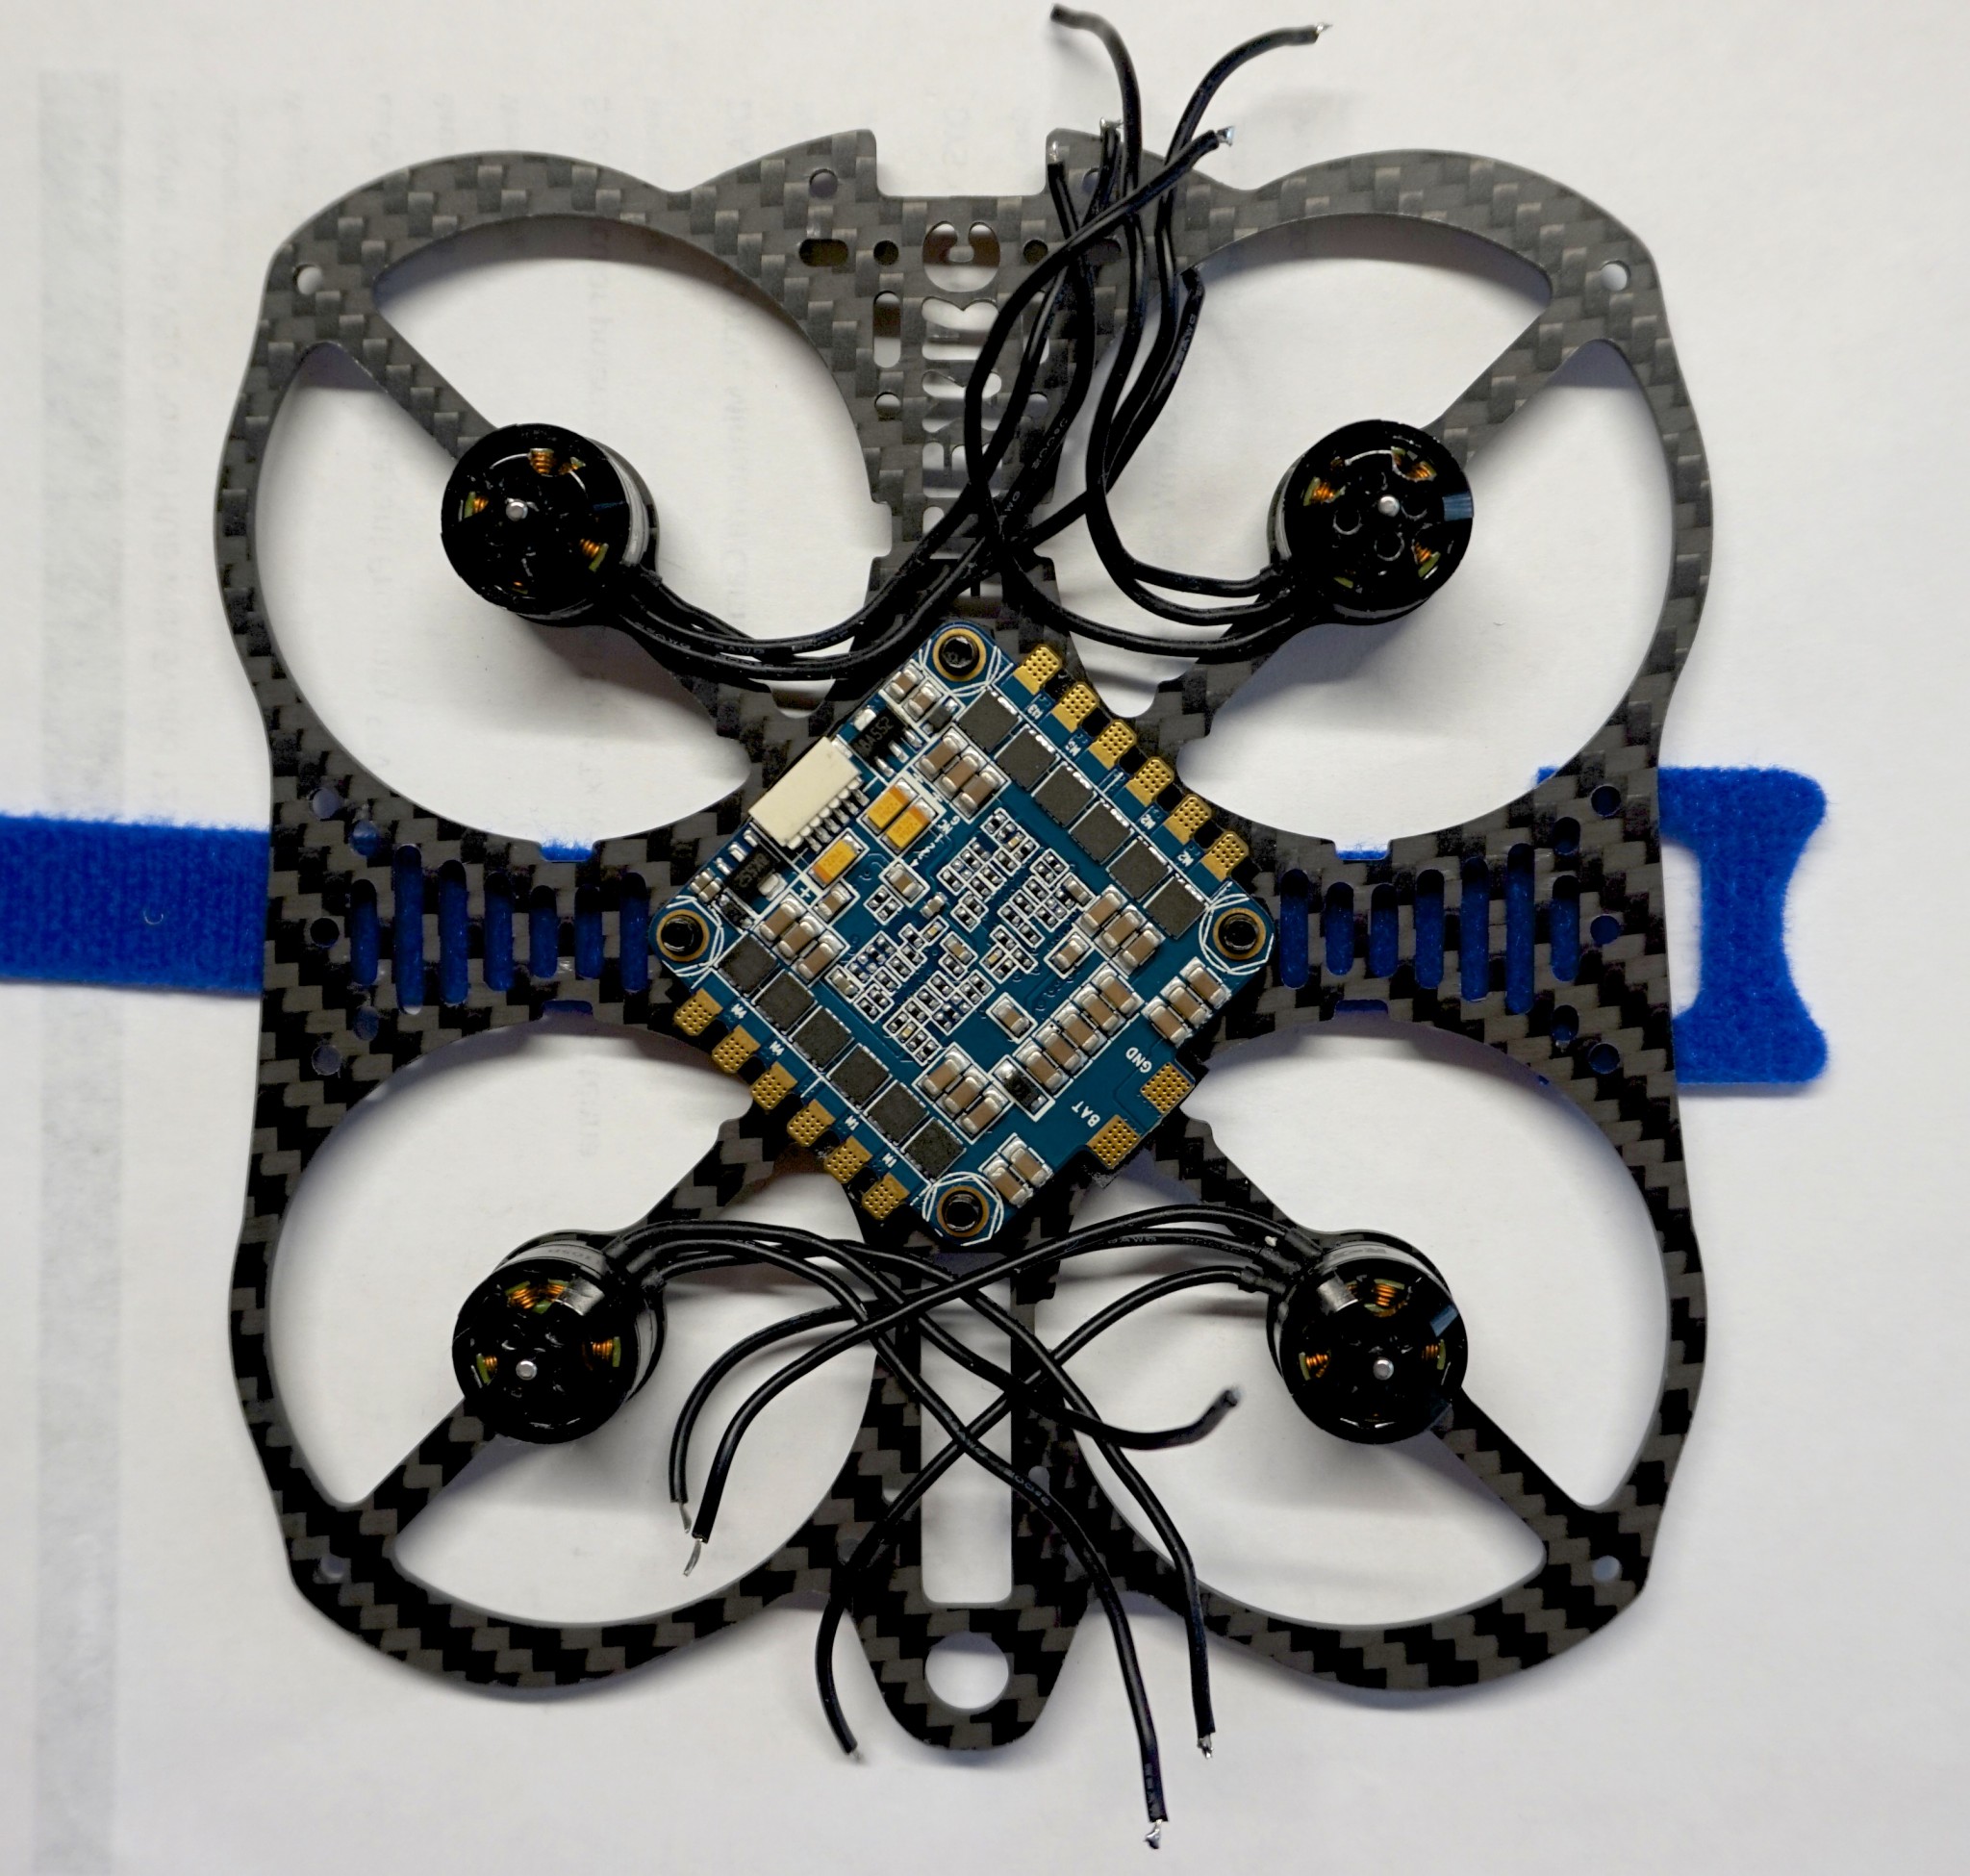
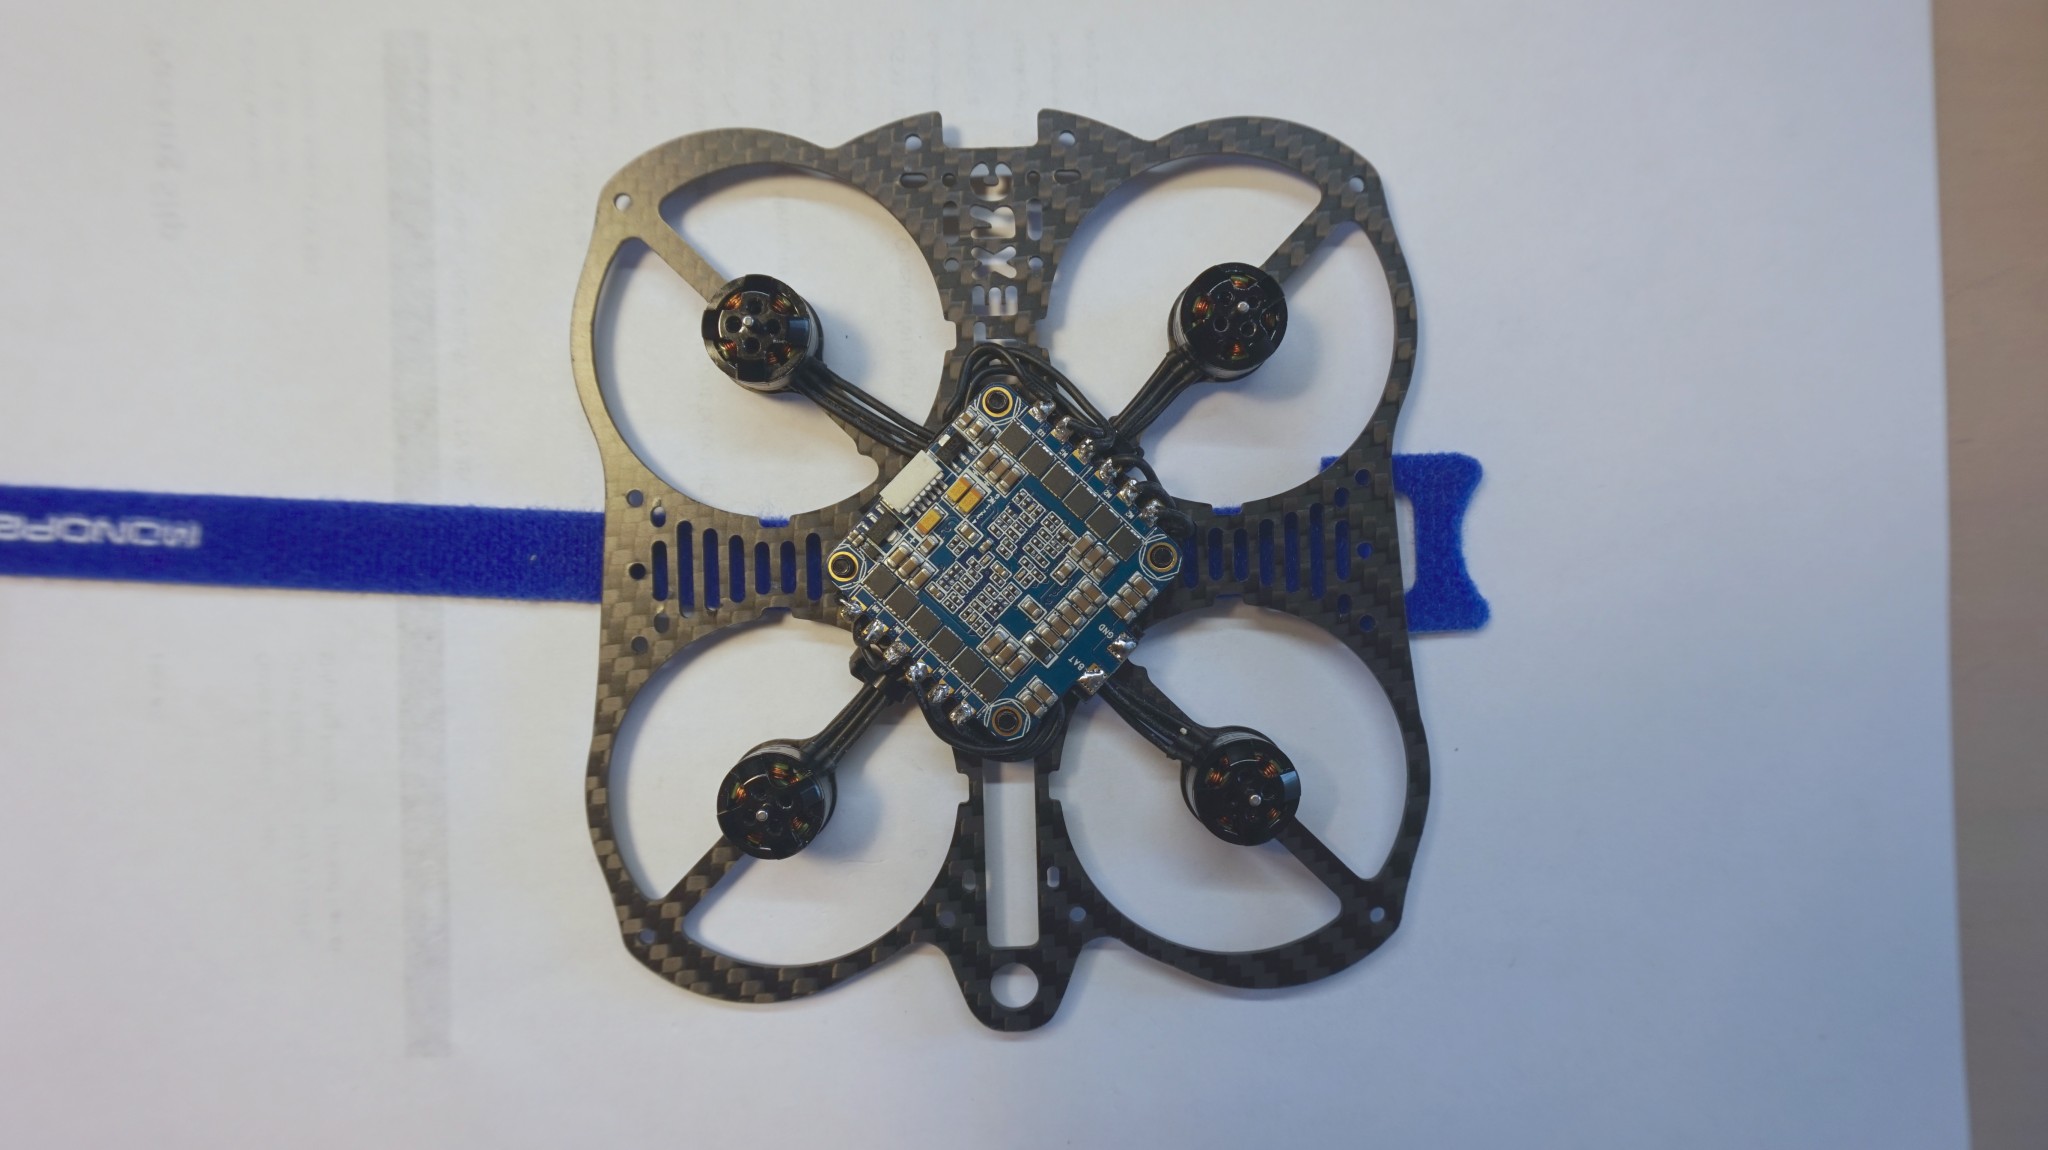
Step #3
Install ESC on the frame plate. 8mm screws work well for this purpose and you can use nylon nut as a spacer between frame and ESC:
Step #4
Melt a little bit of solder on ESC contact pads and motor wires:
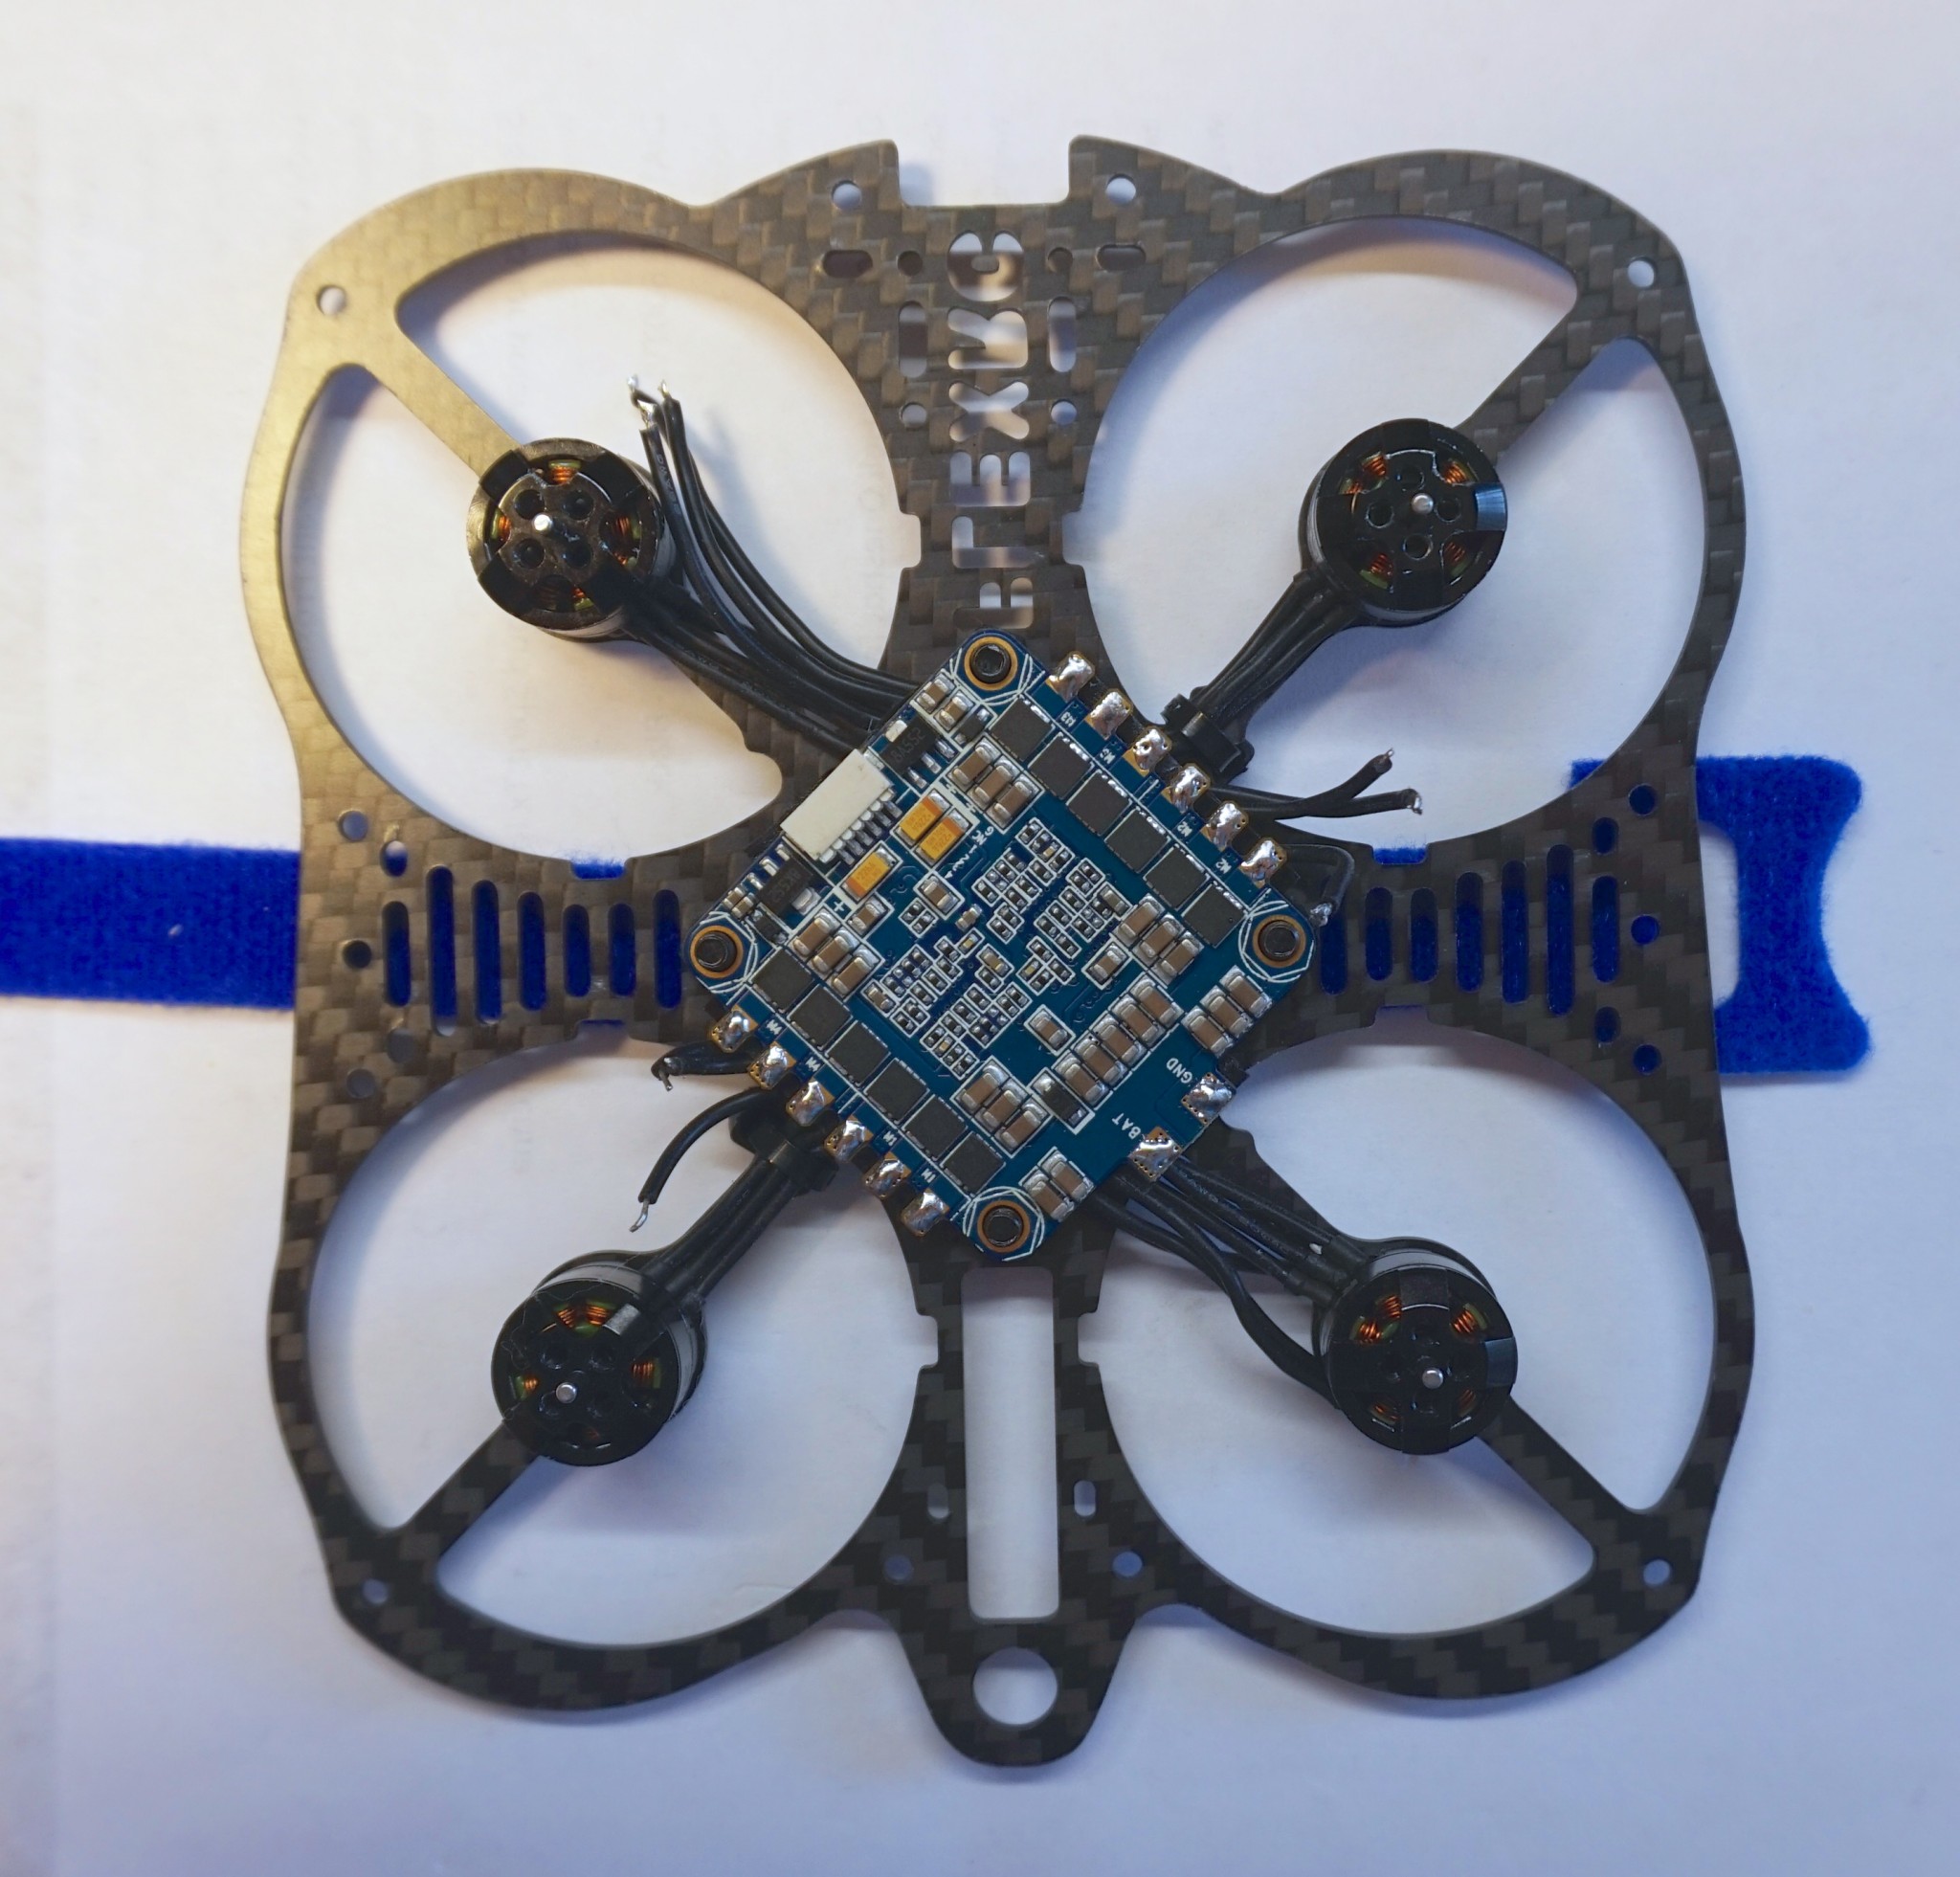
Step #5
Solder motor wires to ESC:
Step #6
Solder battery connector to ESC:
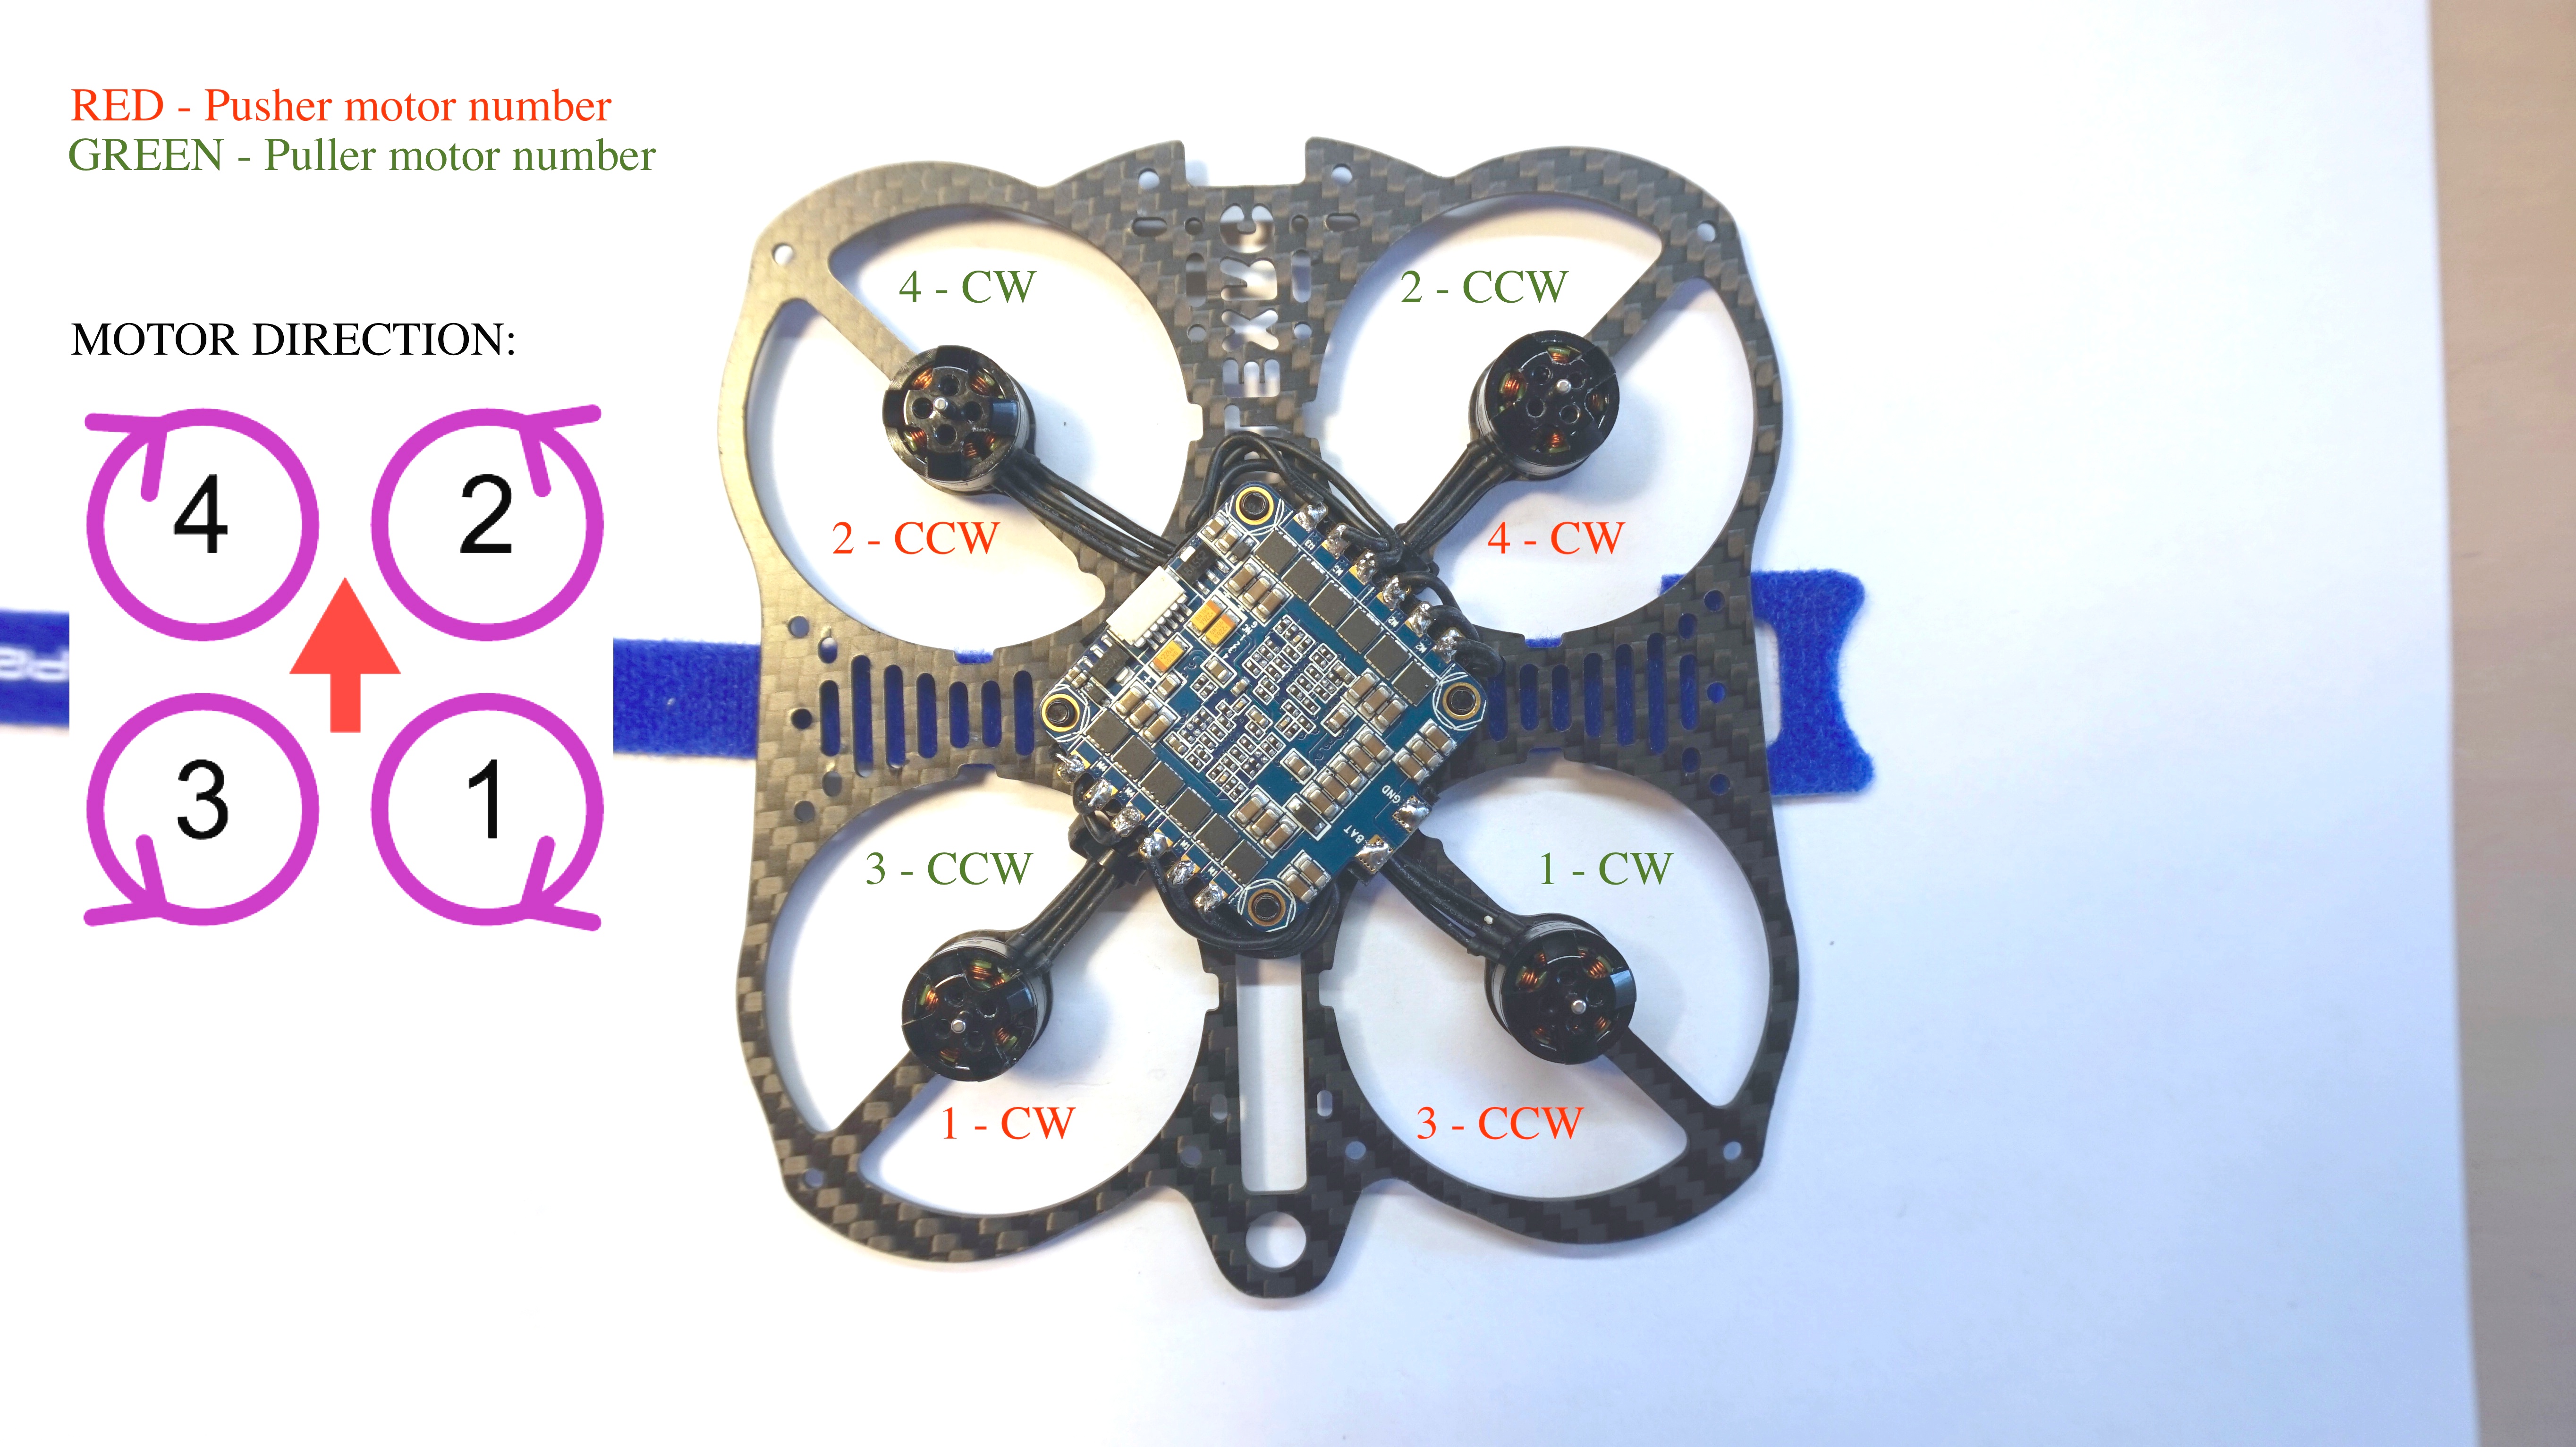
Here is the reference to easier setup your motor direction:
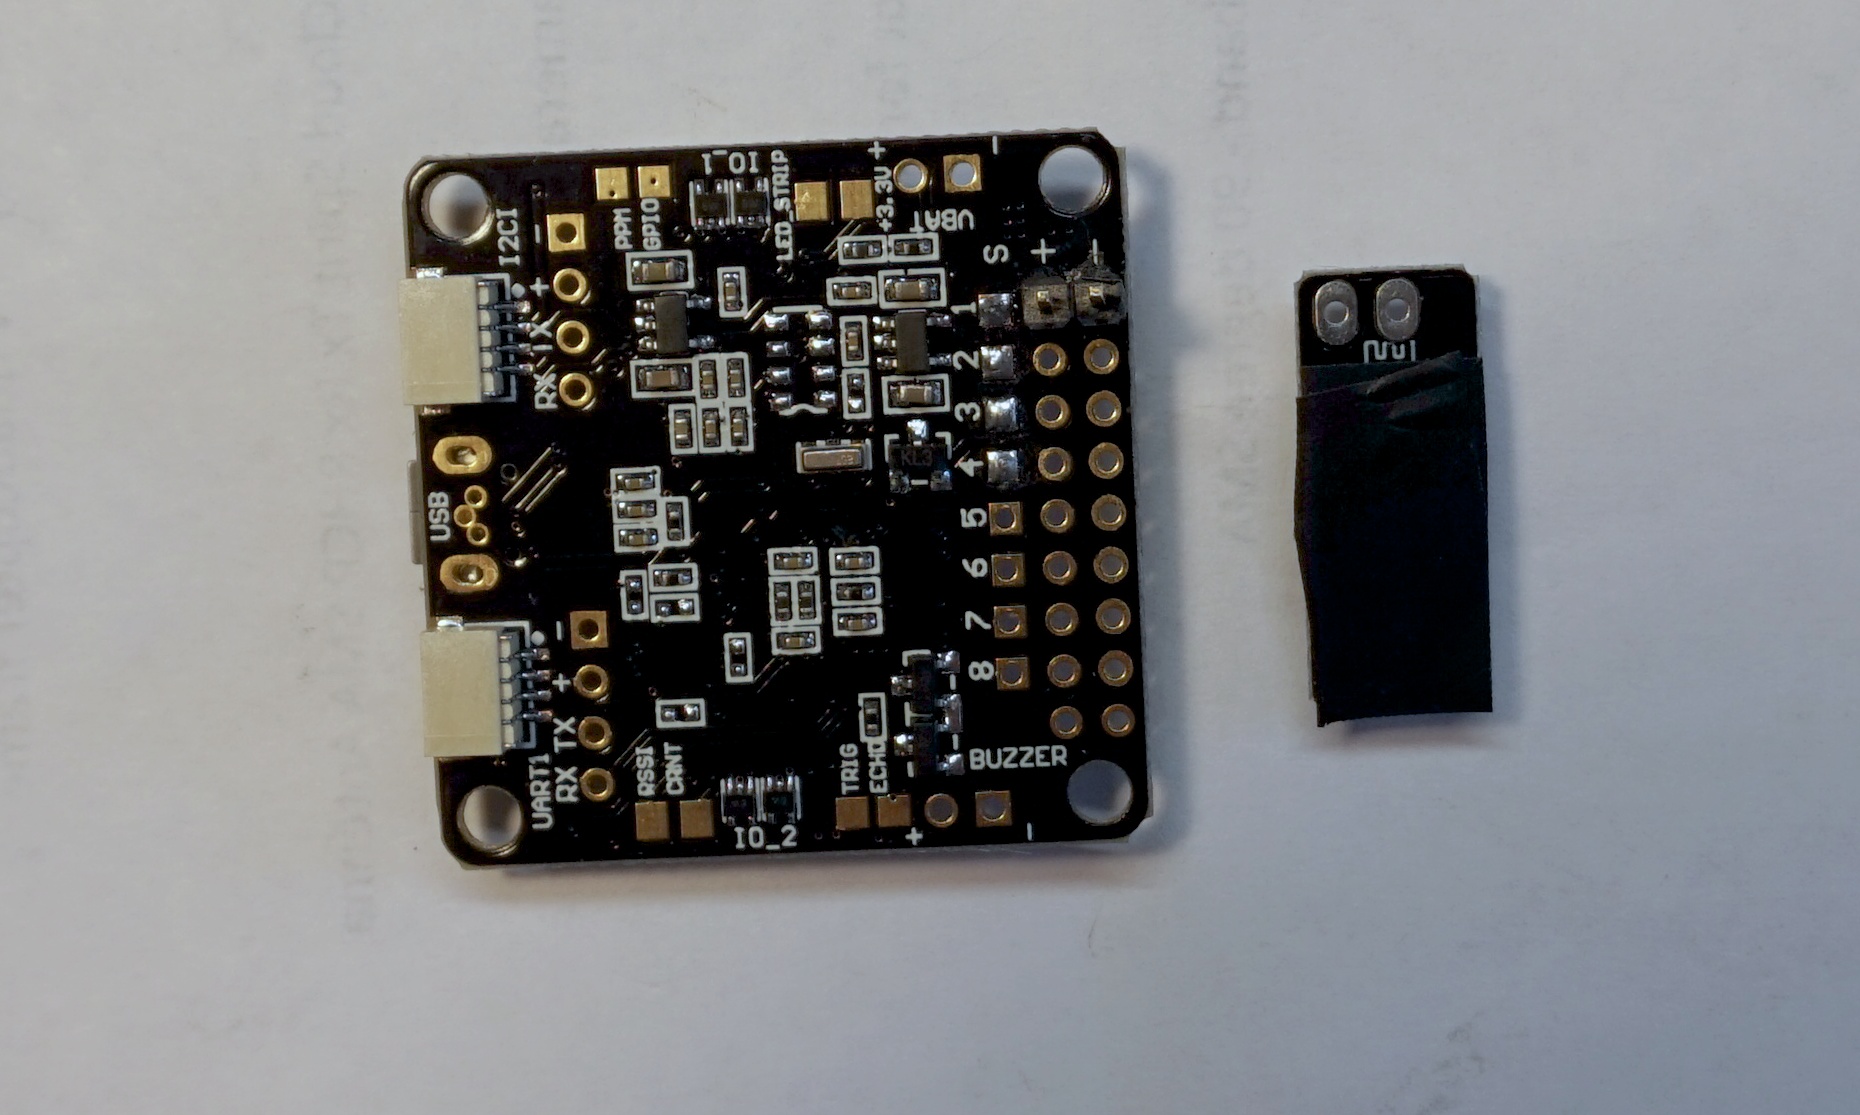
Step #7
We need to install Diatone BEC on flight controller:
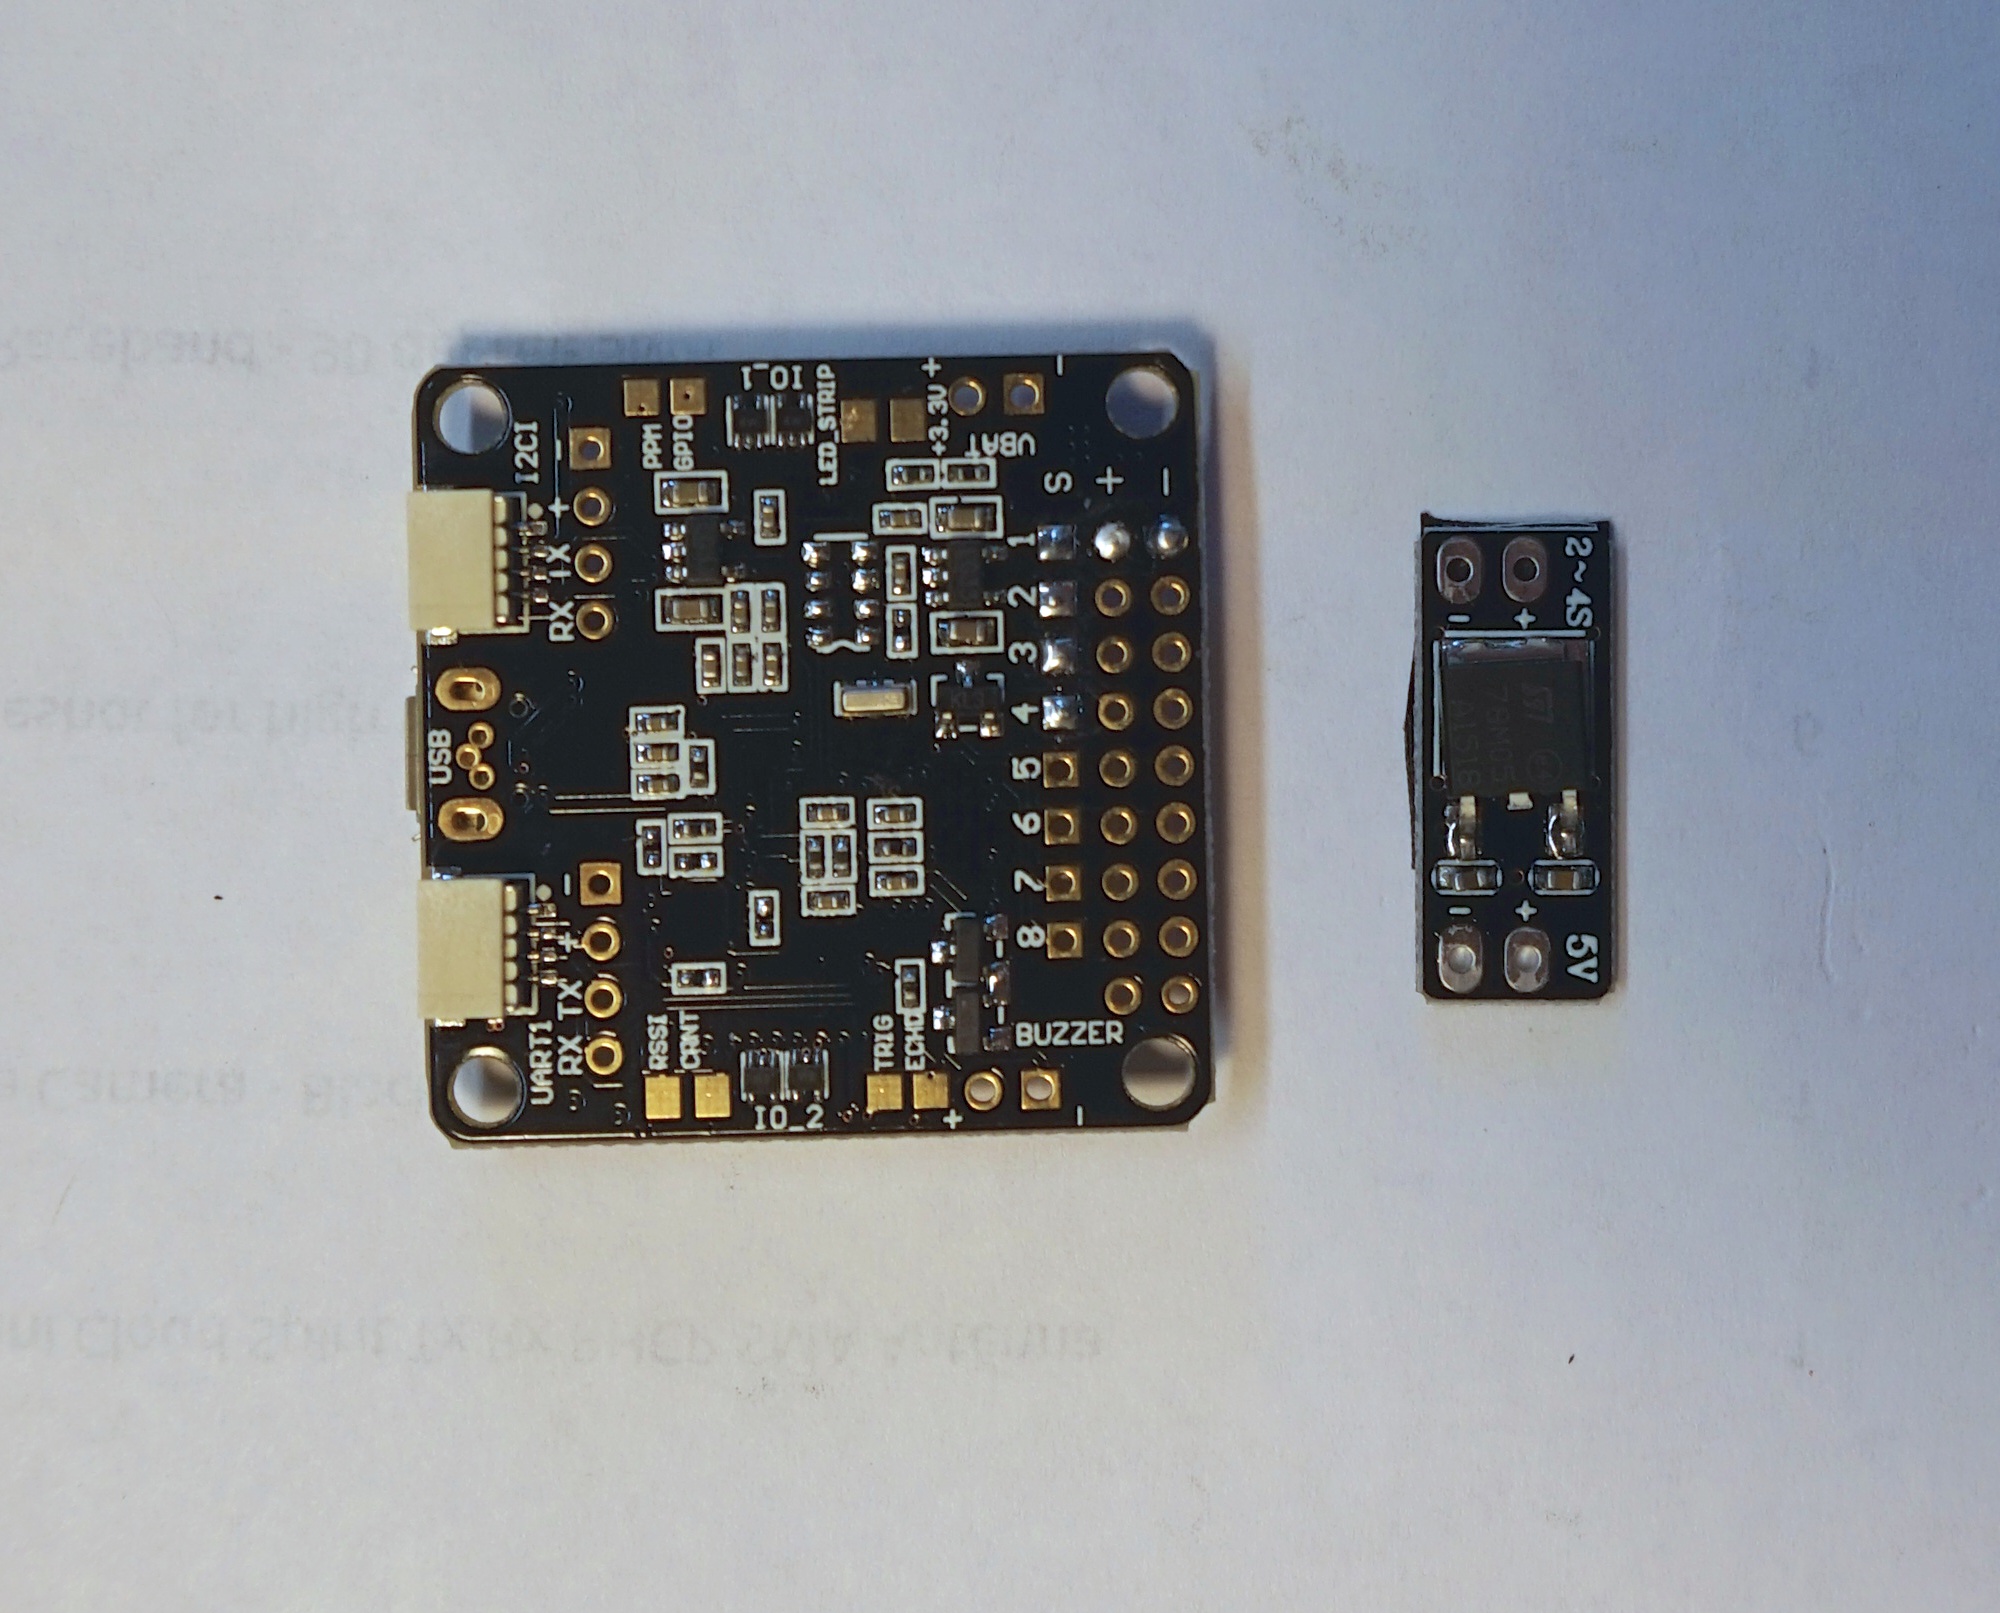
Step #8
Solder pins to +/- contact holes and put electrical tape on the flat side of BEC, also cover power IN contacts with it:
Step #9
You can optionally remove black plastic from +/- pins we just installed. Slide BEC on these +/- contacts as on the picture below and solder them together:
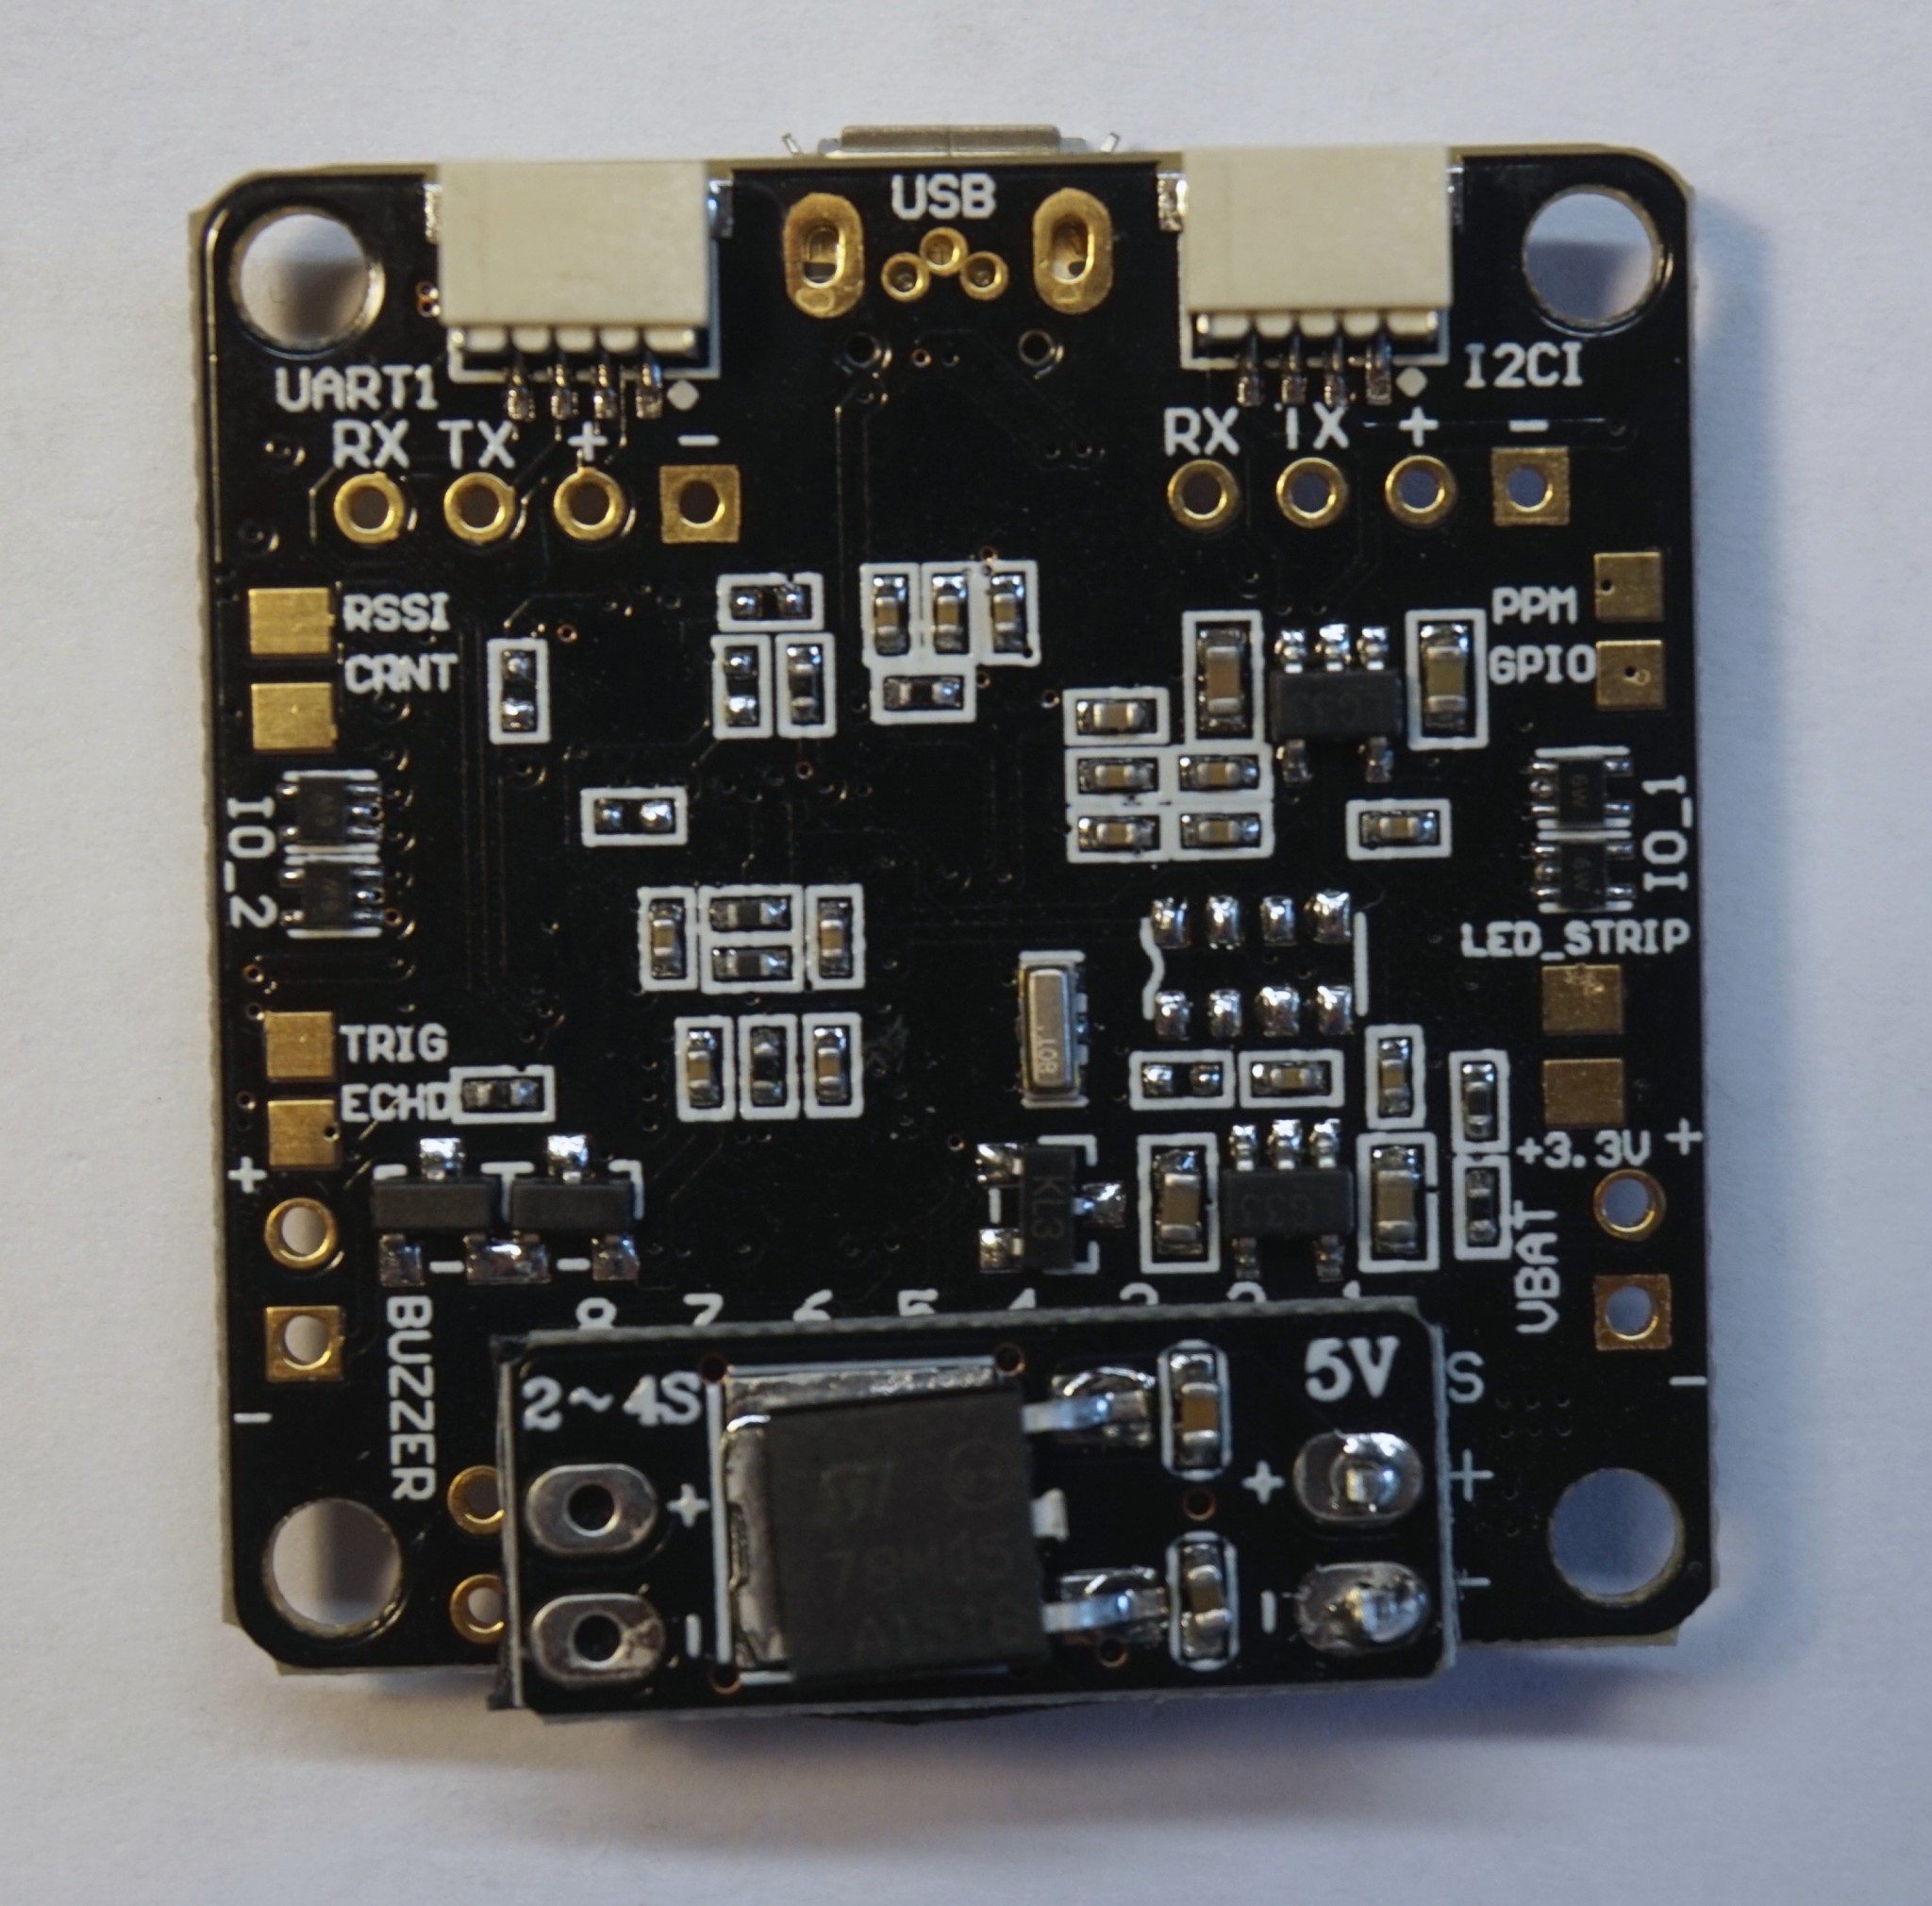
You can cutoff excessive pins to make this setup narrower.
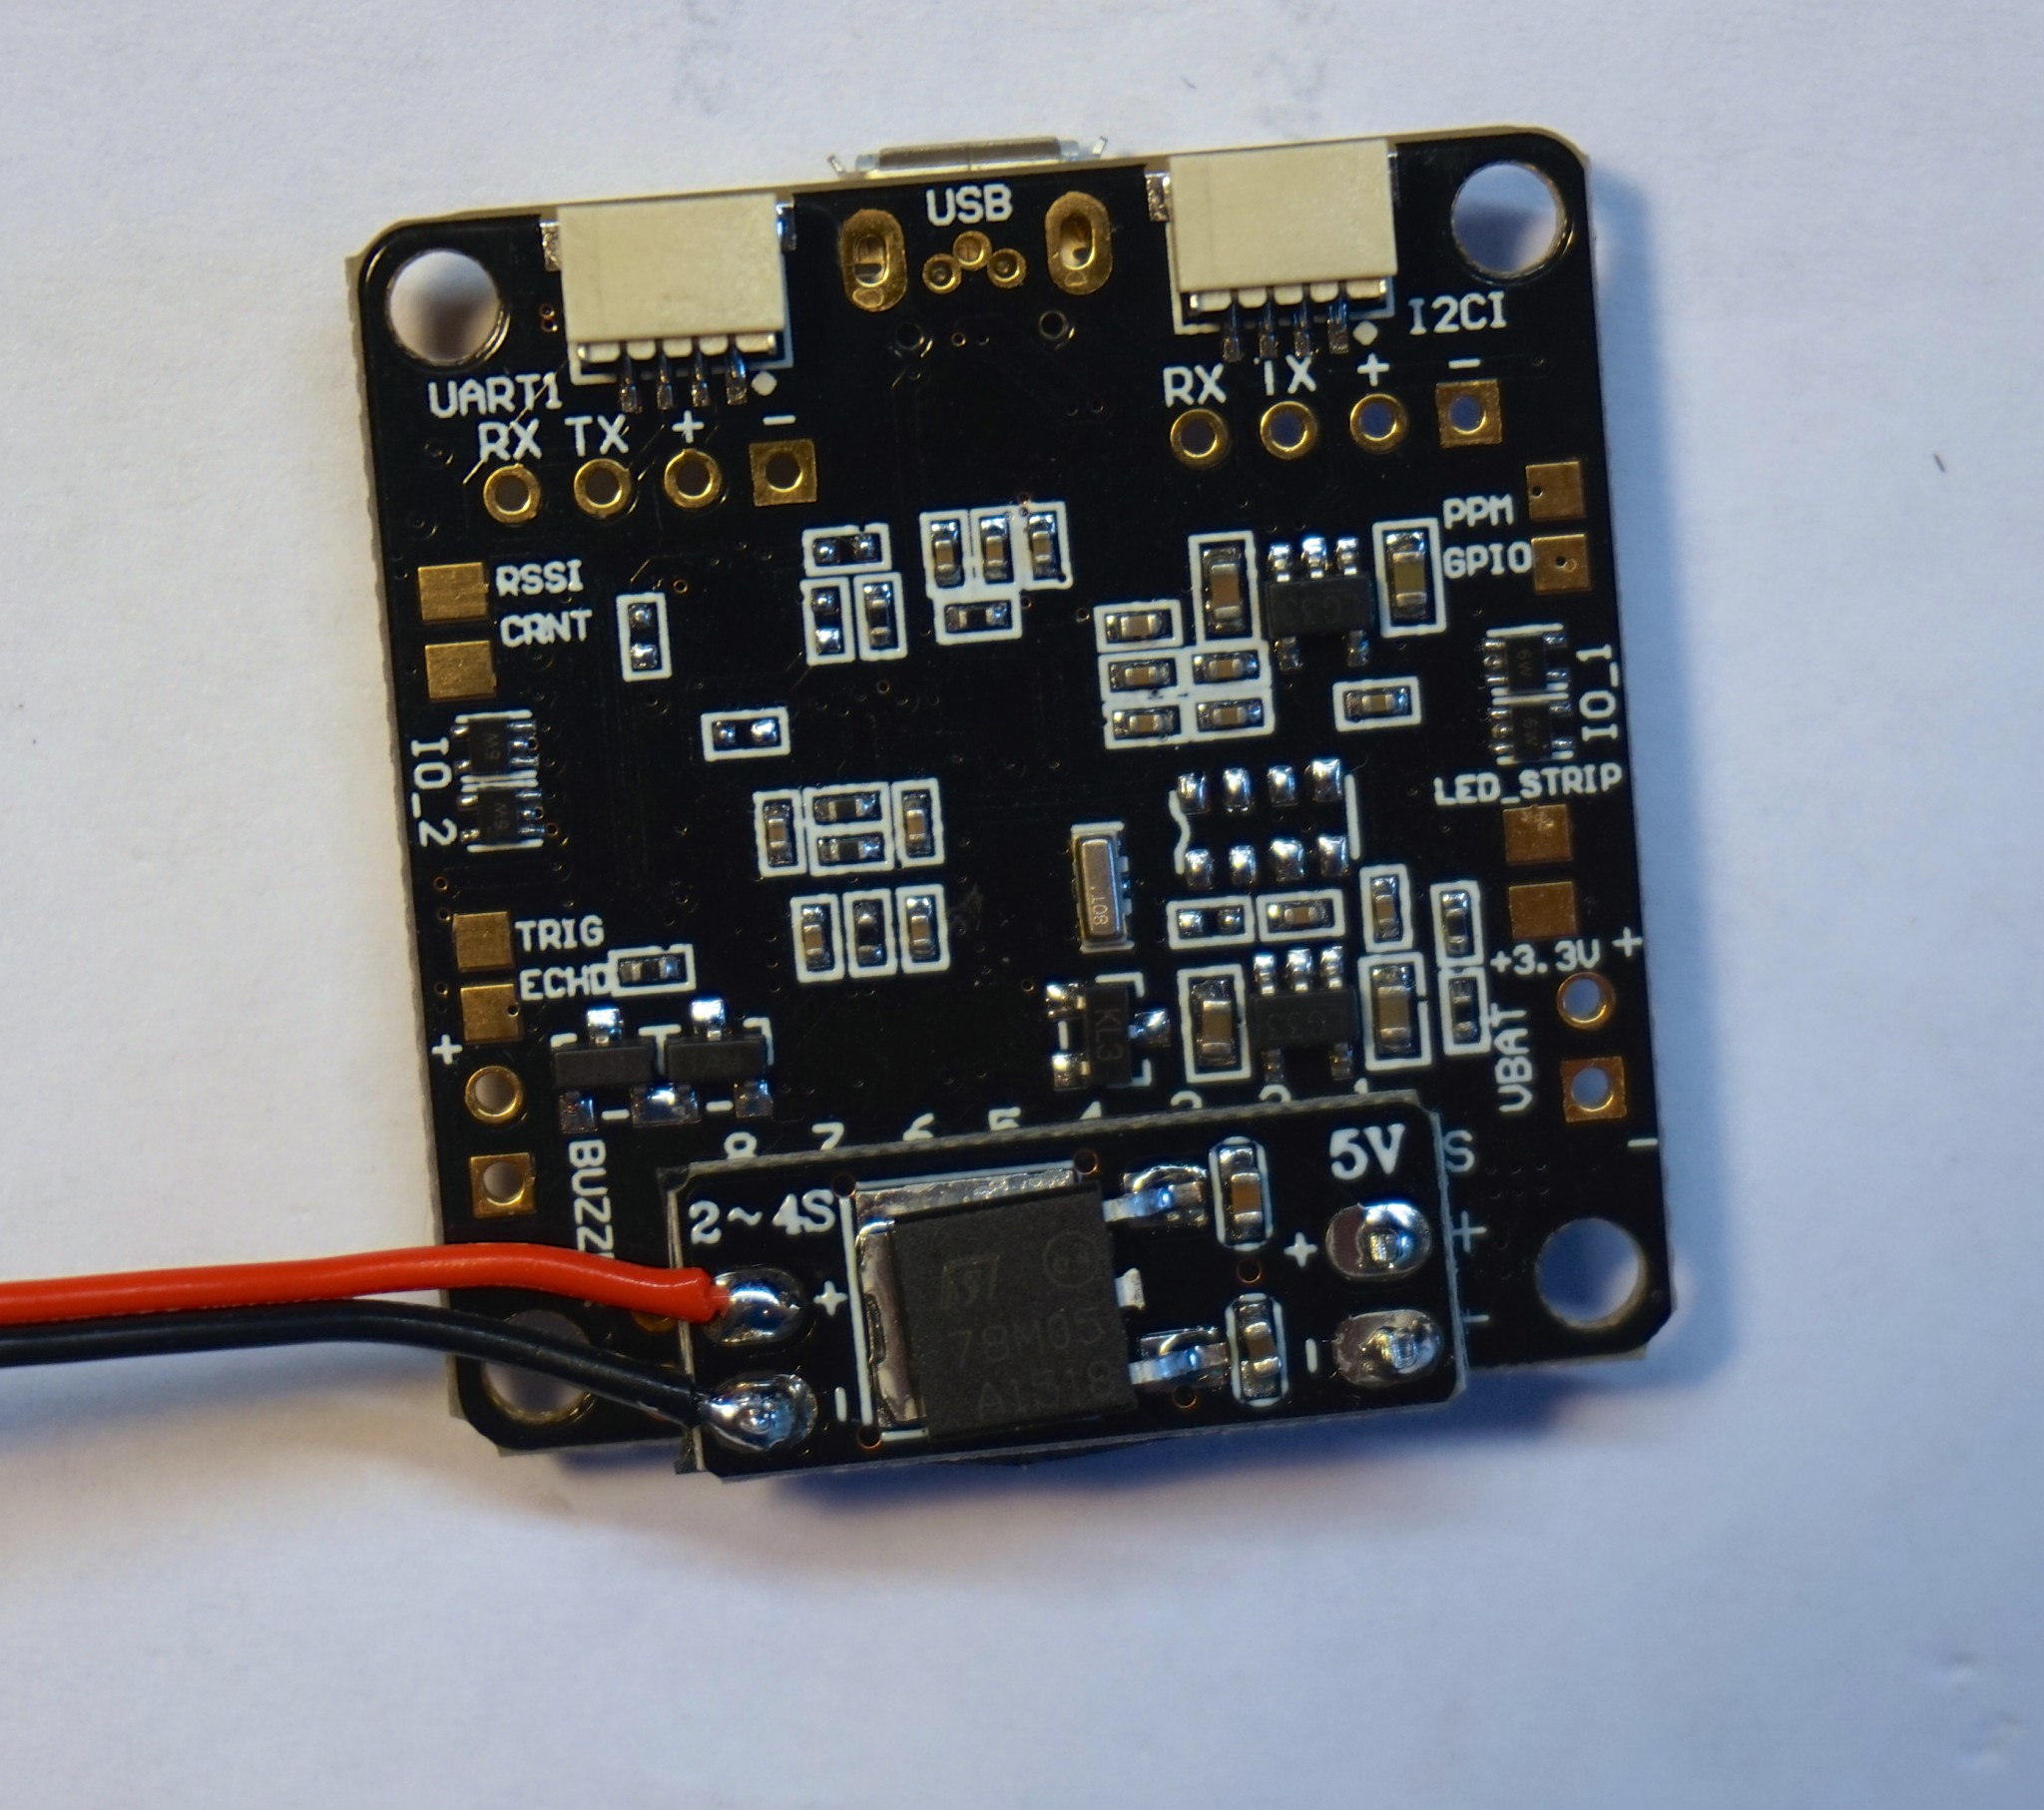
Step #10
Solder wires to BEC power in and then solder these wires to where battery connector is soldered:
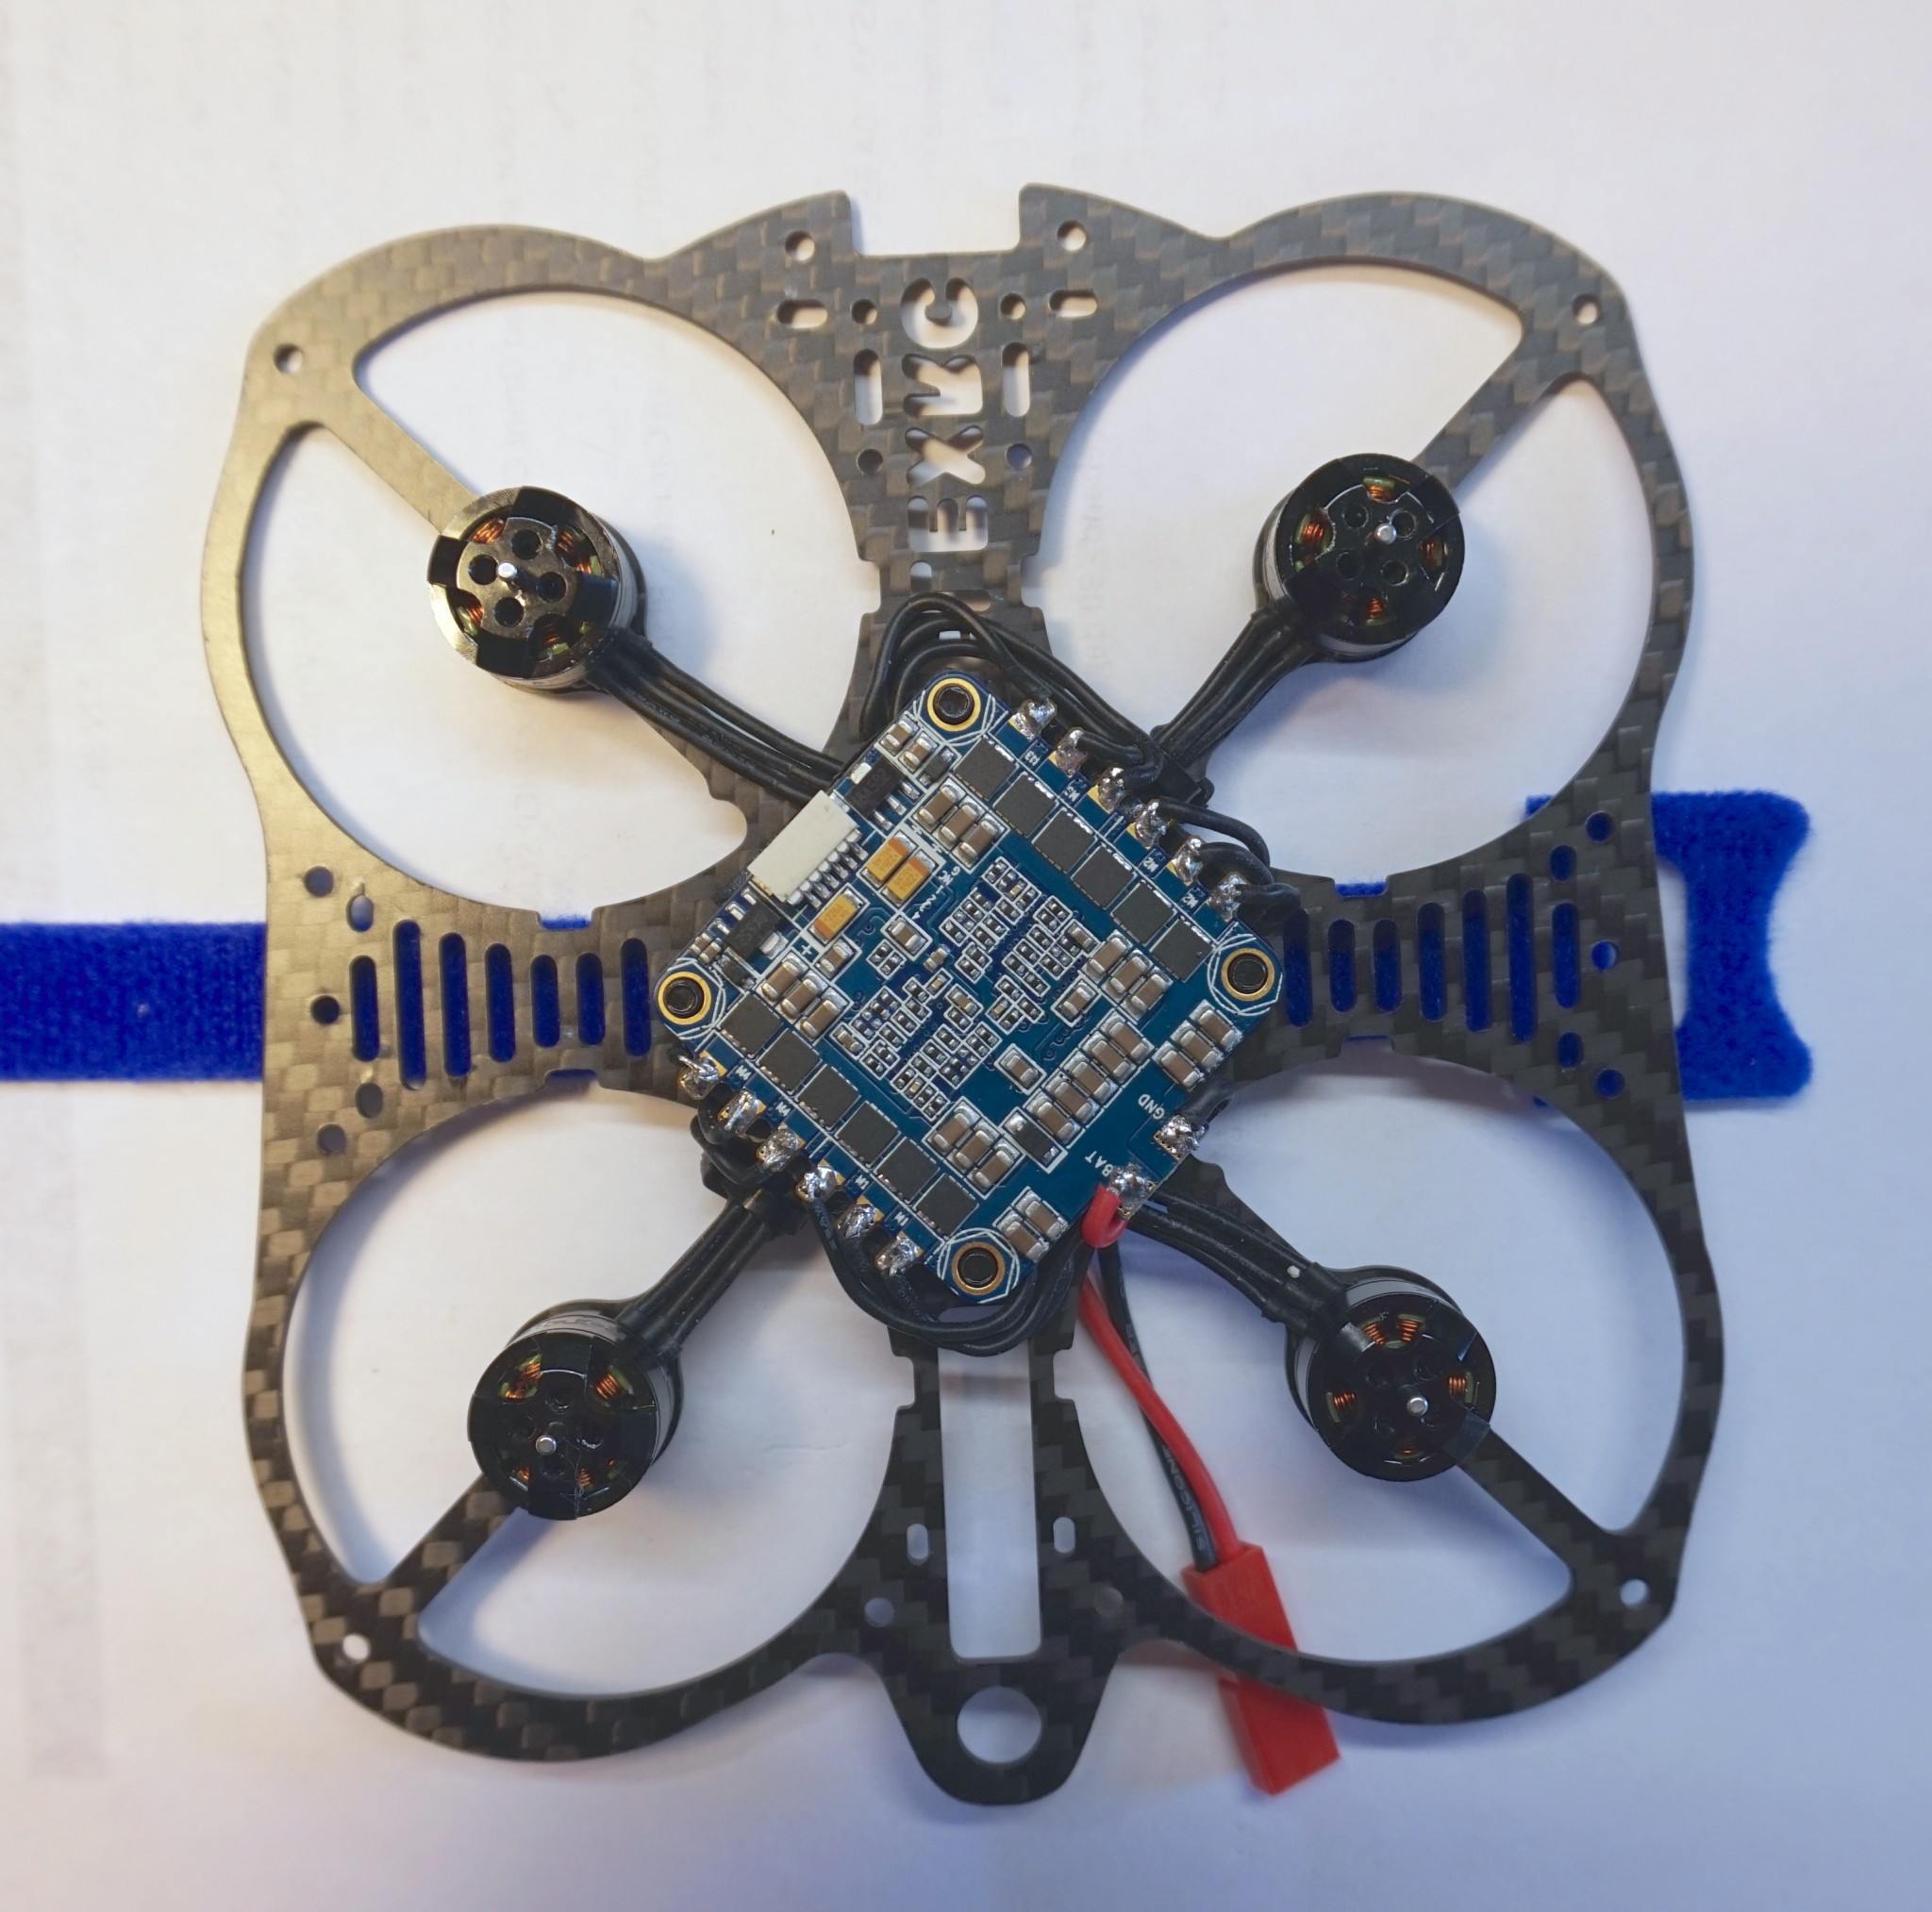
Step #11
Solder ESC signal wires like on the following picture:
Step #12
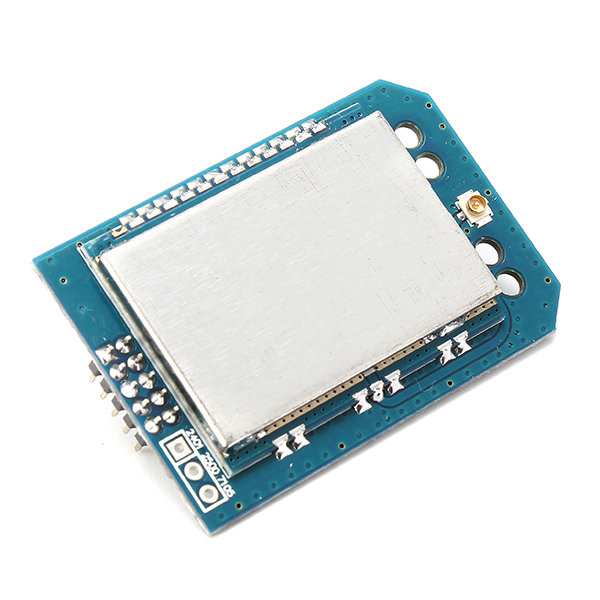
Disassemble and remove case from Lemon-rx receiver:
Step #13
Cut off excessive contact pins from lemon-rx:
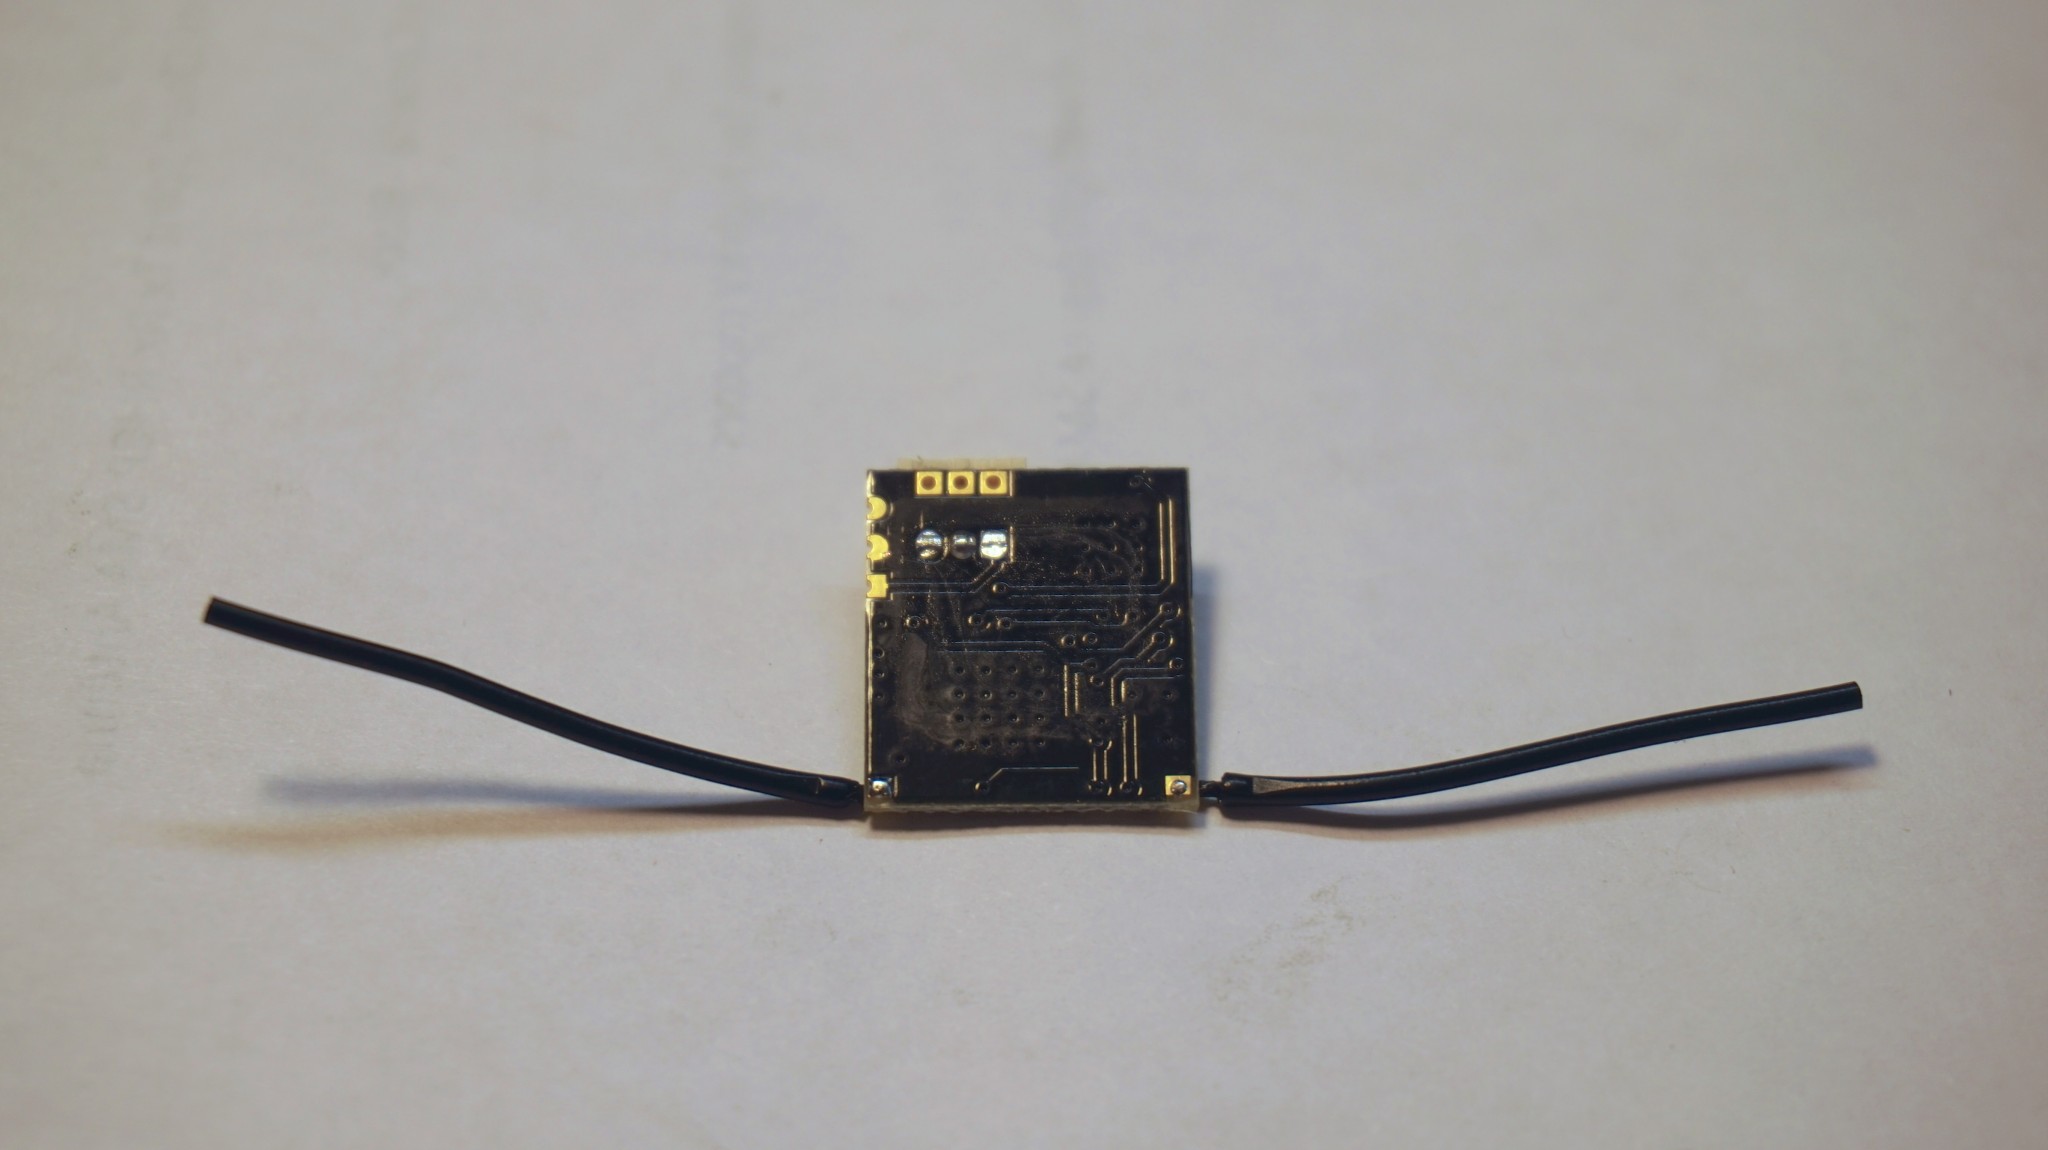
Step #14
Insert connection wires into Lemon-rx and then cut off excessive wires:
Step #15
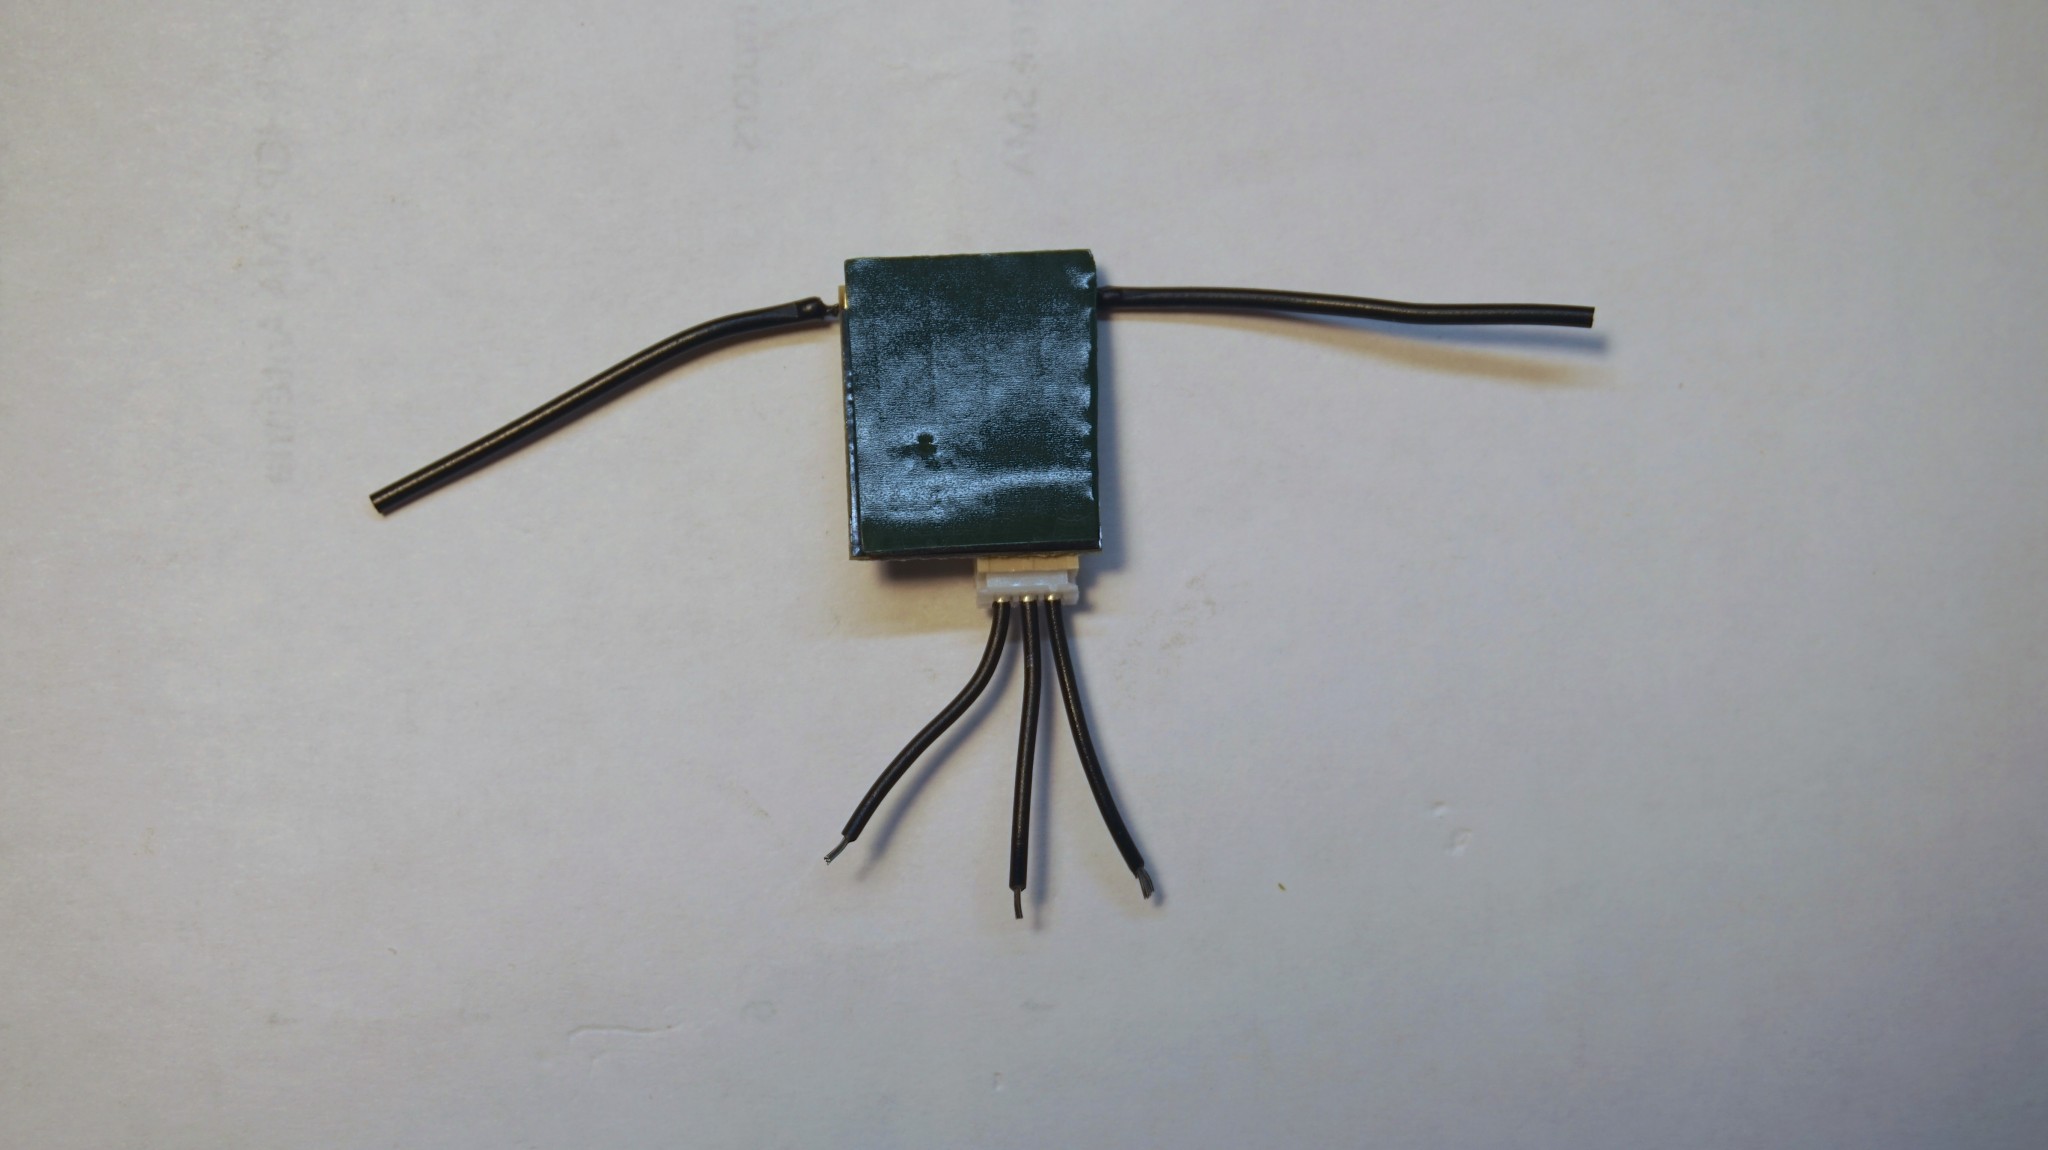
Stick double sided tape which comes with Lemon-rx no flat side of it:
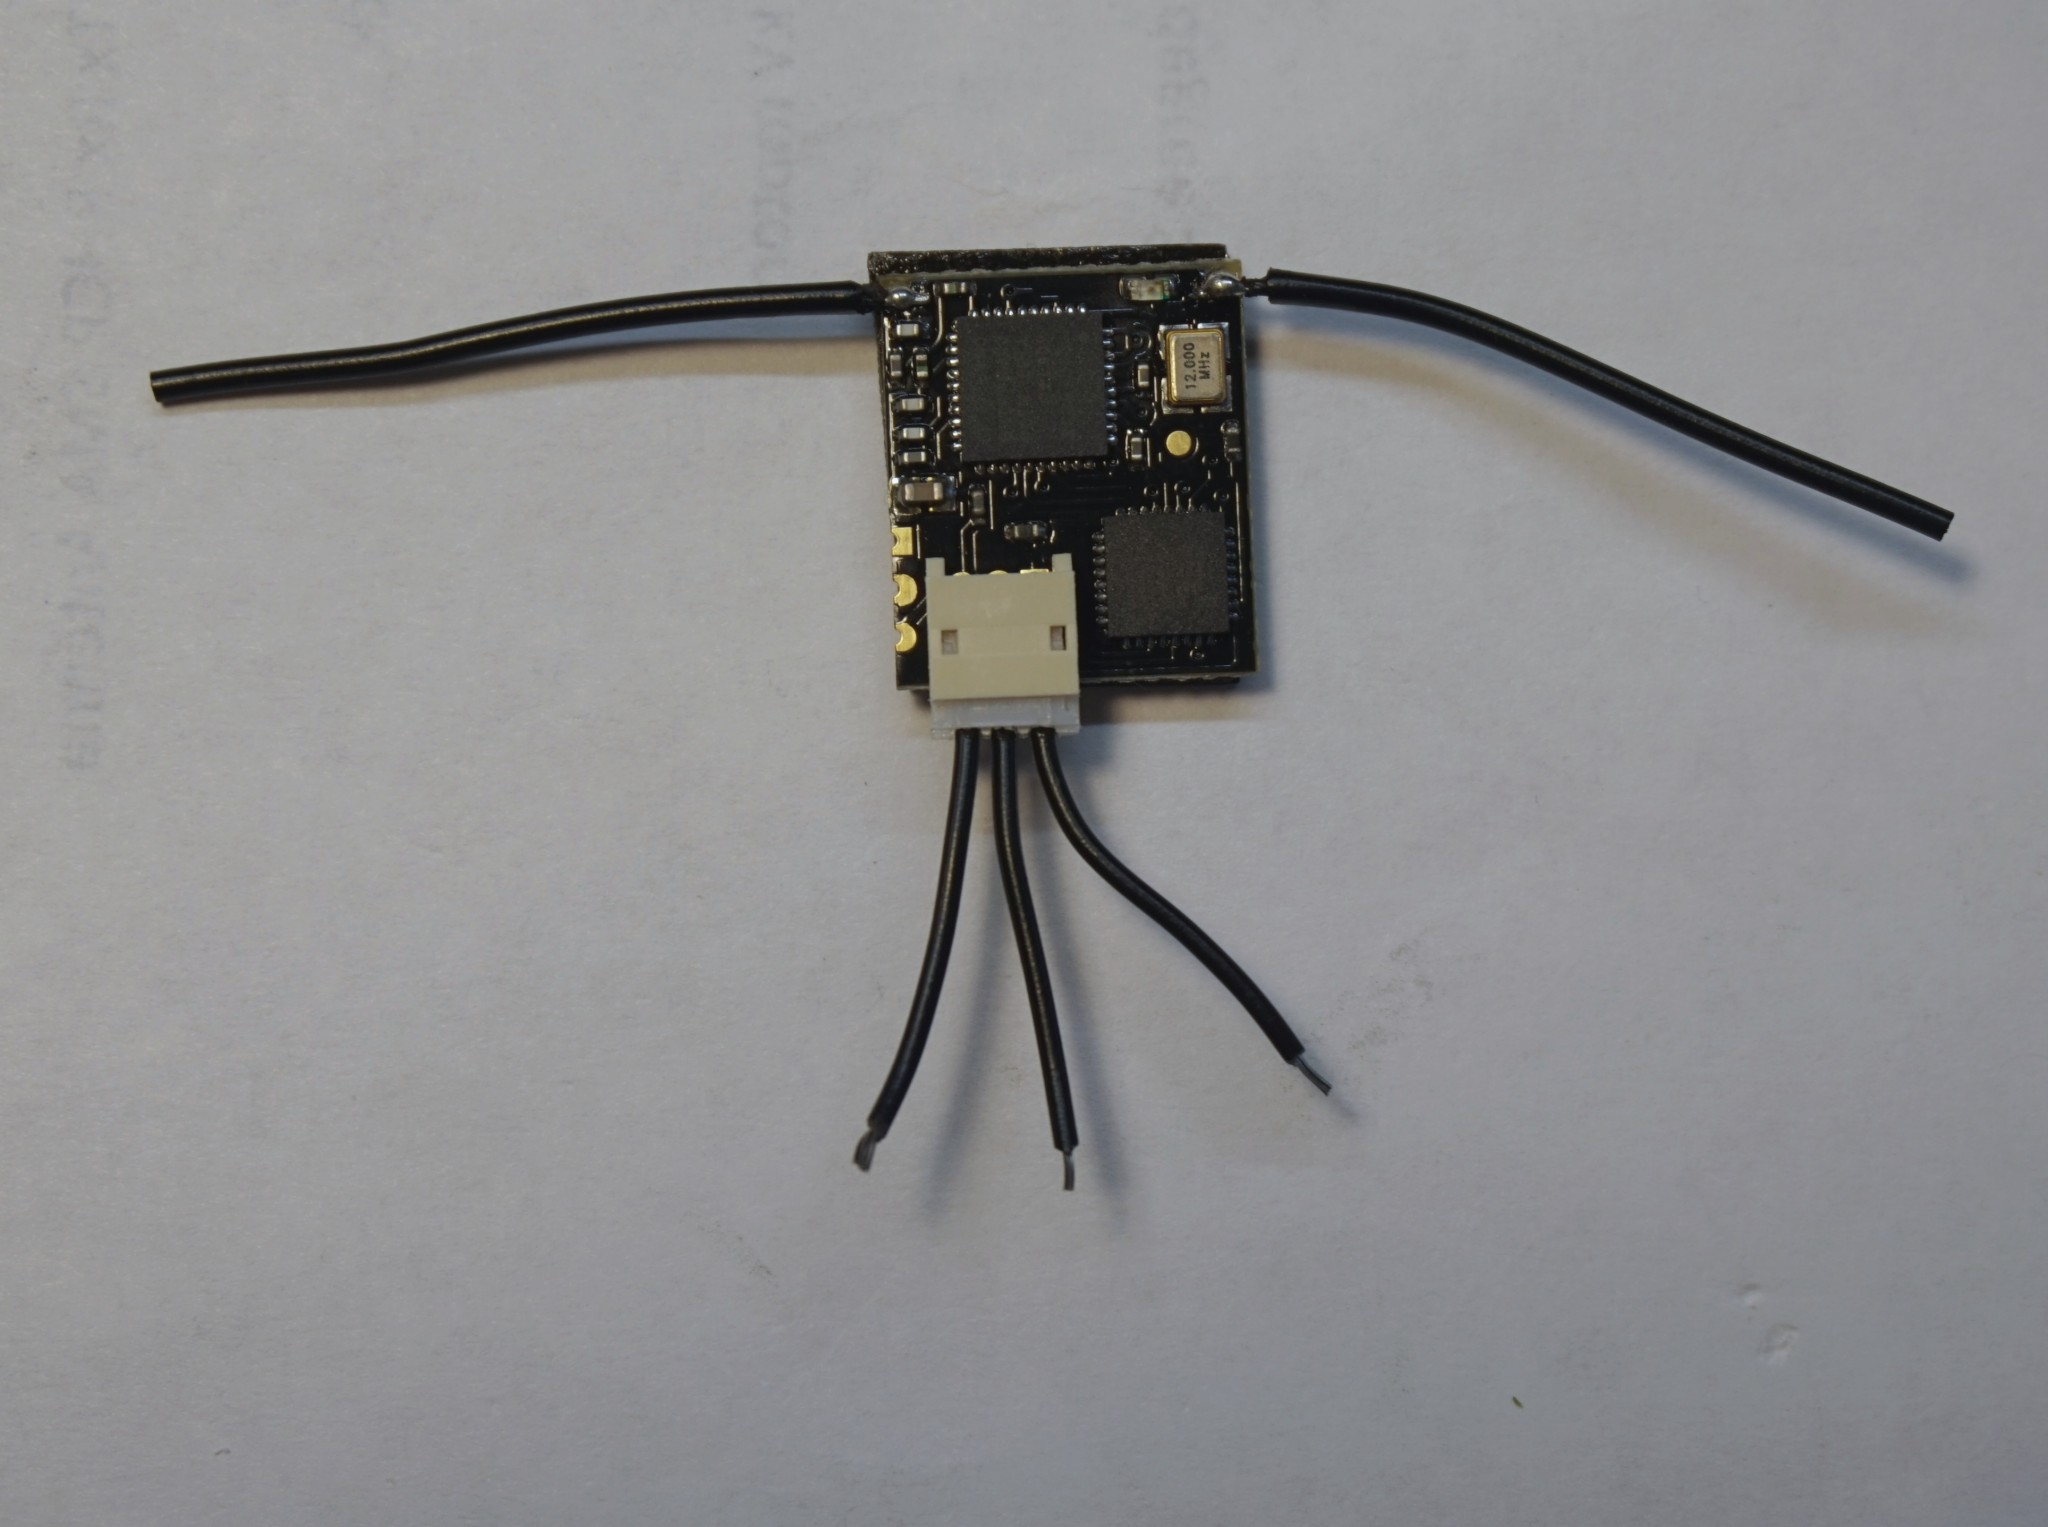
Step #16
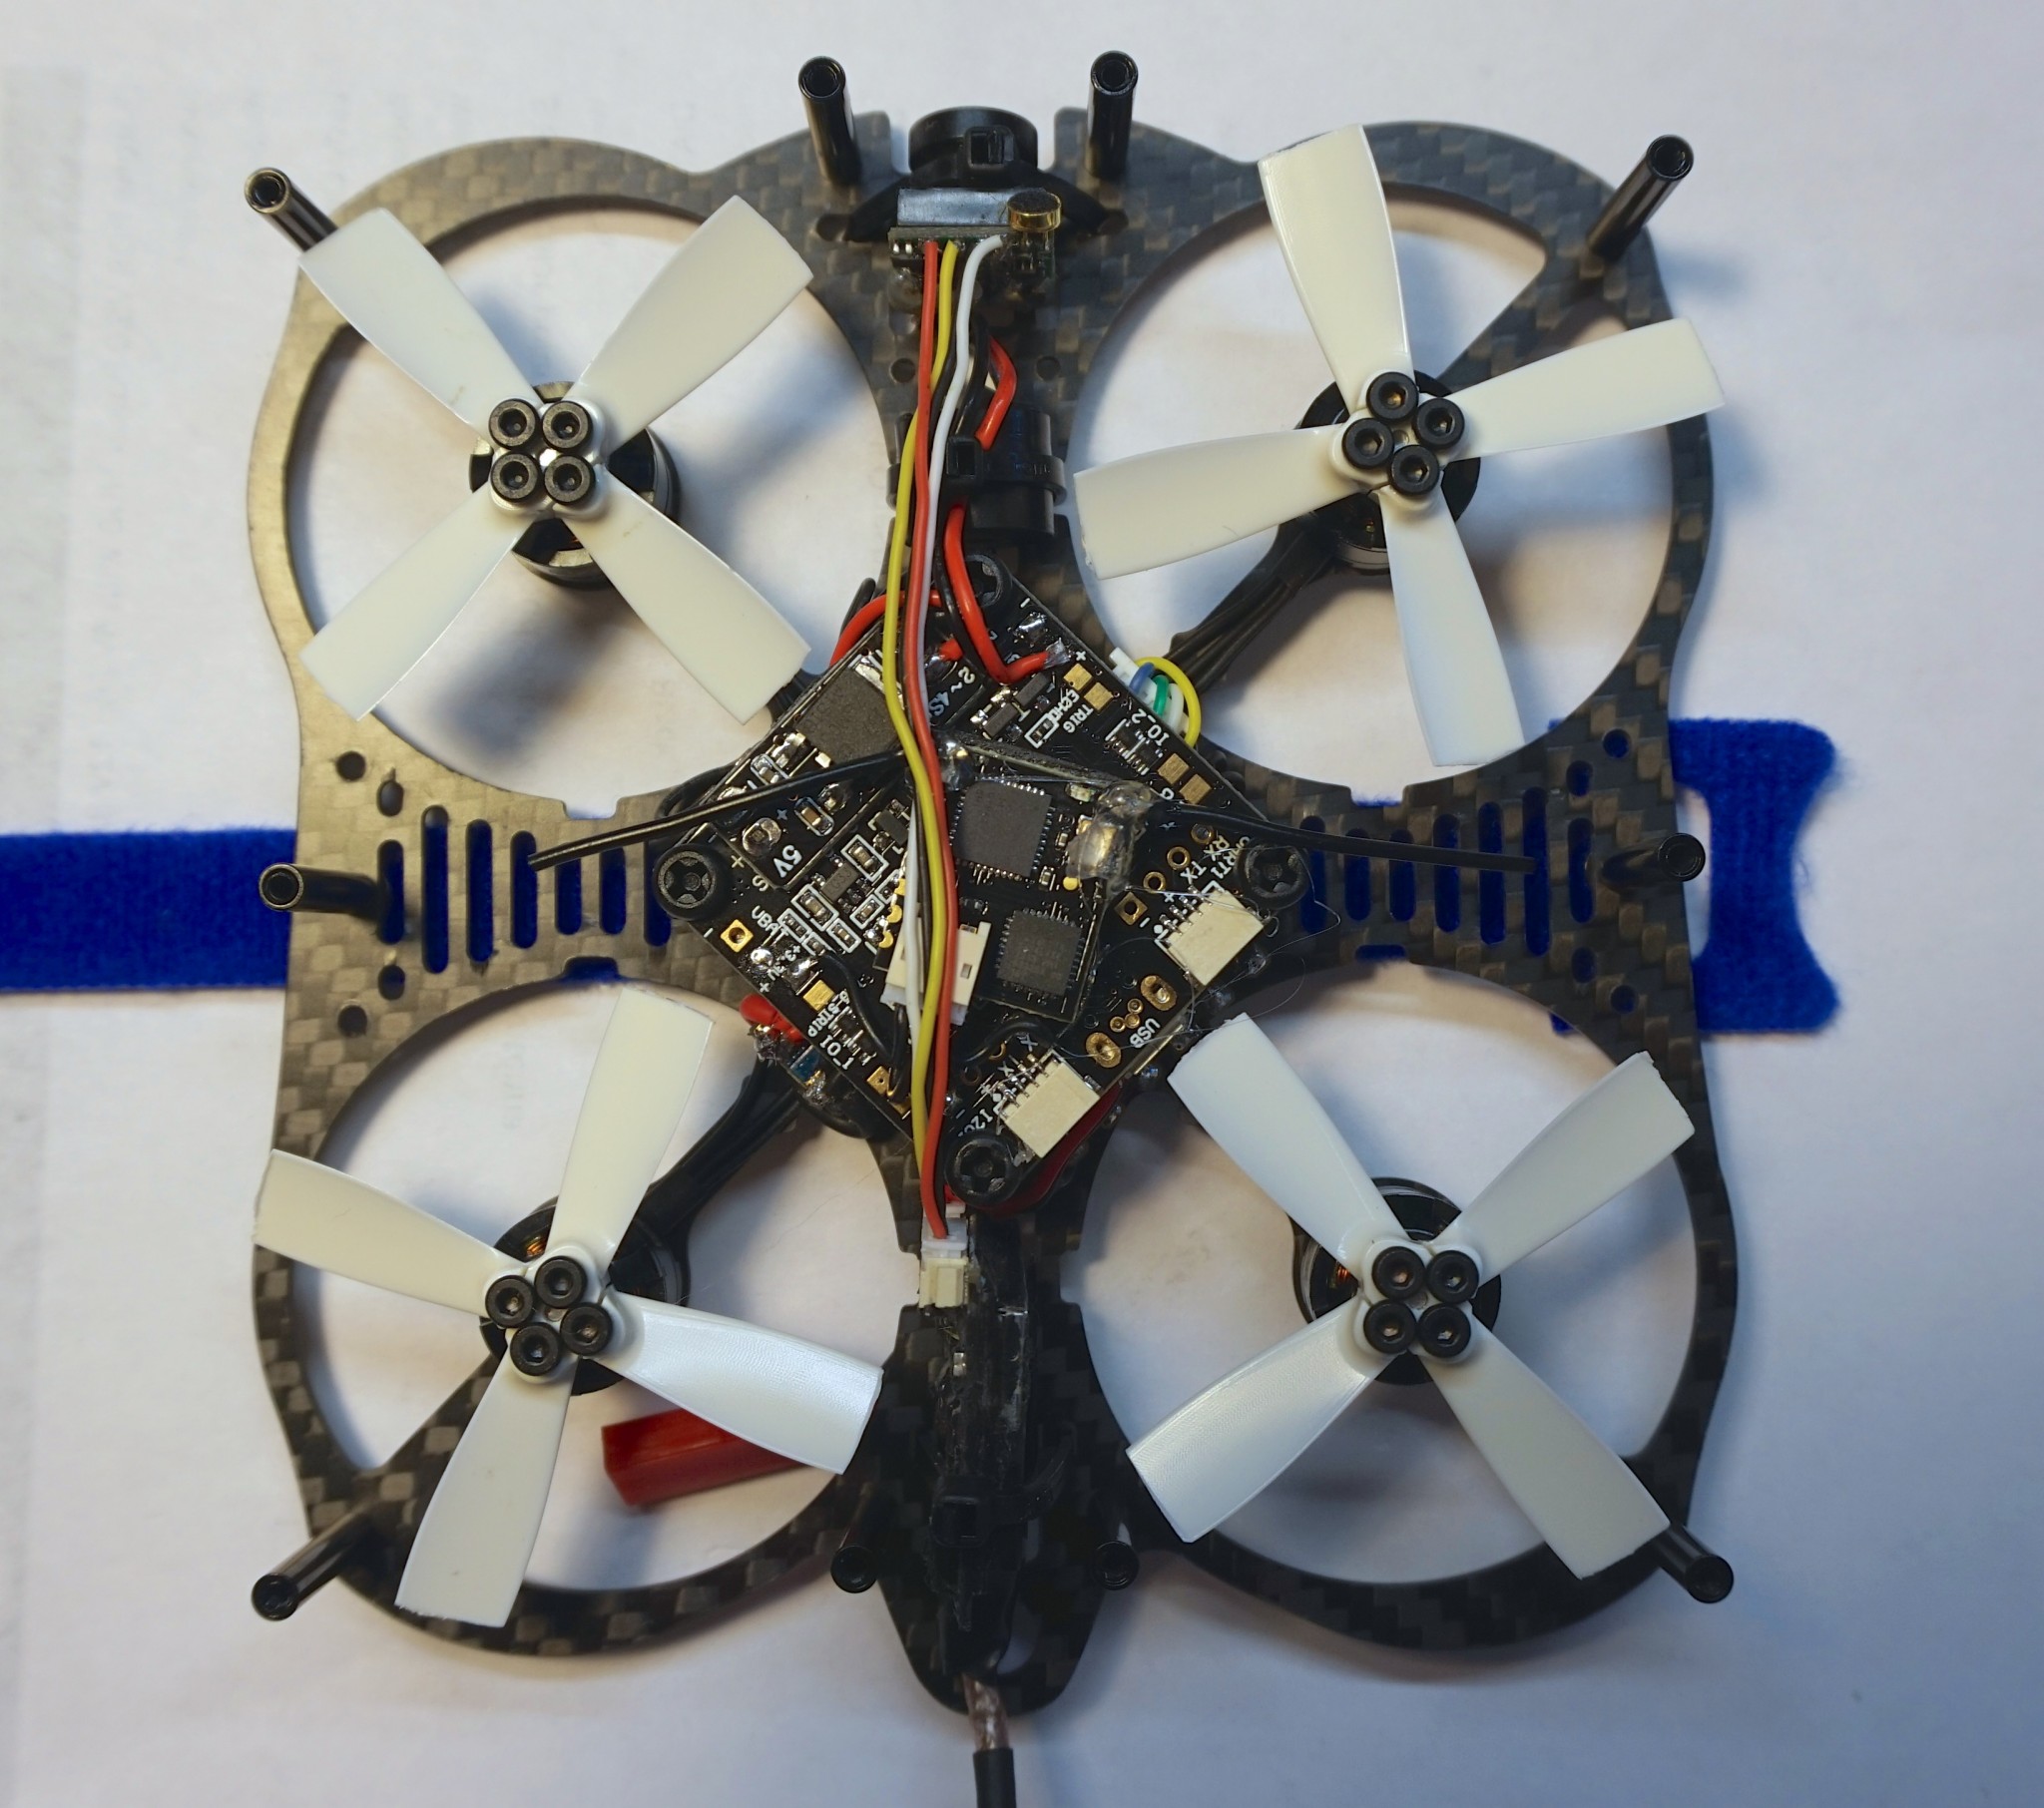
Solder Lemon-rx to Flight Controller:
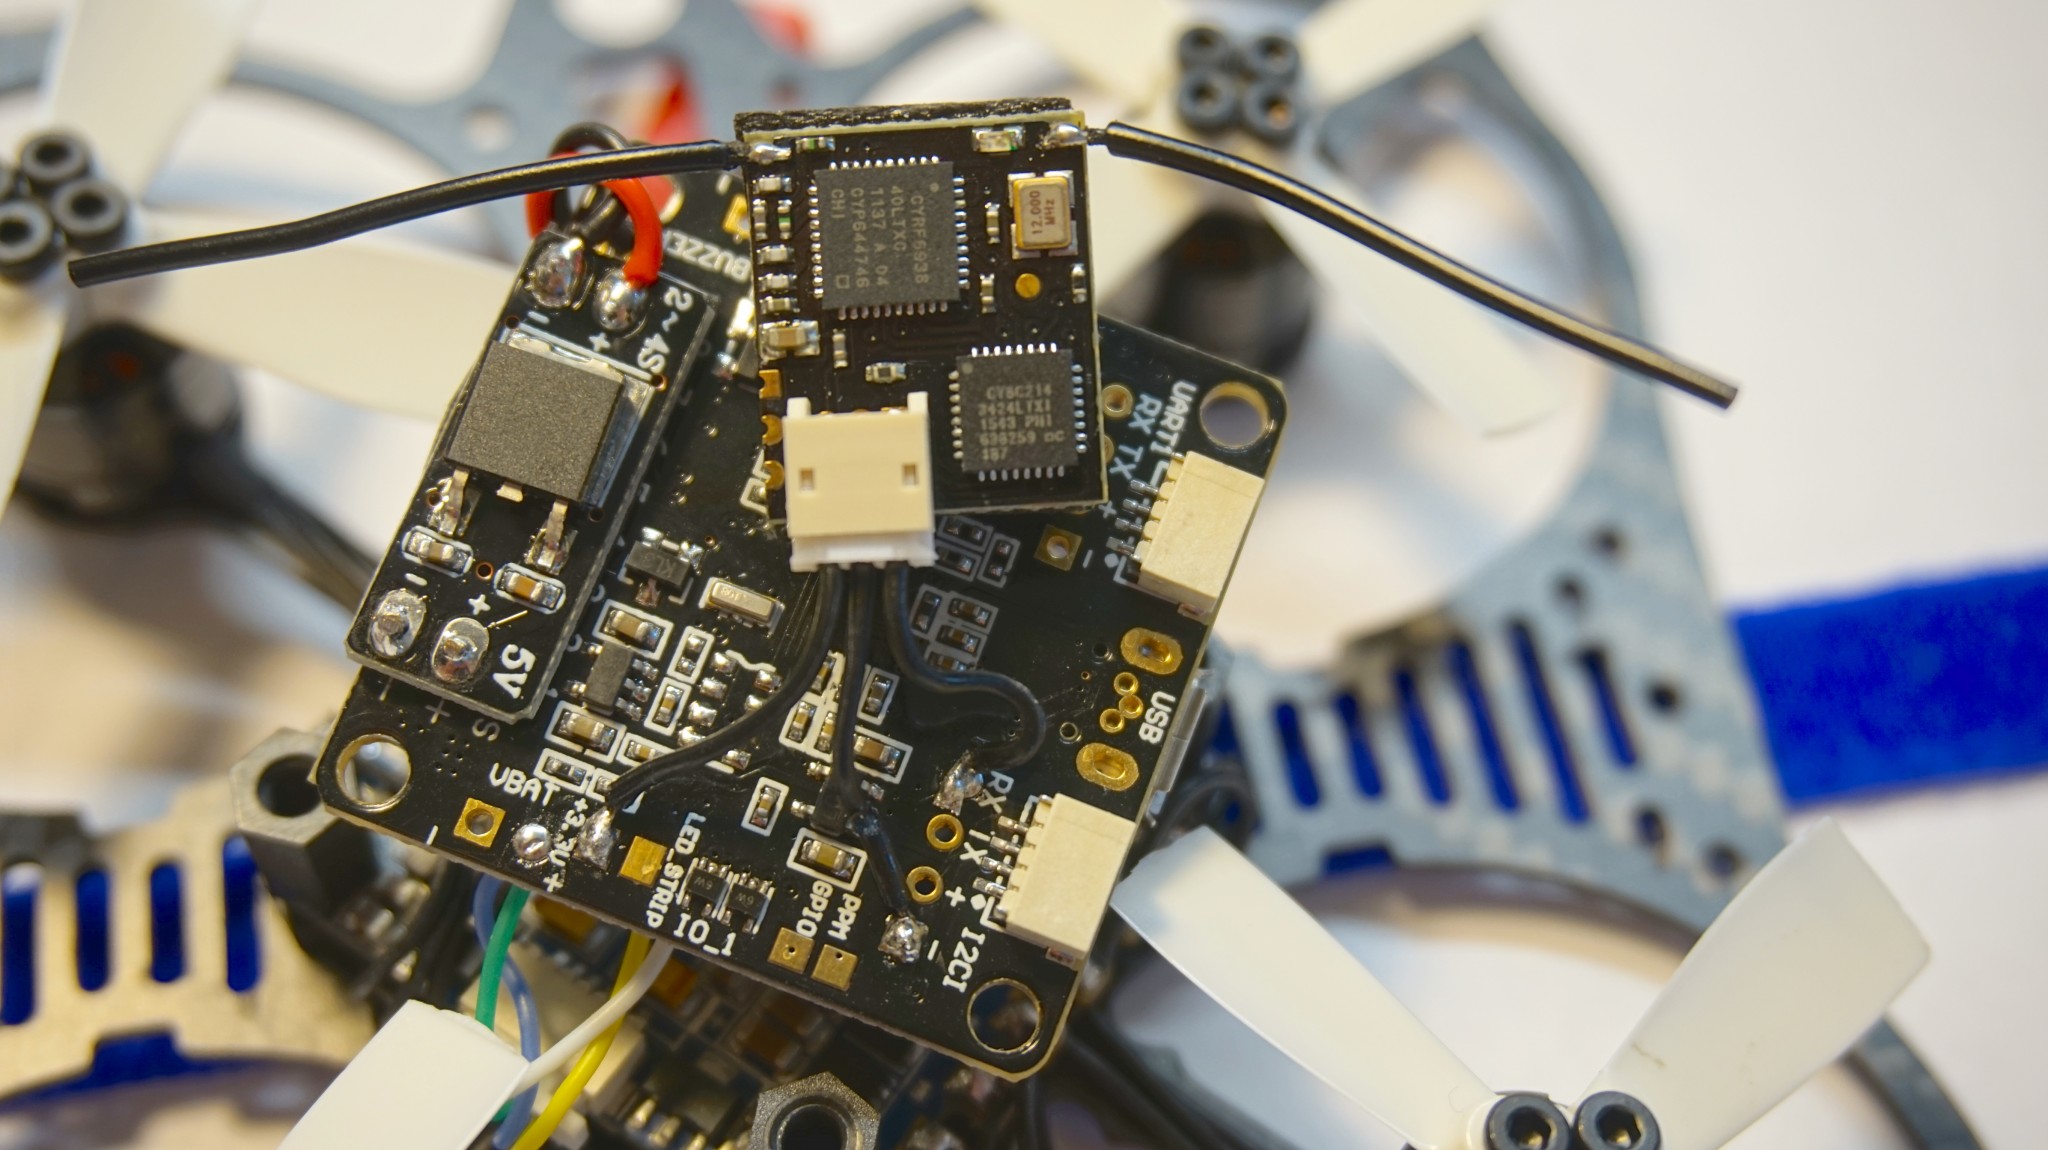
Step #17
Solder Flight Controller power wires, we’ve added before, to the place where battery wires are mounted:
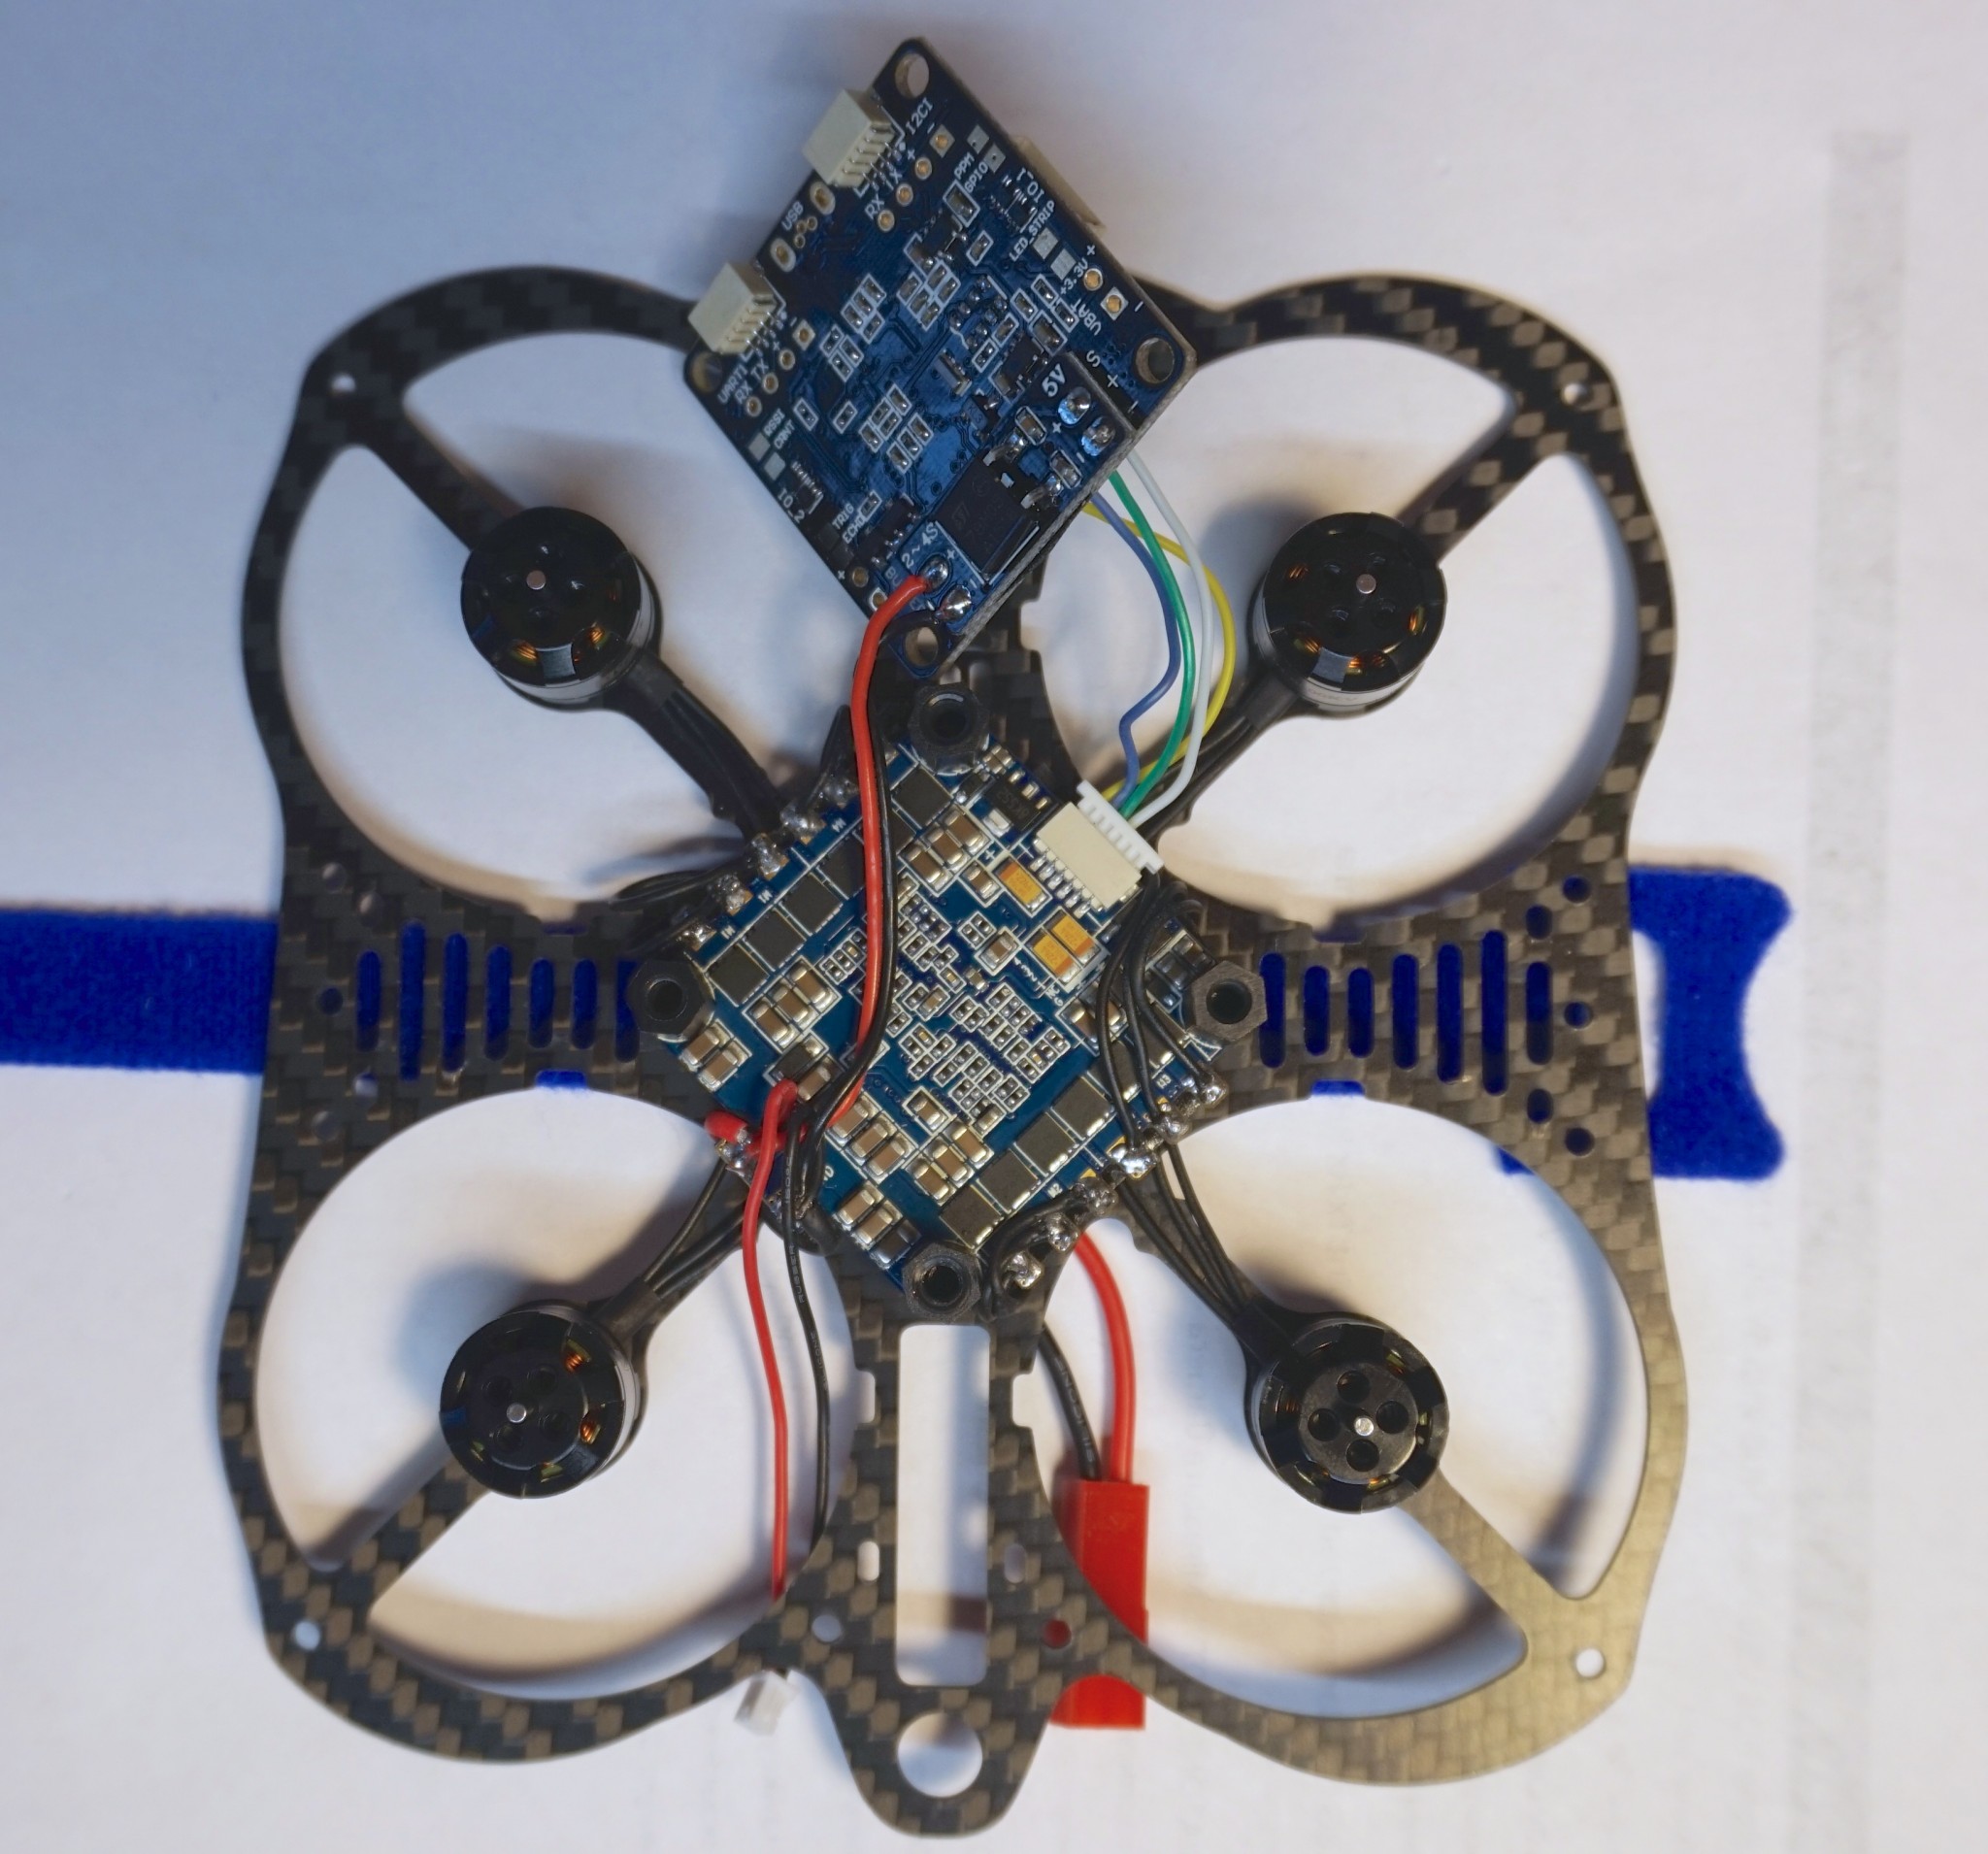
Also solder VTX power wires to the same place.
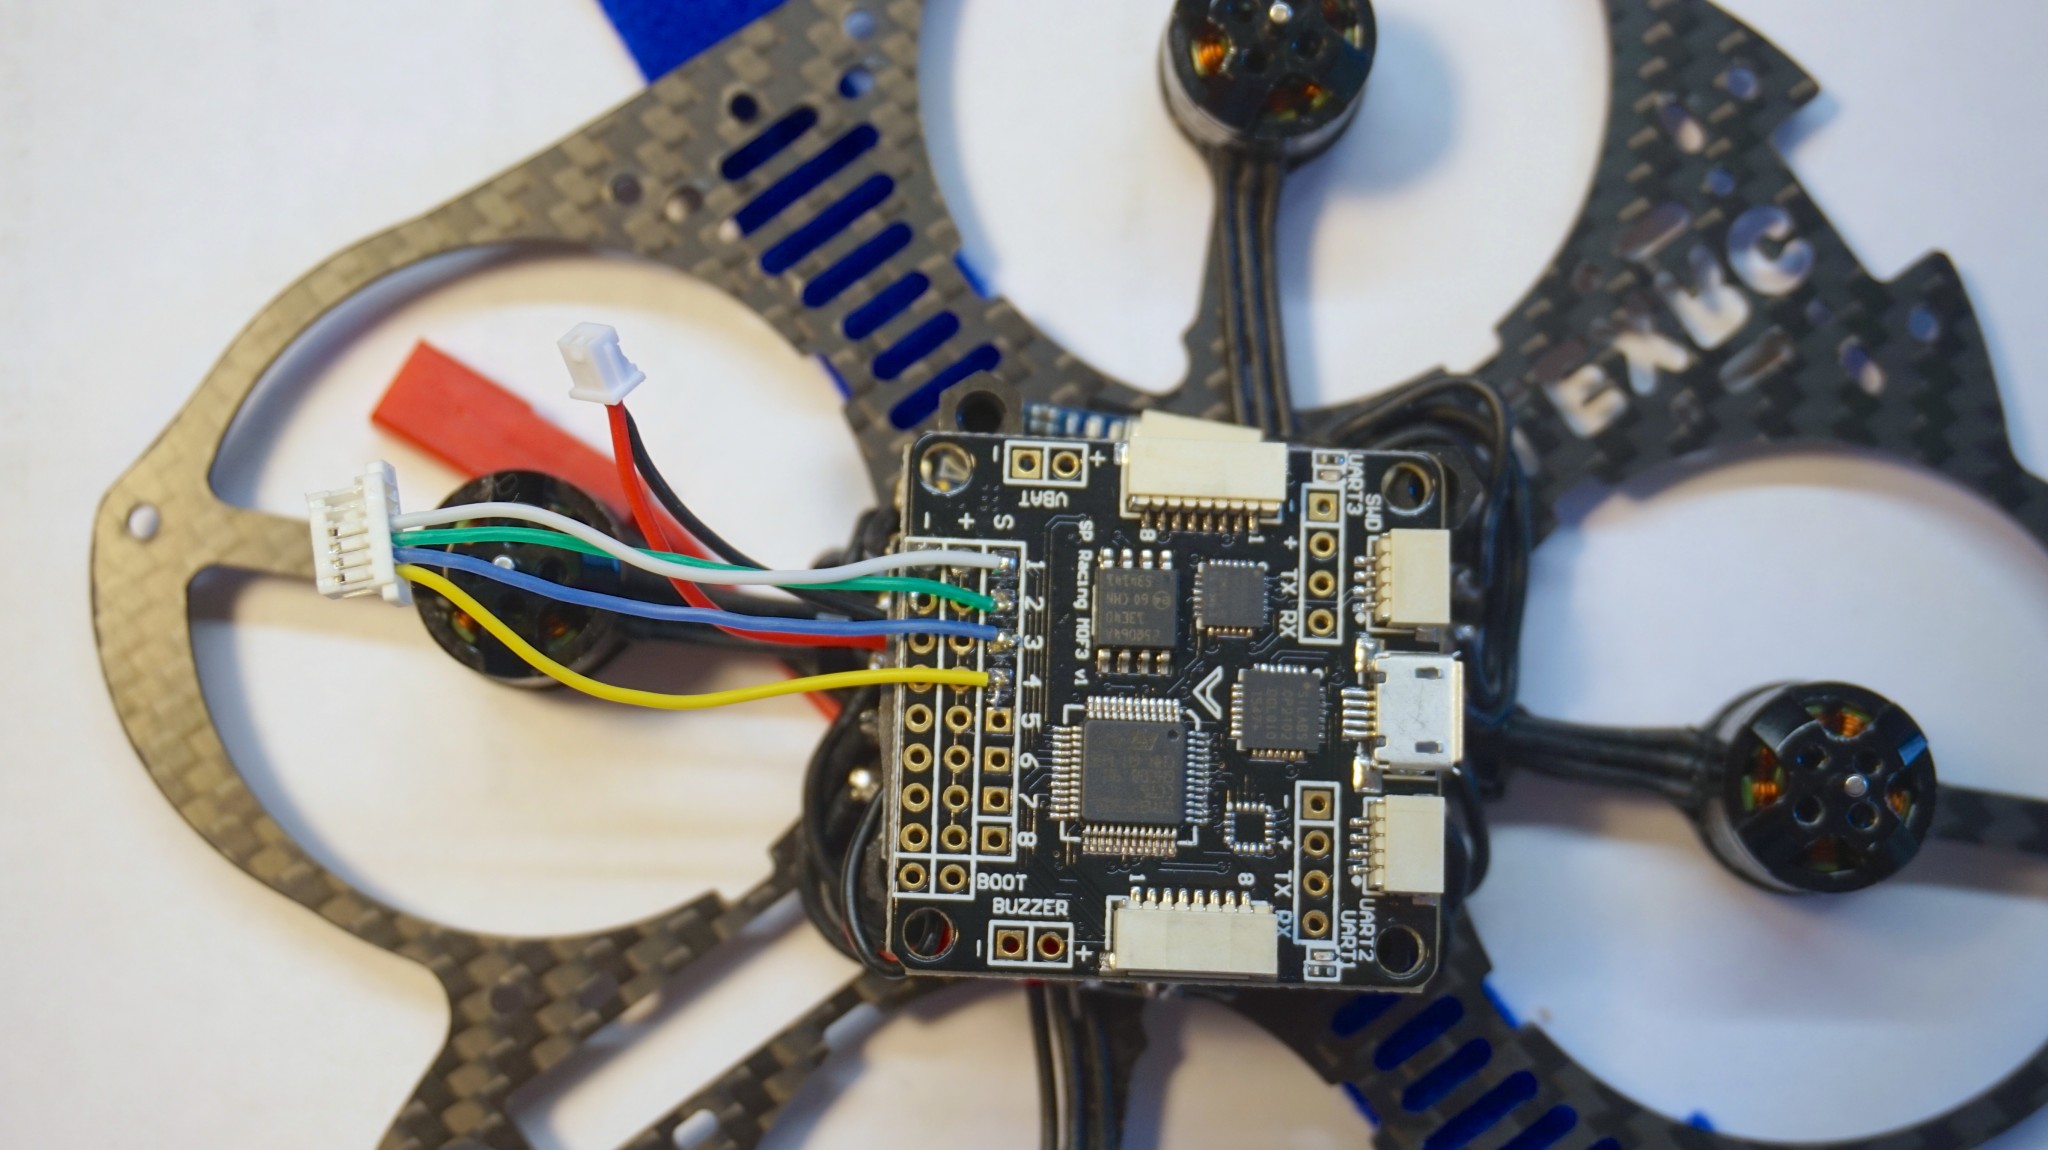
Step #18
Mount flight controller and mount VTX with zip ties:
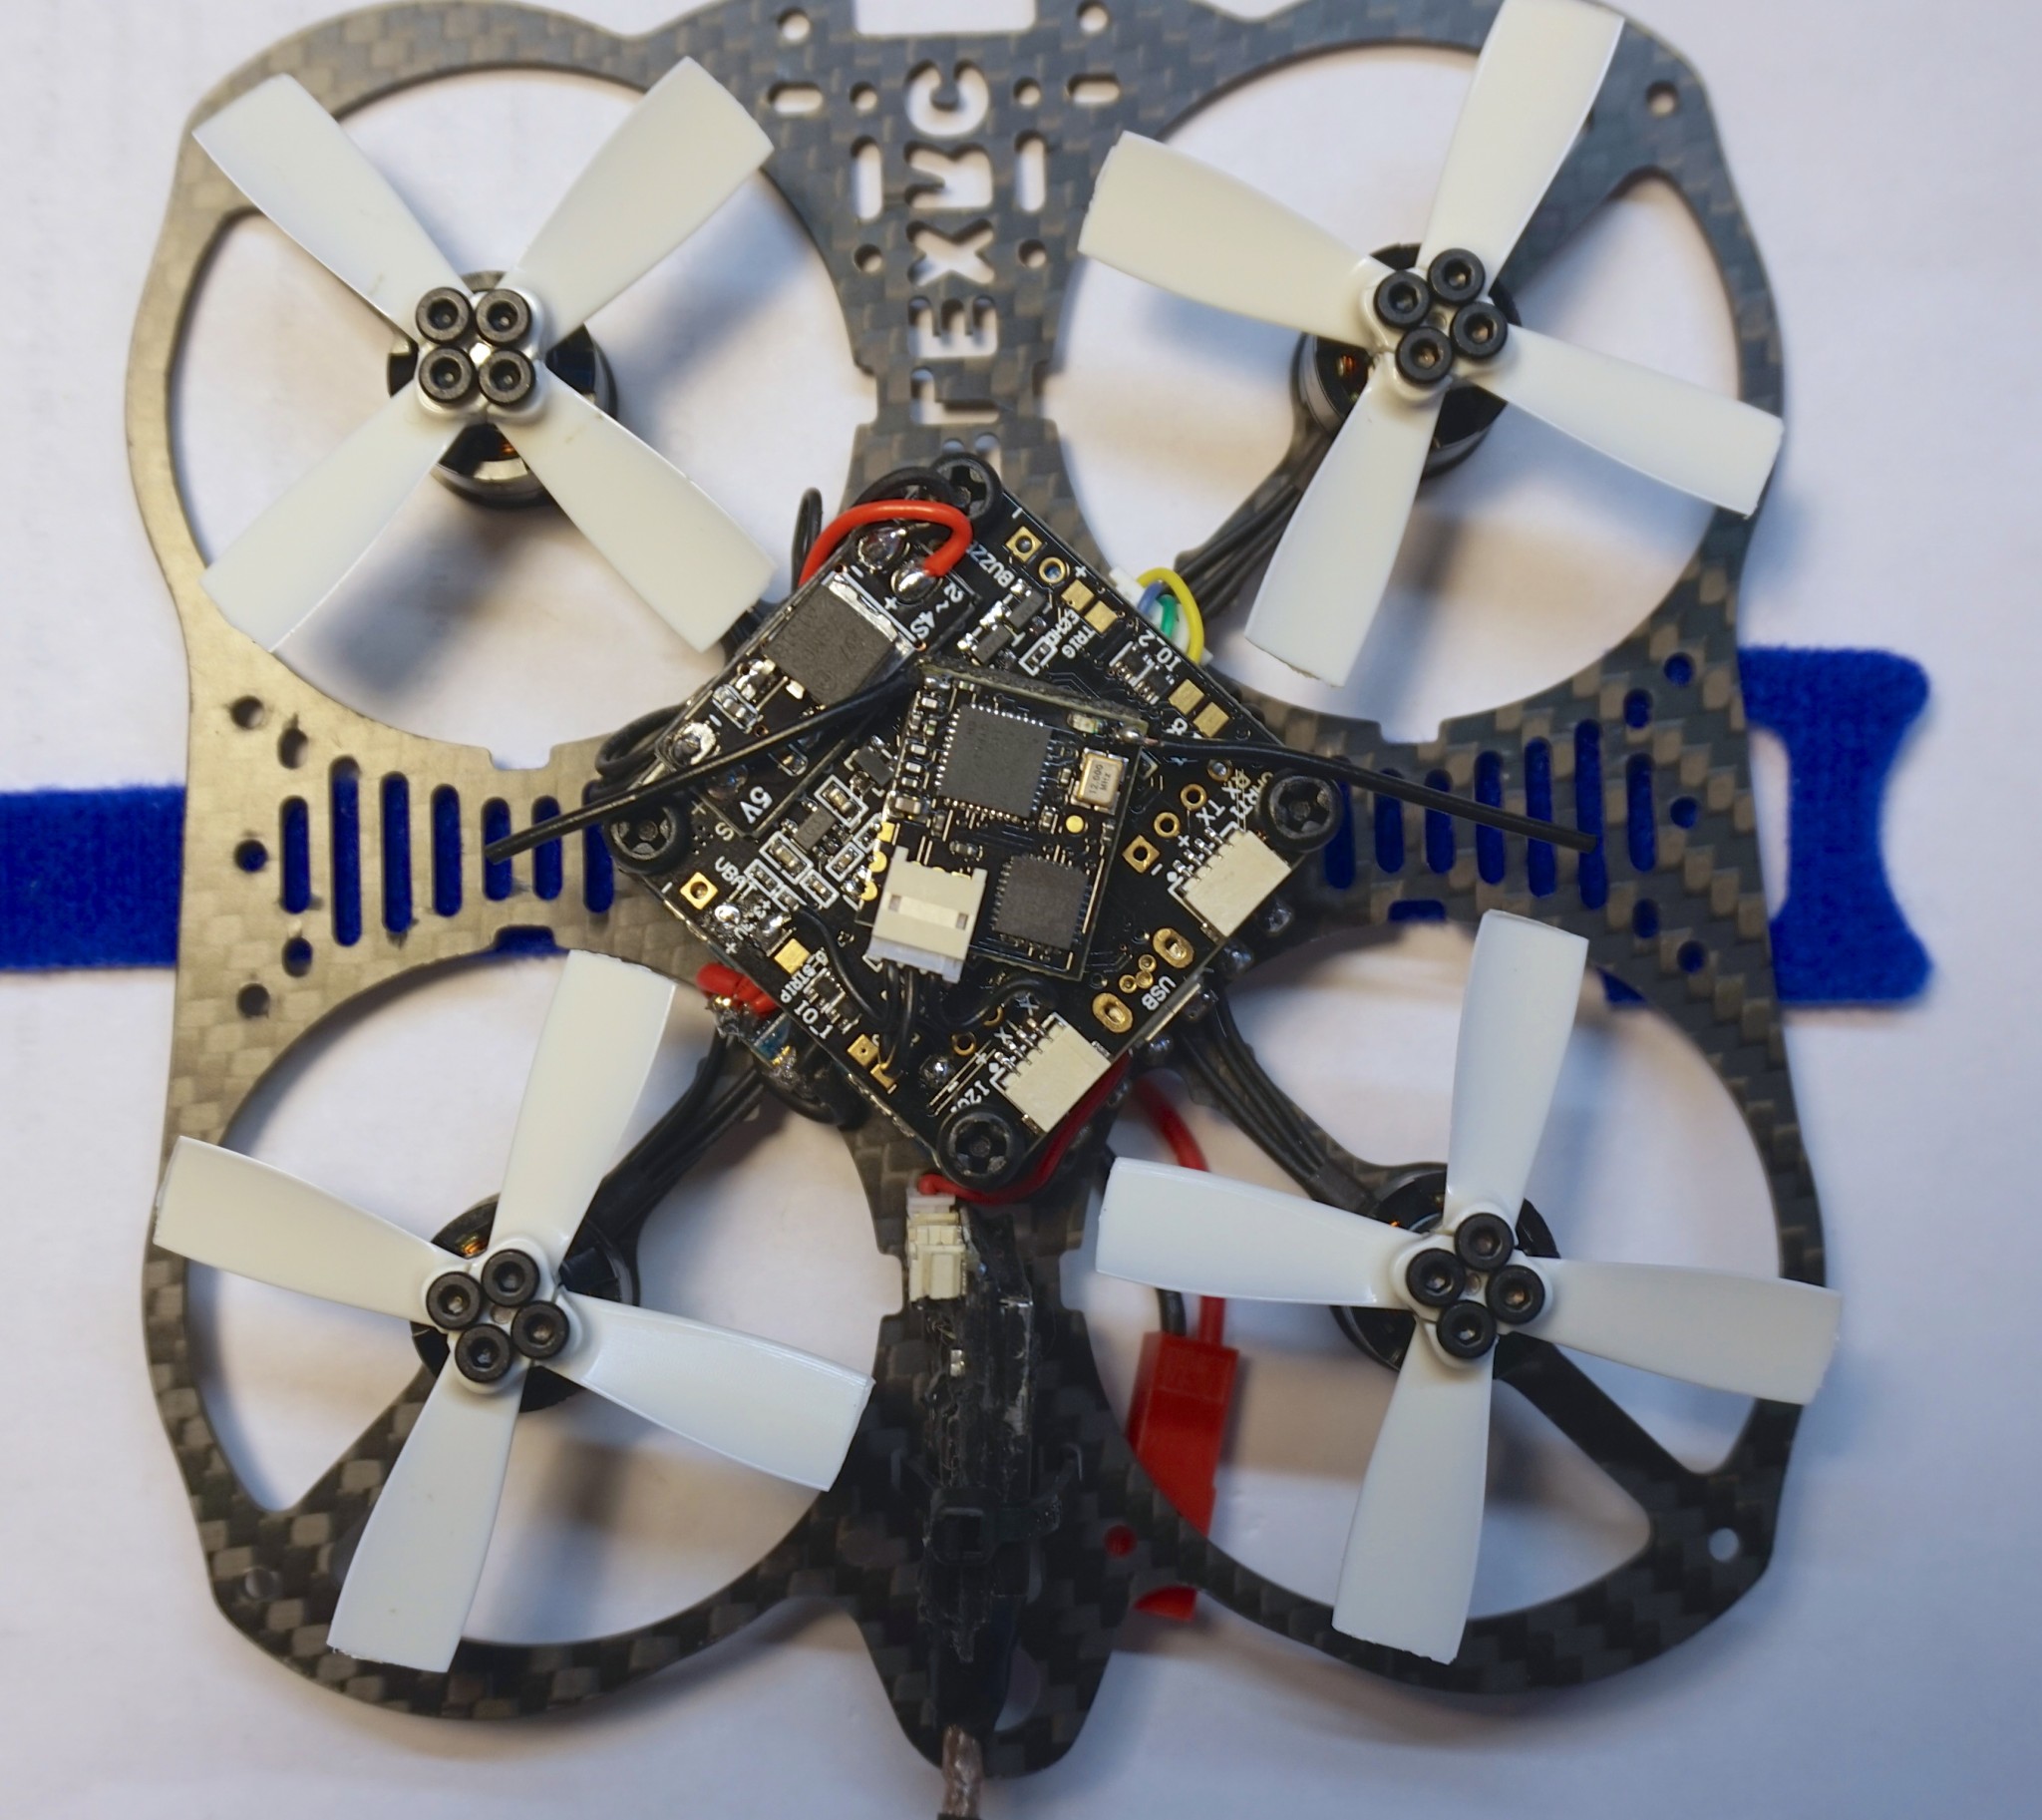
Step #19
Optionally install buzzer:
Step #20
Mount camera with zip ties:
Step #21
Install bottom plate and your Mini Owl is ready:
Now it is time to configure Cleanflight/Betaflight and bind Lemon-rx receiver
2 thoughts on “How to build Mini Owl indoor racing quadcopter”
Anybody got any PIDs to start with? Trying a new FC not Betaflight and would like to get a good start on them.
Thanks Robert
It is really hard to give any PIDs unless model has exactly the same configuration / weight and other parameters.
My suggestion will be to try it with default Betaflight PIDs and then depending on how it feels, just try to increase P with 0.5 step and observe the behavior and then try to decrease and essentially with several iterations you will find what works the best.
Also I will suggest to decrease I, I find default value to be too high.