Are you seeing the trend? FlexRC releases a new micro frame and I quickly declare it the best micro frame I’ve flown. While that’s been basically true for the last few frames, there’s a reason for it. Simply put, Dmitry at FlexRC is, hands-down, the best micro frame designer out there today. His new FlexRC Ascent continues the trend of excellent releases.
I’m usually not impressed with 2″ frames that don’t have integrated prop guards. It’s not that a 2″ frame requires prop guards but I’m not impressed with most 2″ frames because they are ridiculously simple to design. Anyone with a free 3D modeling app, like Google Sketchup, can design an X-frame, add motor mount holes and 20×20 electronics stack holes and, voila, you’ve designed a 2″ frame. And, because it’s that easy, there are, literally, dozens of these frames out there…all pretty much the same: x-frame built around a tall center stack topped by an All-in-one micro camera/vtx unit. Yawn.
And while the standard 25mw AIO micro cam is fine for Tiny Whoops, it’s a bit fragile and (usually) a bit too exposed for a heavier 2″ quad — especially when plopped on top of a tall center component stack. Any inverted crash, even indoors over carpet, is going to result in a direct hit on the cam.
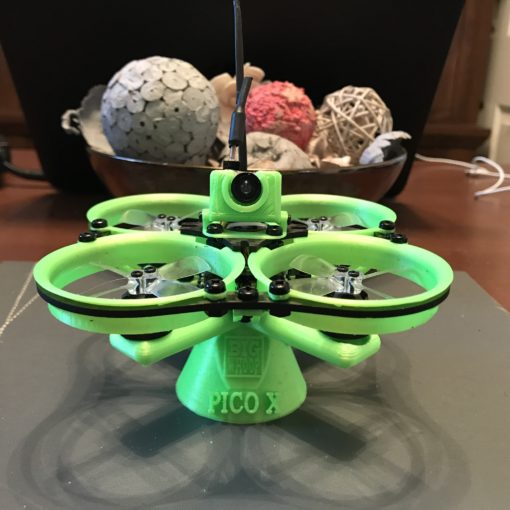
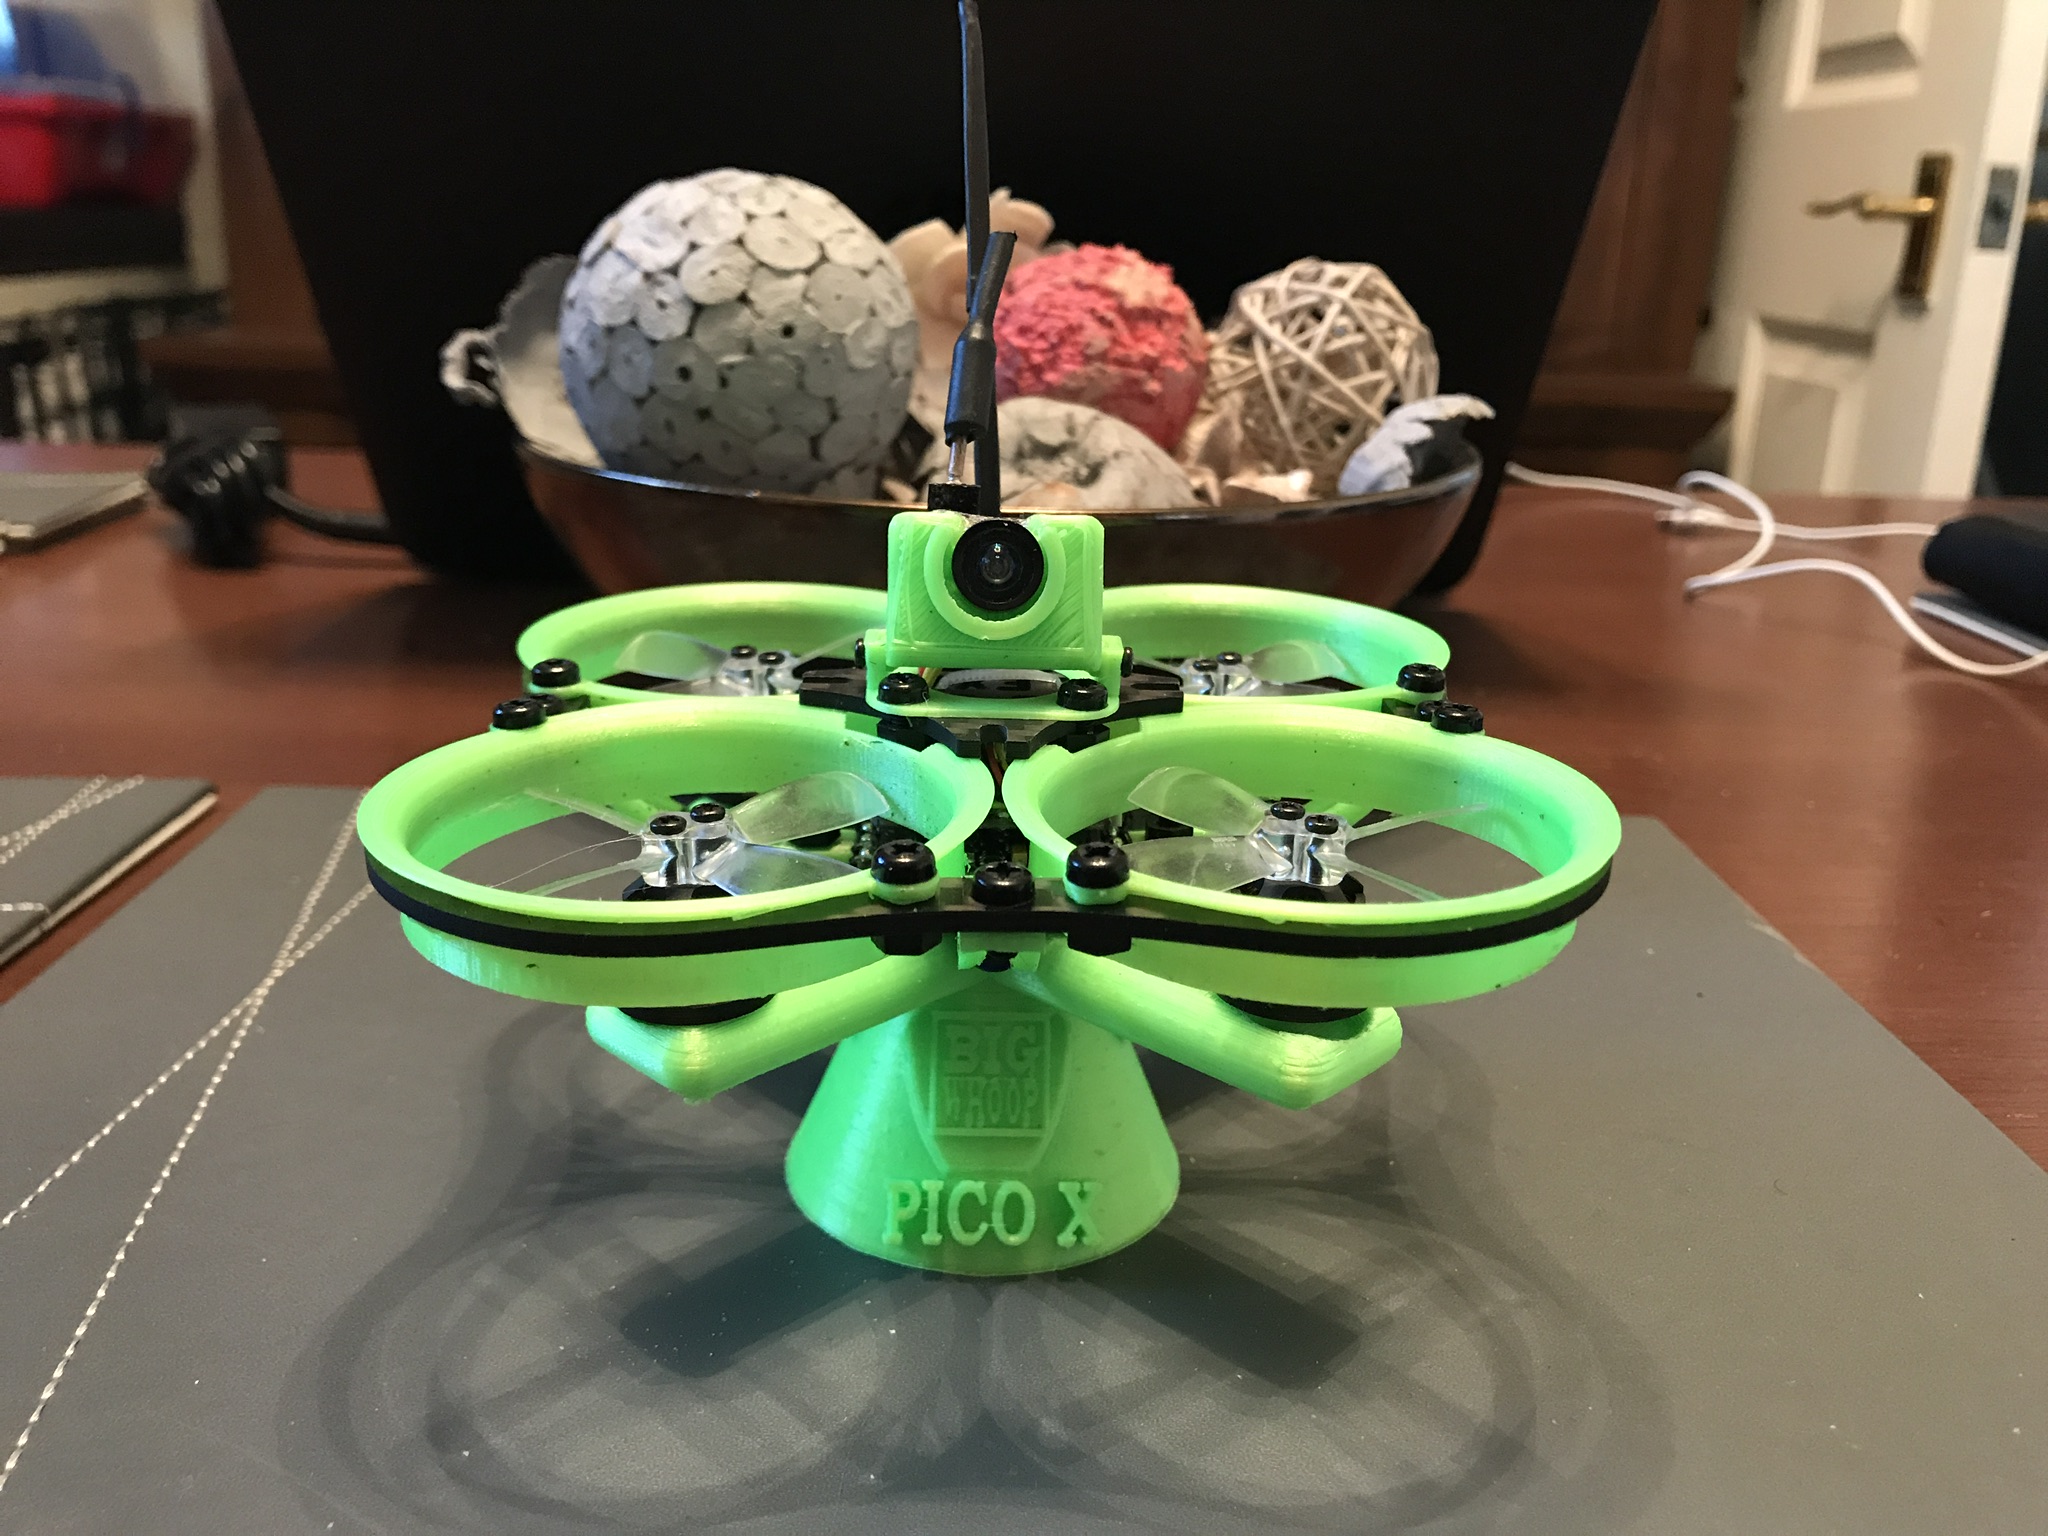
Don’t get me wrong, there are some 2″ frames I absolutely LOVE, like the FlexRC Pico Owl I reviewed here. Yes, it’s a relatively simple x-frame but it’s the prop guard and some unique mounting designs that make me love it. And I do love it for indoor flying.
So leave it to Dmitry and FlexRC to come up with the most unique and best flying 2″ I’ve found in the new Ascent. The Ascent is Dmitry’s best design yet and a shining example of how much more thought out and innovative his designs are.
Let’s start with the basics before getting into the uniqueness of the frame. The Ascent is a 93mm wheelbase “short x” frame with the left and right motors further apart than the front and back motors. It’s similar in layout to the fantastic ImpulseRC Alien and the venerable Luminier QAV210. The Ascent’s ratio of width to length is about 1.5 : 1 compared to the Alien’s pythagorean layout of 1.3 : 1.
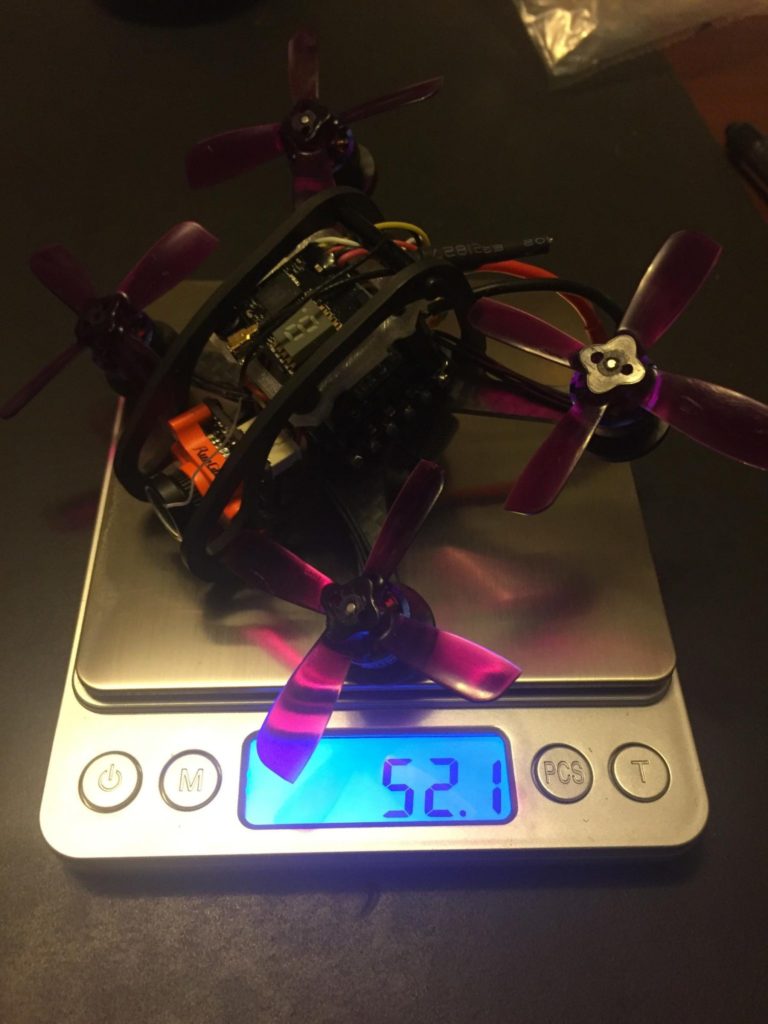
My final build came in at 53.1g without battery and 83.4g with an 500mah 2s.
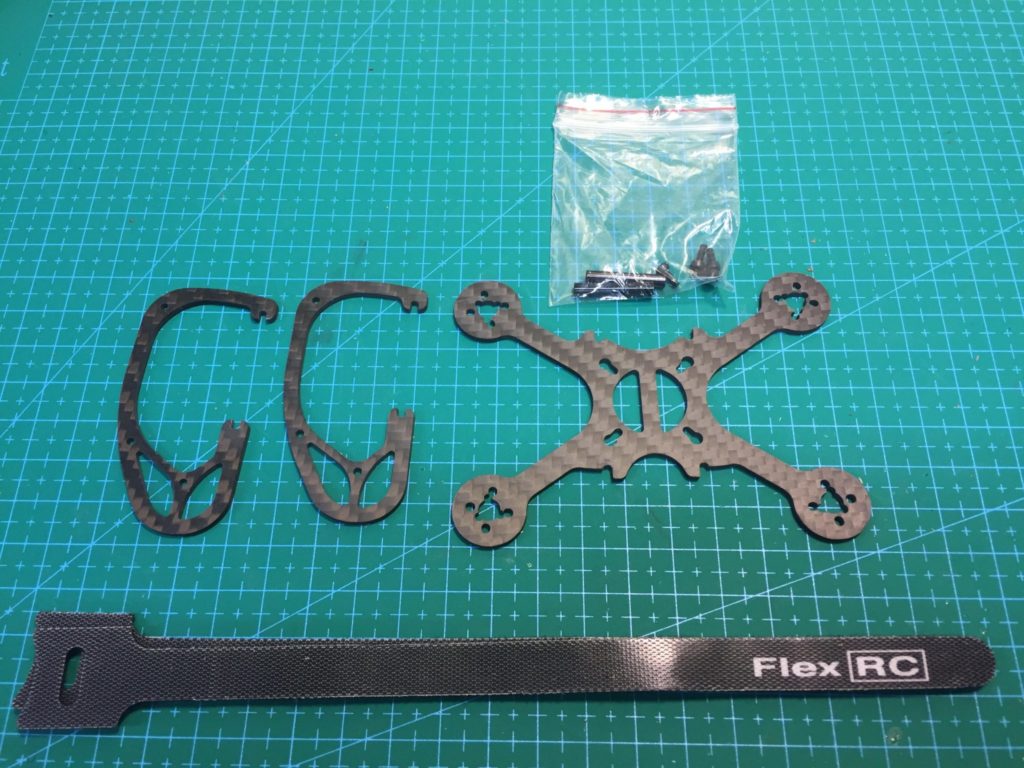
In true FlexRC fashion, the base plate is extremely versatile. The center stack holes are drilled for either 20×20 or 16×16 electronics and the motor mounts can handle standard 11xx 4-bolt motors or the tiny 07xx 3-bolt motors. You can build the Ascent any way you want.
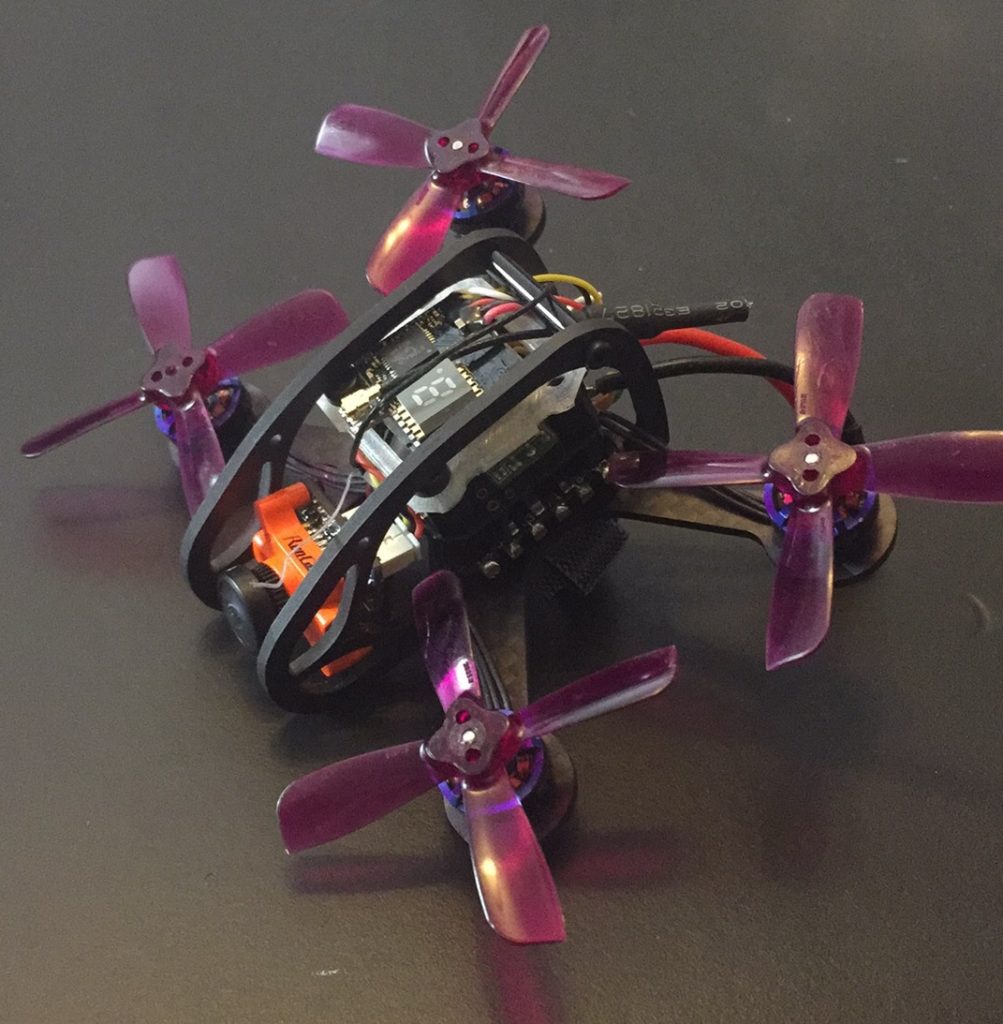
While the base plate layout and versatility are a nice departure from the standard X frame, it’s the roll cage that immediately catches your eye and sets the Ascent apart among the sea of bland micros. The two, 3mm plates that make up the roll cage attach to the frame without hardware (more on that later) and serve two purposes. The first is to protect the electronics. Again, this is a MAJOR improvement when compared to the other micros out there because those frames leave the center stack and AIO camera completely exposed in a crash. Not so with the Ascent. Even with a three-level center stack (ESC, FC, and VTX), the roll cage complete protects all electronics.
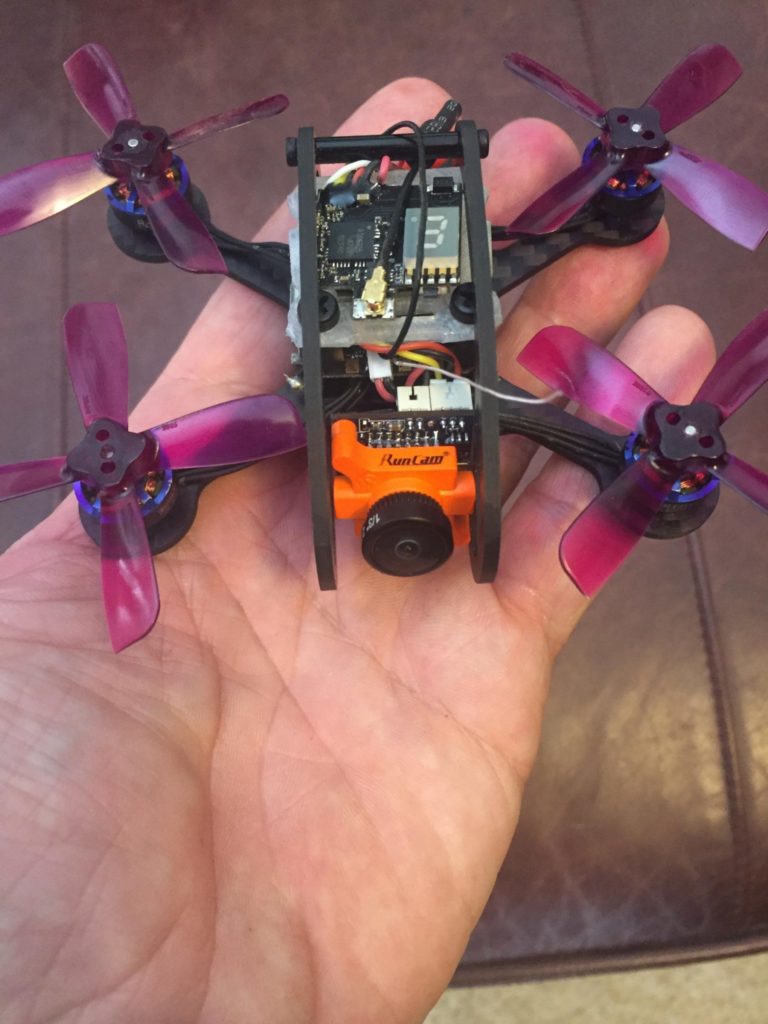
The second feature of the roll cage is what I love most about the Ascent: it supports the fantastic new Runcam Micro. This camera, combined with this frame, finally creates a quad that looks and feels like a 5″ racer but in a micro 2″ package. The roll cage extends a few centimeters in front of the center of the frame and has mount holes for the Runcam. It also has holes for optional cross braces (standoffs) that are included with the frame. I chose to only run the rear standoff as the front one seemed like overkill given how well-fitted the roll cage plates are even without the standoffs.
Speaking of the fit of the roll cage plates, that’s yet another innovative design feature. Instead of using bolts to mount the cage to the base plate, Dmitry designed the cage to snap-fit onto the plate and it works marvelously. There are small ramps cut into the base plate that allow the roll cage plates to be placed over the base plate at an angle and then simply rotated to snap onto the base plate.
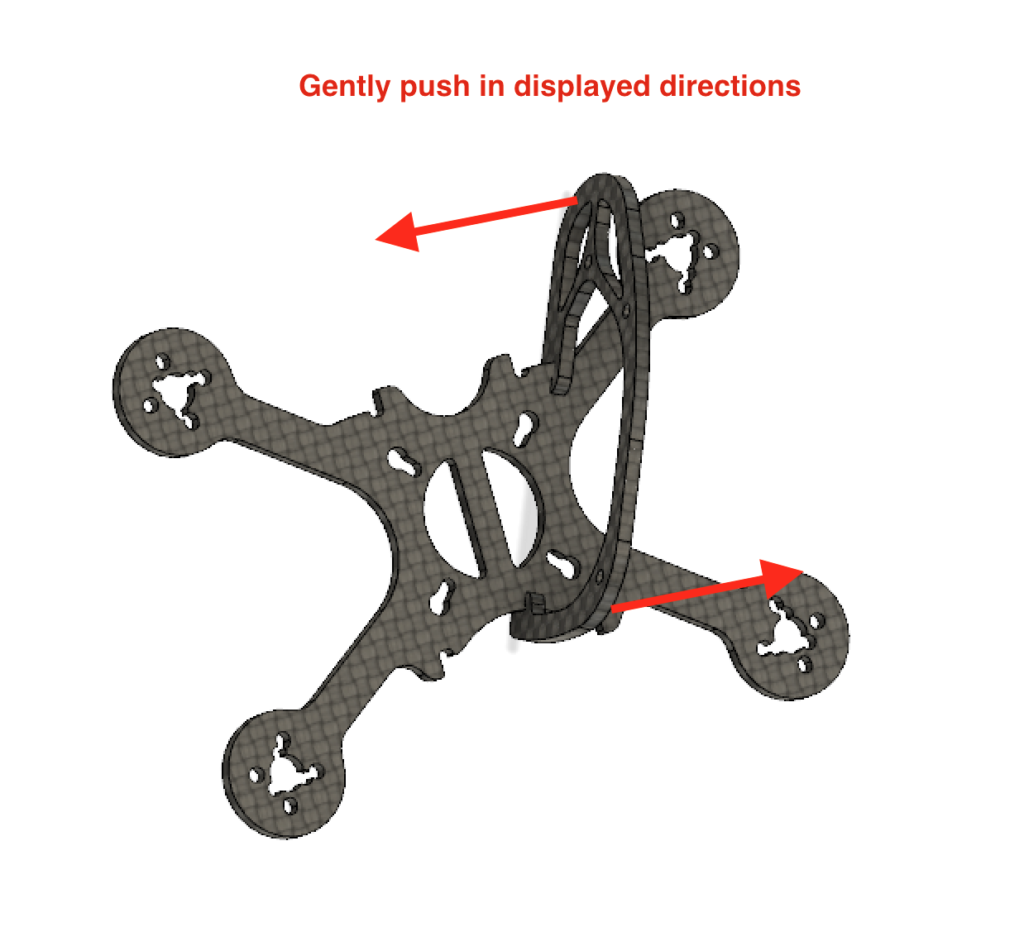
I was easily able to install and remove the roll cage plates with minimal effort. When the plates are snapped into place, the fit is very tight but there is little flex of the carbon fiber needed so there’s very little risk of breaking them. Again, it’s a brilliant design and works flawlessly.
My Build:
– FlexRC Ascent 2″ frame
– Runcam Micro FPV Camera
– Eachine ATX Super Mini 5.8G video transmitter
– FuriousFPV Pico BLX flight controller
– Eachine Micro FrSky receiver (hard pinned to FC)
– Cicada 6A 4-in-1 ESC
– Racerstar 1103 10000kv motors
– Gemfan 2035 Unbreakable props
– AirbladeUAV 500mah 65C 2S battery
The only challenging part of this build was fitting the vtx. While the roll cage gives the illusion that the quad has the “long body” style like a standard freestyle frame, it actually has a small center stack area with no place to the rear for components. The roll cage allows the Runcam Micro to mount in front of the stack (which is a key design feature for me) but there’s nothing out back. I used a small 20×20 3D printed plate to mount my VTX above my FC. Again, testament to the fantastic design, even with a 3-layer center stack (ESC, FC, and VTX) the roll cage still completely protects the components.
Now, this is very specific to my build as my FC does NOT have an integrated receiver. My receiver is actually direct connected to my FC via pins and sits on top of the FC. An FC with an integrated receiver OR mounting the receiver between the FC and ESC may allow you to use double sided tape to install your vtx directly on top of your FC. I’m not sure if that’s a good idea for heat dissipation but it would eliminate the need for a third layer on the center stack.
In The Air
With 2″ quads becoming more and more popular, it’s probably passé to keep comparing them to 5″ quads but, in the Ascent’s case, it’s worth comparing. The Ascent flies and feels as close to a 5″ quad as any micro I’ve flown. That says a lot as the form factor is absurdly small compared to my 5″ Aliens. I ran stock Betaflight PIDs and my standard 5″ rates (1200 deg/sec as full stick) and the Ascent flew perfectly on the maiden flight. No PID or rate tweaking needed at all.
Snappy rolls, quick punchouts, and graceful dive recoveries were all easily accomplished with this build.
Also note that I didn’t spec the components for this frame. I simply used components I already had and it still flies great. With some greater thought around motor KV and battery choice, the Ascent can probably be made to fly even better. And while 2S power is perfect for where and how I intend to fly my Ascent, there are people who will prefer lower KV motors on 3S.
Summary:
Pros:
– Designed around the Runcam Micro
– Extremely effective roll cage
– Easy assembly
– Innovative roll cage installation design
– Component choice versatility (16×16 or 20×20 hardware and 07xx or 11xx motors)
– “Short X” motor layout
– Durability
– Awesome looks. Easily the best looking micro I’ve seen.
– Price!
Cons:
– May need a plate to mount VTX (probably specific to my build)
You can pick it up here, as a frame or as a full kit:
FlexRC 2″ Ascent frame
FlexRC 2″ Ascent kit