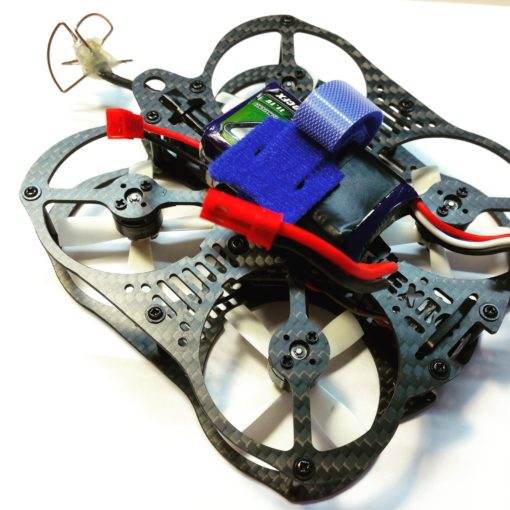
The above video walks you through the build steps for FlexRC’s tiny little Nano X micro quad. It’s not nearly as hard a build as I was expecting, given how small it is, but it’s certainly not as easy as a full size quad. A few steps took me several iterations to get right and I’ll share those notes here.
Component List
- FlexRC Nano X frame
- TinyPepper 1S Cube (flight controller and 4A, 4-in-1 ESC)
- FlexRC FX1102 16500kv brushless motors
- 1535 four-blade props (38mm)
- CM275T 5.8G 25mW AIO Camera
- Nano X CM275T Camera Mount
Note that the quad is now sold as a DIY kit!
Build notes
Frame
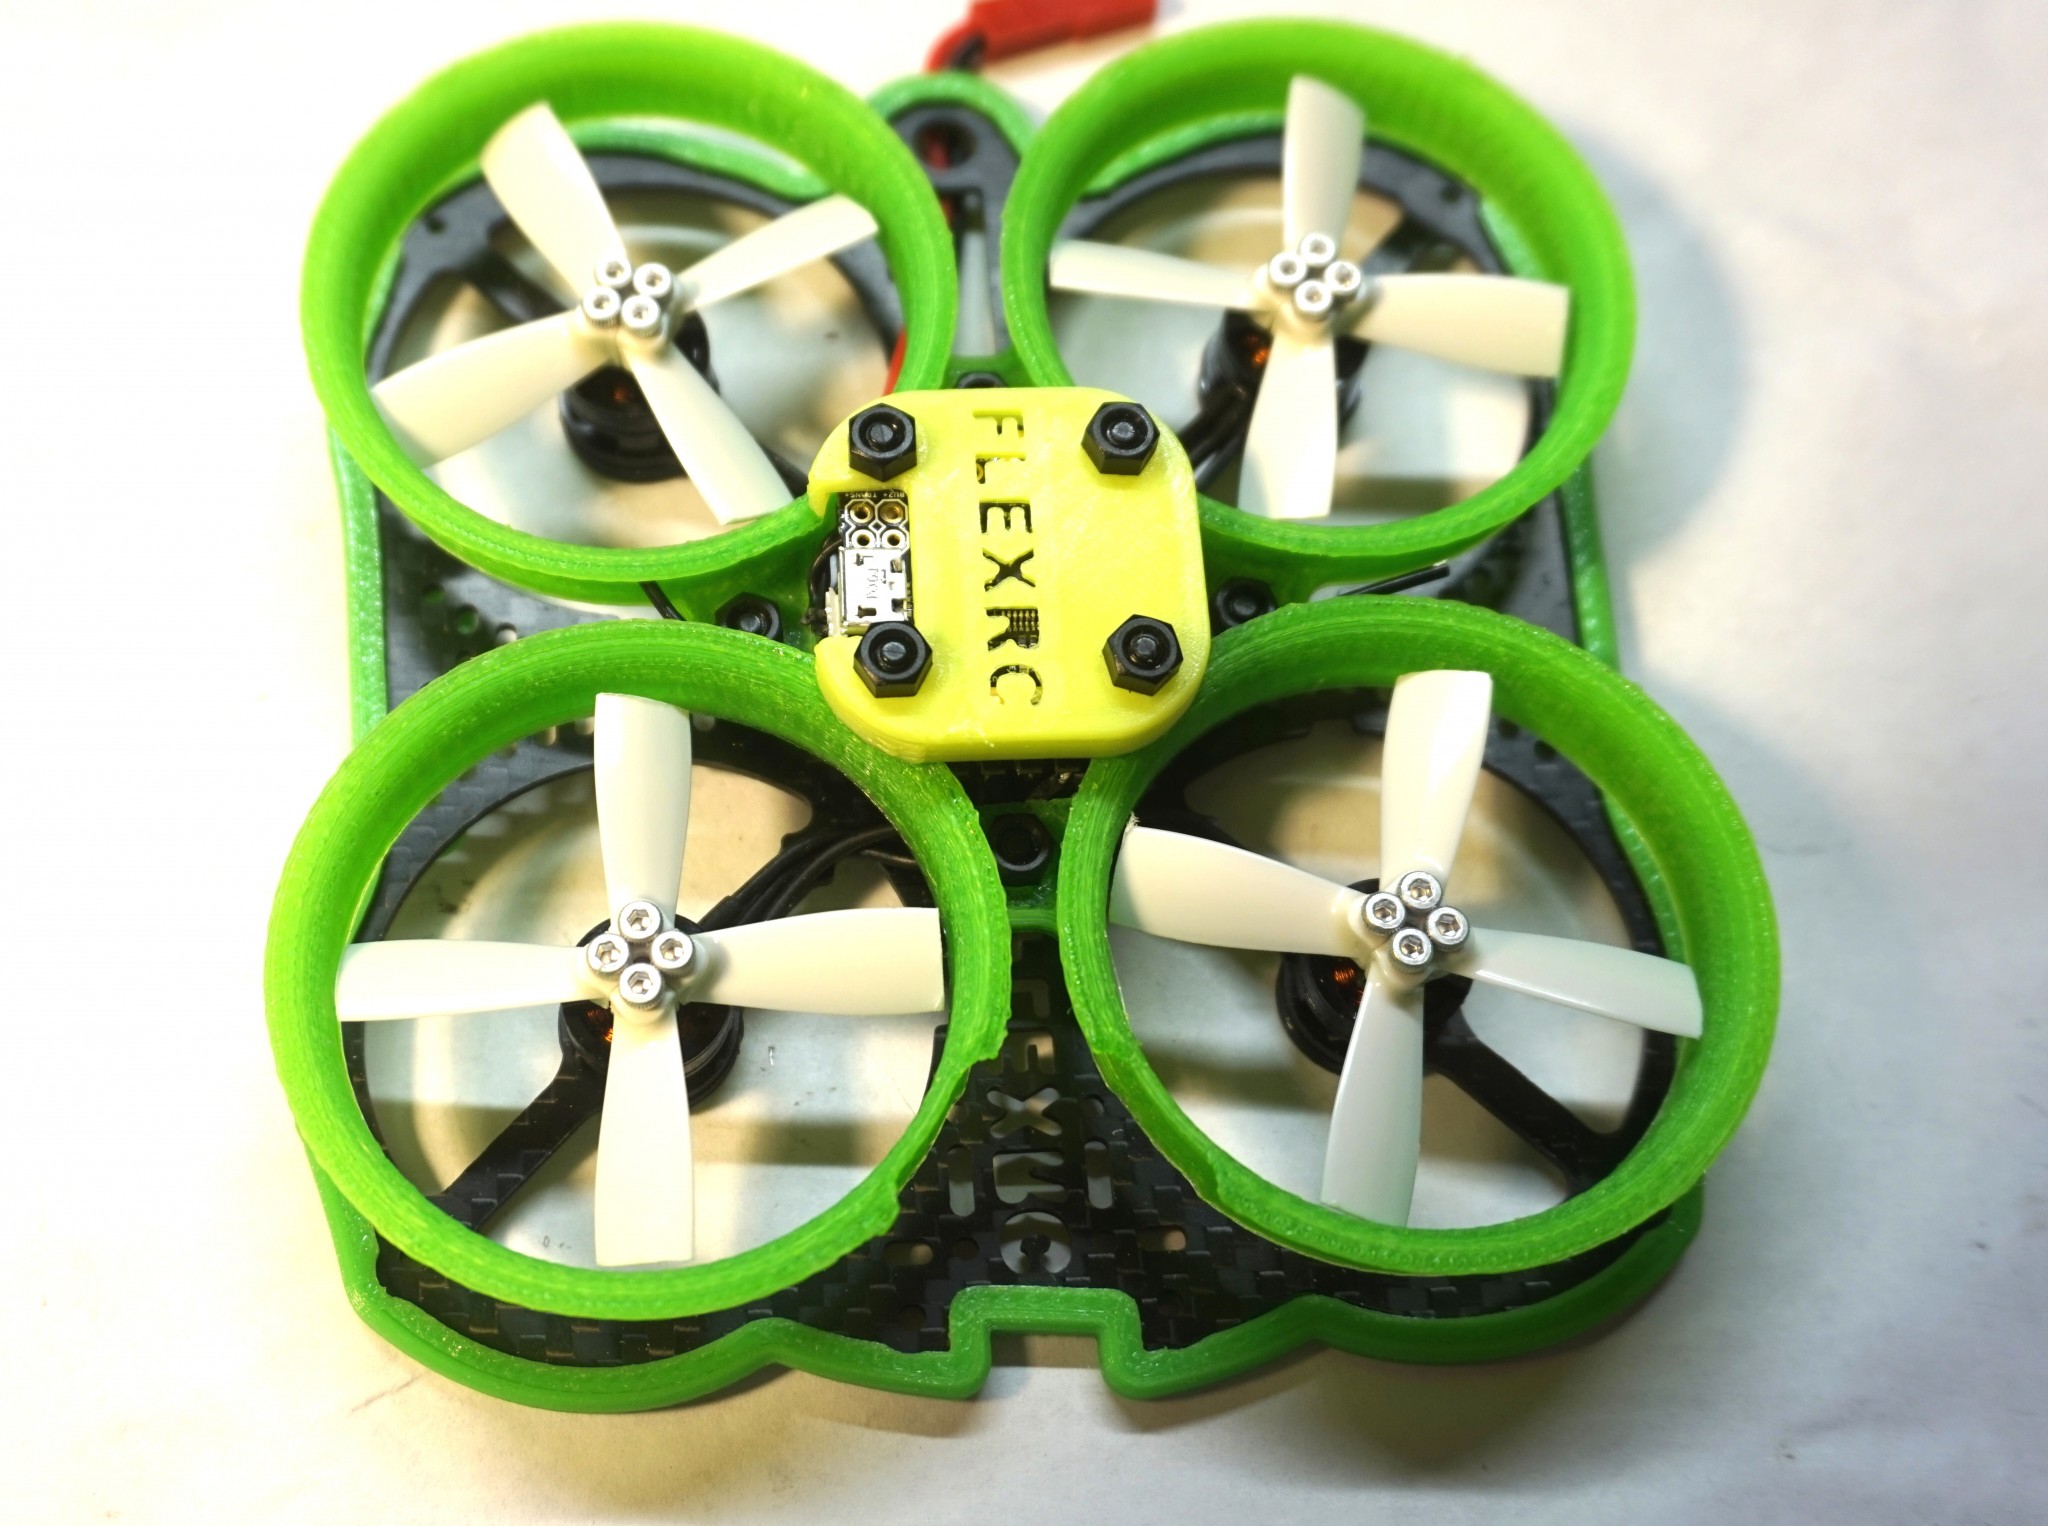
- The prop guard supports are installed by snapping in the back (closest to the center of the frame) tab first and then the front (furthest from the frame) tab. To make this easier, I filed the inside gaps of the tabs with a small needle file.
- The frame will fit 20×20 or 16×16 hardware. I elected to use 16×16 hardware to keep everything small and light.
- Install the prop guard supports before installing the motors. You need some flex in the arms to install the prop guards and the motors will stiffen them up if installed first. Fortunately, there’s plenty of room to access the motor screw holes after the prop guard supports are installed.
- Install the prop guard itself last. It’s fairly easy to snap in place even after the entire quad is built.
Electronics
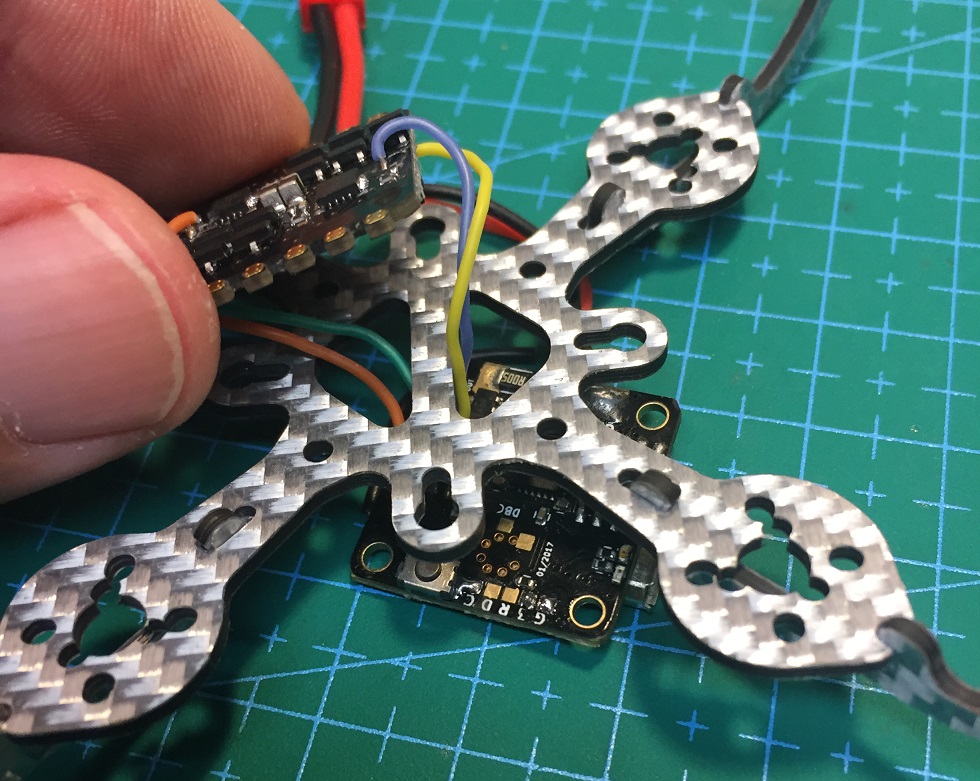
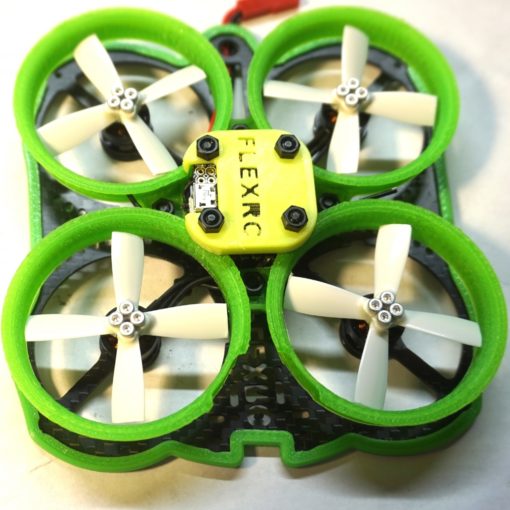
- I tried several different arrangements before the final build. I ended up putting the flight controller BELOW the main plate and upside-down (adjust roll alignment to -180 in Betaflight) and the ESC ABOVE the main plate right-side up.
- Desolder the ESC signal wires between the FC and ESC and run them through the two triangular holes in the main plate. Get everything lined up before soldering so you know which wires to run through which hole. The signal wires attach to different sides of the ESC so you want the left side wires going through the left hole and the right side wires going through the right hole. If you route through the opposite holes, the wires are too short and installation is very difficult.
- I installed the bottom protector plate at 45deg and trimmed off one of the hole tabs to allow easy access to the USB.
- IMPORTANT: You must power the FC with a Lipo in order to connect to the Betaflight configurator. The FC will not load in Windows with just the USB power.
Motors
- The FlexRC motors come with long, stranded, silicon insulated wires and are very easy to work with. MUCH better than solid copper.
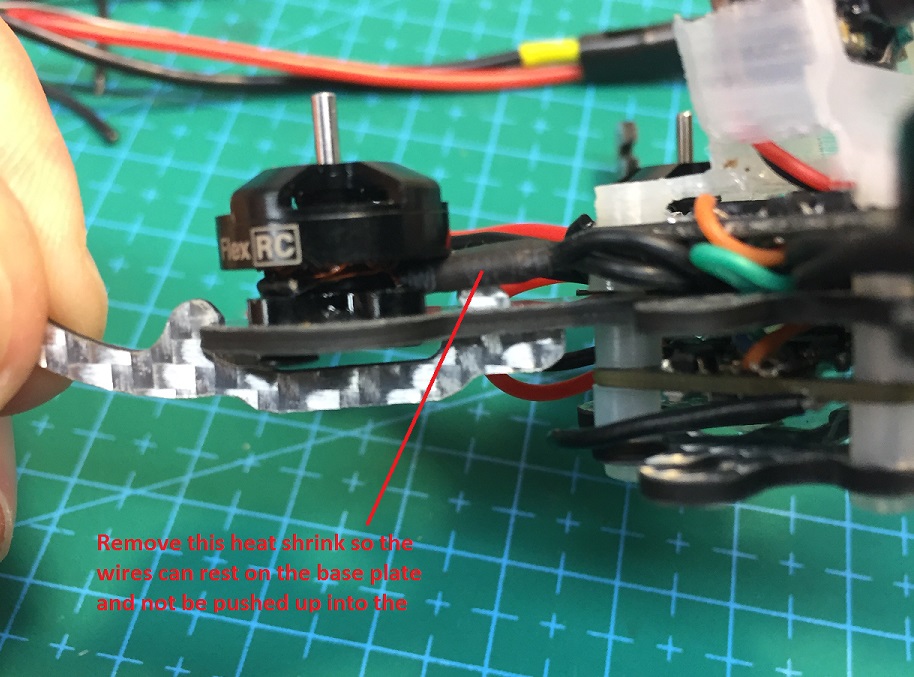
- The inboard tab for the prop guard support extends far enough through the frame arm to push the motor wires up into the motor bell, preventing it from spinning. To correct this, I removed the heat shrink that binds the three motor wires together and routed one wire around one side of the tab and two wires around the other side. Worked like a charm.
- I used the smallest screws to mount the motors to the frame. I think these are intended to be the screws you use to secure your props to the motor bell but the other screws were too long. My props press-fit onto the motor shafts well enough so I didn’t need the screws in the props.
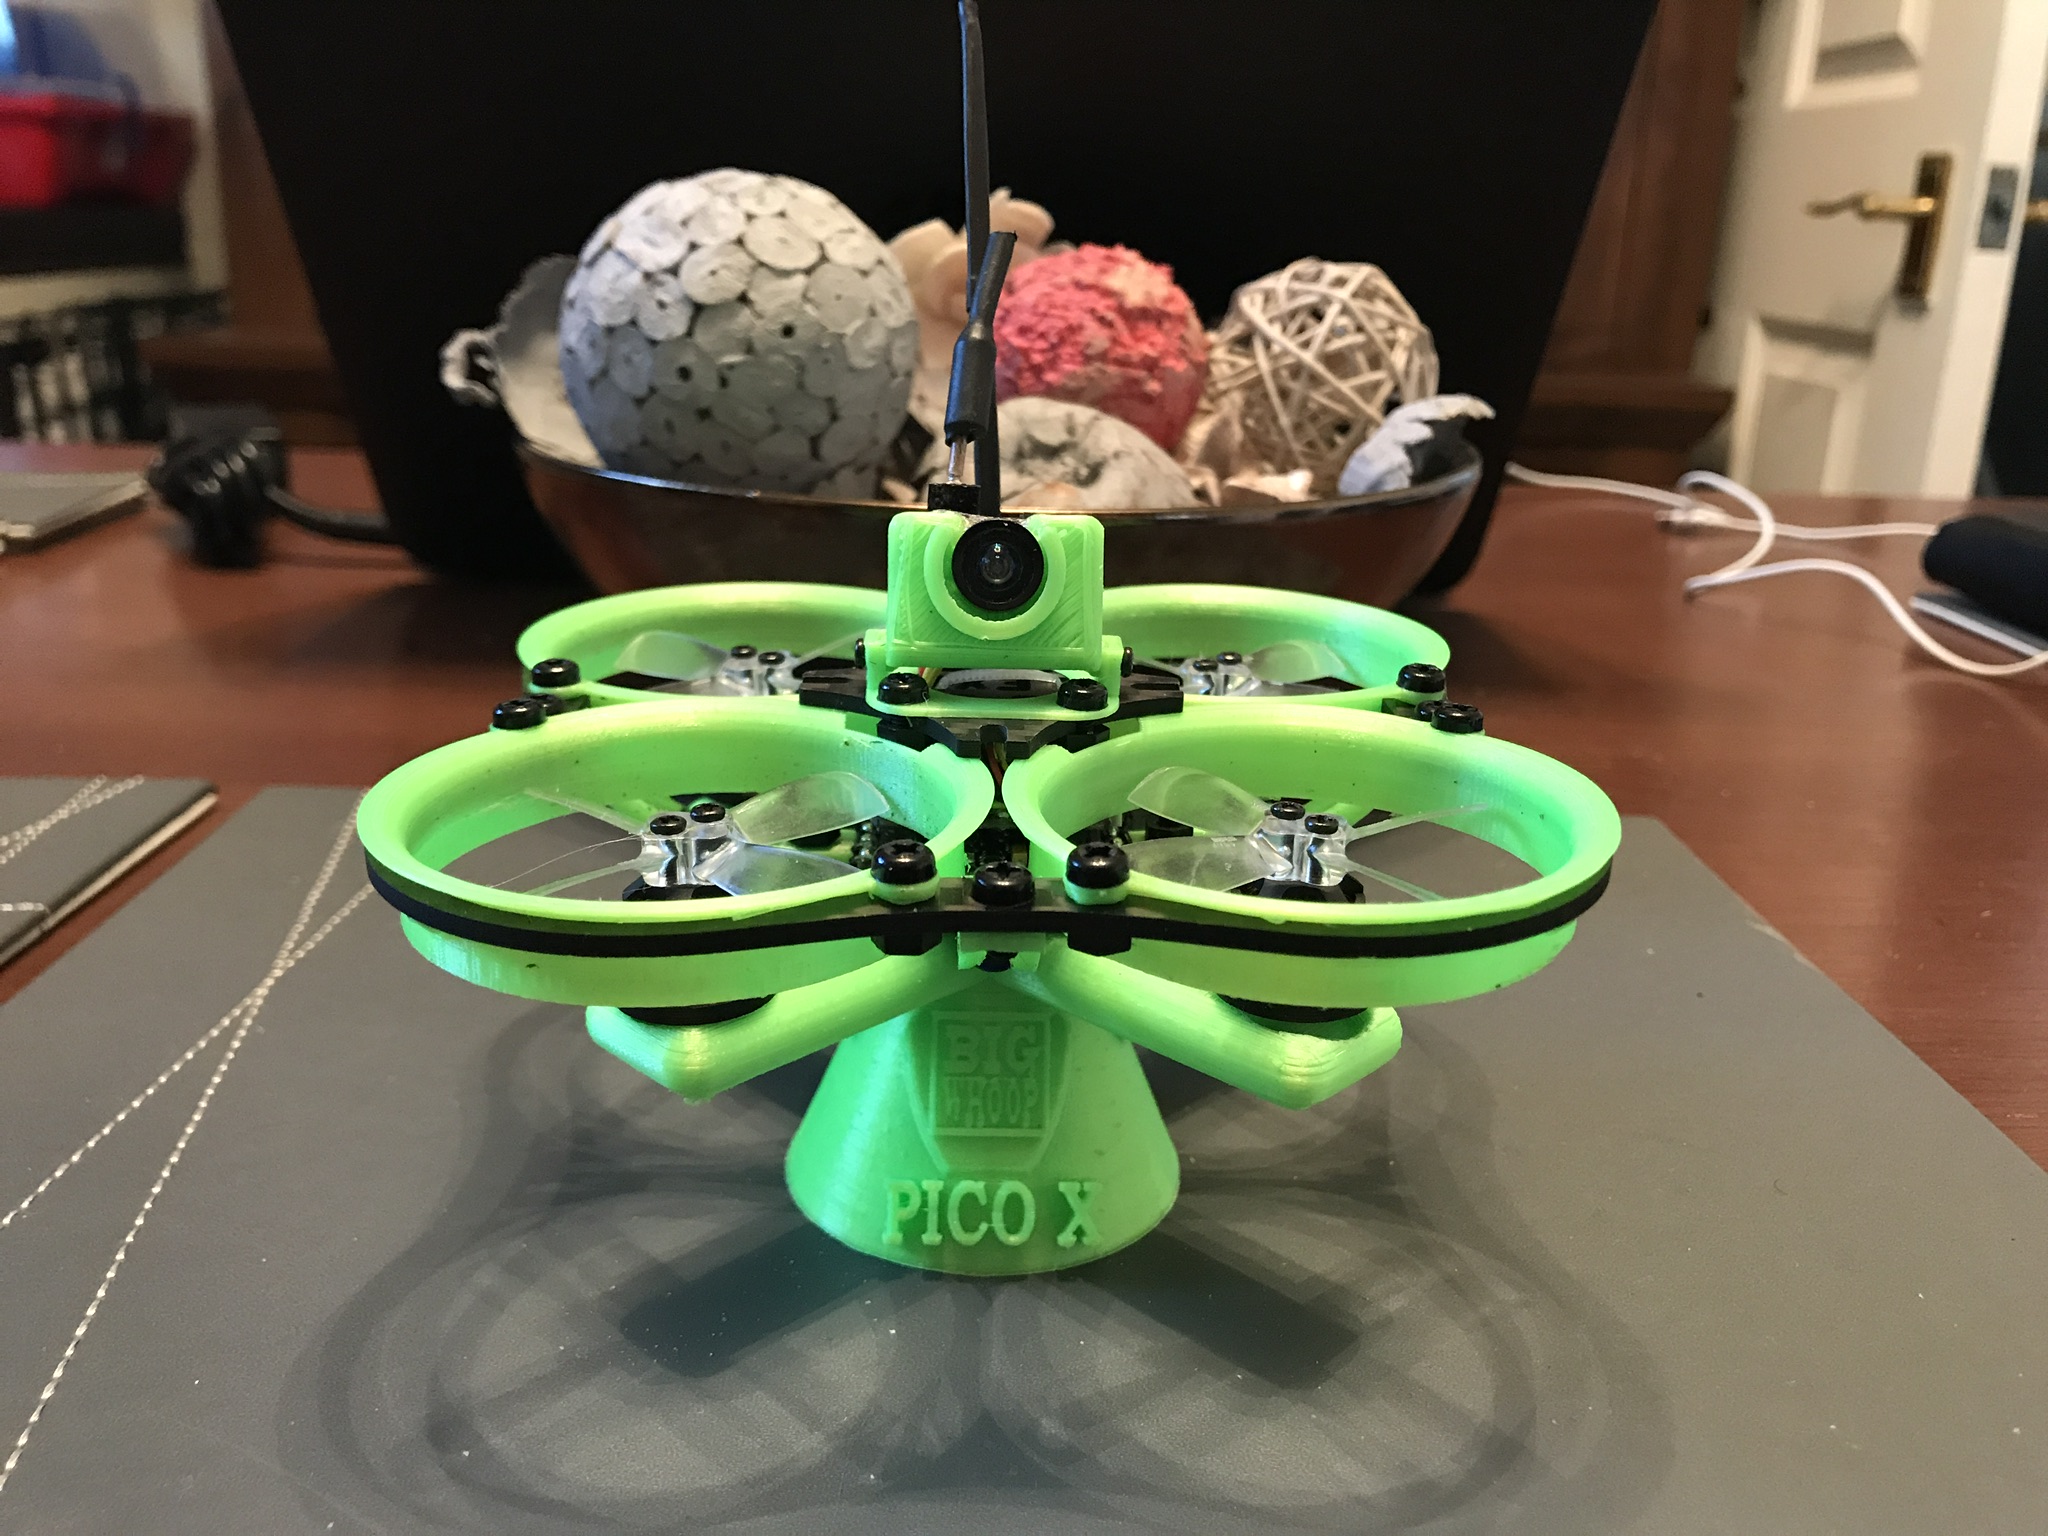
Camera
- I powered my camera off the Lipo leads on the ESC.
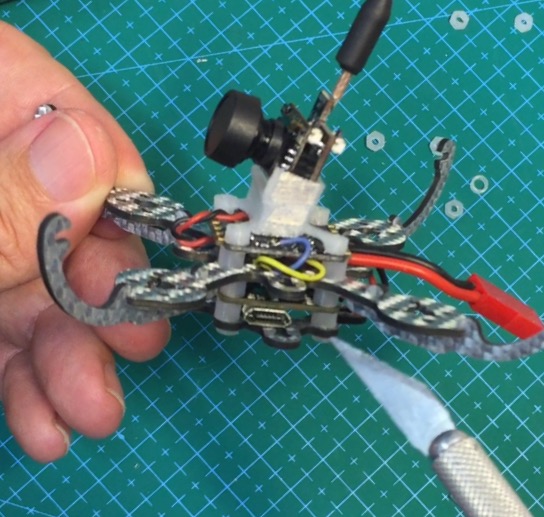
- Ensure you route the wires through the 3D printed camera mount before soldering the camera to the ESC.
- The 3D camera mount is actually a very nice and precise design. The mount holes are threaded on the inside so there is no need for a nut on the mount screws. Just thread the screws into the camera mount to top off your stack.
- Note that the 3D Camera mount is very low profile so there’s little room between the mount and the ESC for wires.
Stack assembly
From bottom to top, this was the order I placed my components:
- 1″ nylon M2 screw
- Carbon fiber bottom protection plate
- Nylon spacers
- Flight controller (upside down)
- Nylon spacers
- Main plate
- Nylon spacers
- ESC (right side up)
- 3D printed camera mount.
Note that I cut some of my spacers to make them as short as possible and still provide the clearance I needed. You can also see the tab that I eventually removed in order to facilitate access to the USB port.

6 thoughts on “FlexRC Nano X build video”
Could you also post setup tips for configuring it in Betaflight, like PIDs and anything else you think might be useful?
Here are a few more tips:
1. Battery should not exceed 4V, because TinyFish ESC does not like it
2. Might need to rise Low throttle value
3. Permanently enable AIR MODE in betaflight
4. Try CLEAN AIR MODE (not must, but might help some times)
5. Make sure that your battery is in good condition and has high C rating to avoid brown outs
6. JST battery connector showed to have the best results
What is a good battery to use for this?
The following batteries work with 1102 motors:
– Bonka Power 450mAh 1S 75C
– Turnigy nano-tech 300mah 1S 45-90C
The following battery is good with 07xx motors:
– https://flexrc.com/product/tattu-3-7v-220mah-battery-pack-with-jst-5pcs/
Awesome thank you!
For 1102 15000kv motors:
– Turnigy Nanotech 1s 750mah
– Turnigy Graphene 1s 750mah
– Turnigy Nanotech 1s 600mah
For 0703/0705 motors:
– https://flexrc.com/product/tattu-3-7v-220mah-battery-pack-with-jst-5pcs/